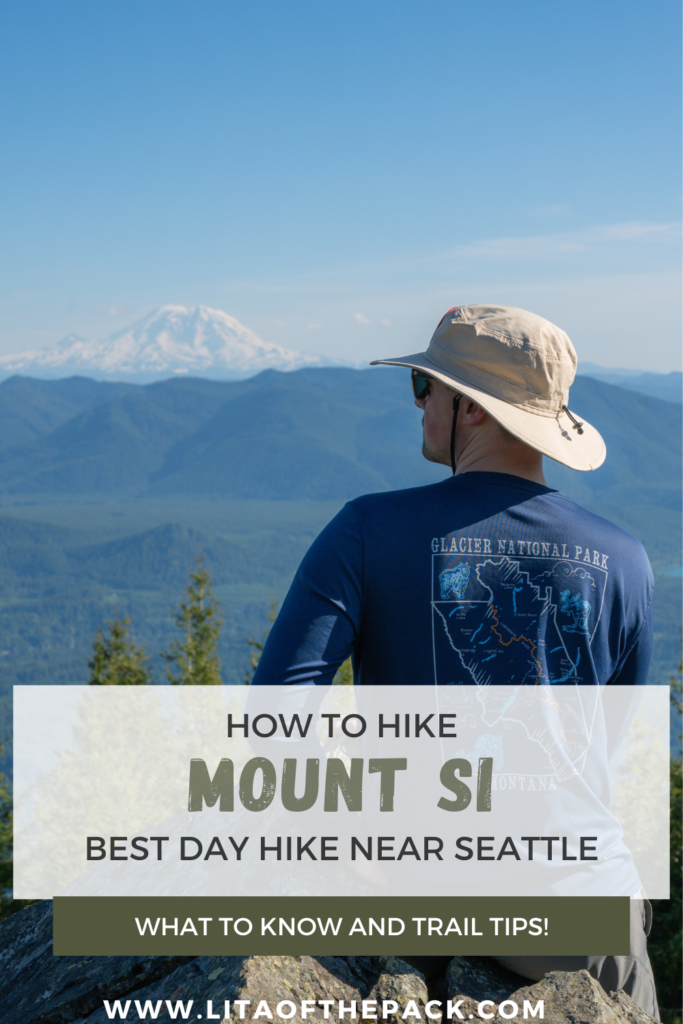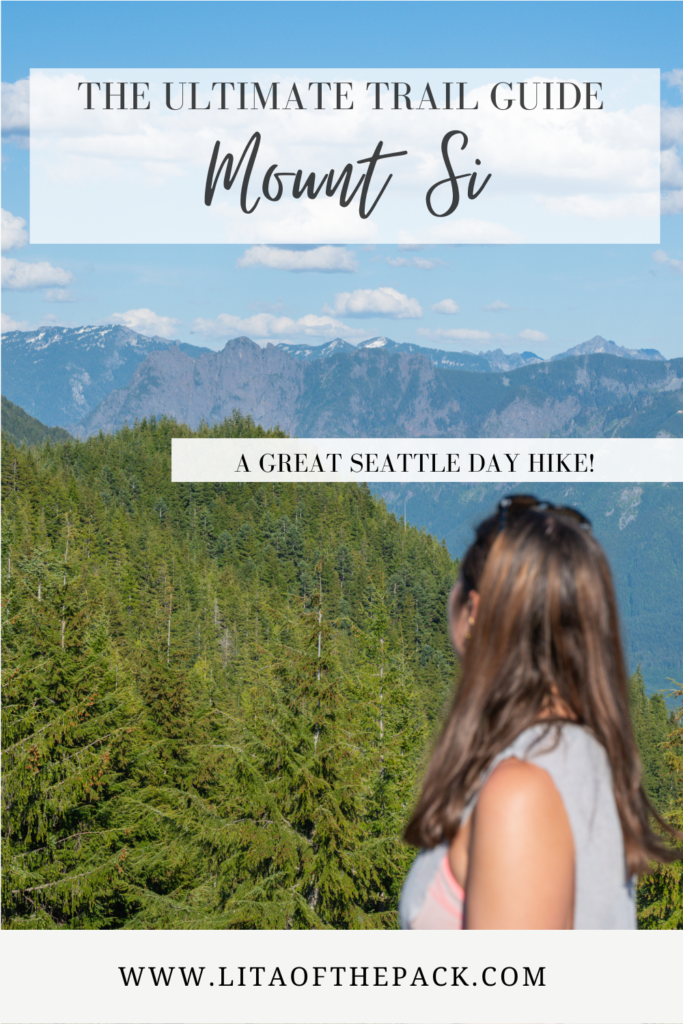
Climb up to the top of North Bend and take in stunning panoramic views all around you. Mount Si is a fantastic hike just outside of Seattle to add to your summer hiking list!
This trail climbs 3100 feet in just under 4 miles, which makes it the perfect hike to test out your physical fitness. Tons of hikers do it at the start of the season to see if they’re in good condition. In fact, hikers that want to take on Mt Rainier even use this trail as a test to see if they’re ready for the ultimate challenge.
My husband and I recently moved to Seattle, and thought this would be the perfect hike to kick off our first summer here. While, we made it to the top in just over 2 hours (only 5 minutes over), we still feel like it kicked our butts.
I loved how this hike had a steady grade the entire time and I really feel like it’s a day hike that I could do over and over again.
So now, I want to fill you in on all the details you need to hike Mount Si. This post covers everything you need to know including when to go, what the hike is like, and what you need to do to prepare. Are you ready to take it on?
Disclaimer: There are affiliate links in this blog post. I may get a small commission at no extra charge to you. As always, I recommend gear, products, and places that I have personally used or trust. Thanks for your support!
Mount Si Trail Details
Quick Mount Si Hike Quick Info
Distance: 7.5 miles to lookout
Elevation: 3150 feet of gain to lookout
Type: Out and Back
Length: 3.5-6.5 hours total
Difficulty: Hard
Best Time to Hike Mount Si
Mount Si is one of the few mountainous trails that is actually open year round. But, that being said winter and icy conditions can make it incredibly difficult to climb throughout the winter.
So, the best time to hike up to the top of Mount Si is from late spring through early Fall. During this time of year the trail is typically clear of snow, which makes it much easier to ascend to the top.
We went in early June and the weather conditions were absolutely perfect out with clear skies and highs in the 70s. ☀️ I couldn’t have asked for anything better.
Now, this trail gets super busy, so I recommend getting an early or late start on the weekends and going on a week day when possible. We went on a Tuesday afternoon and only shared the summit with a couple of other people. So, it was perfect.
How to Get to the Mount Si Trailhead
Mount Si is located in North Bend, Washington, which is just 45 minutes from Seattle. Which means it’s easy to get to as long as you’ve got a car.
From Seattle, you’ll take i-90 East until Exit 32 for “436th Ave SE.” From there, you’ll follow the road around two traffic circles before turning towards the trail. There will be signs for the Mt Si Trailhead parking along the left of the road!
Things to Know Before You Go
💵 This trail requires a Discovery Pass, which if you don’t have is $5 for the day. There are signs there that you can scan and pay by phone!
🚗 Mount Si is one of the most popular trails in the area, especially since it’s less than an hour from Seattle. The parking lot can fill up quickly and is extremely bumpy with deep grooves in it. So, get there early and drive slow!
⛈️ Weather can change quickly at the summit, so check the weather before you go and choose a different hike if storms are in the forecast.
📲 I recommend downloading the trail map on either Alltrails or the WTA Trailblazer app.
🐐 If you’re lucky, you may see mountain goats at the top, but please give them their distance. Unfortunately, we didn’t see any so I guess I’ll just have to go back!
🌿 Remember to always follow the Leave No Trace Principles to allow everyone to enjoy the trail!
Gear Guide for Conquering Mount Si
Now, while this may just seem like a regular old day hike, the elevation is no joke! So, you’ll want to prepare for it by bringing plenty of fuel and wear the right things.
Dylan and I both brought 2 liters of water, a sandwich, and snacks. We crushed them all while we were out on the trail. I also recommend hiking poles, because the steep grade can be very tough on your legs. I used them halfway through the way up and all the way down.
But, remember the best gear is the gear that you already own!
Packing list
- Comfortable Hiking Boots
- Day Pack
- Hiking poles– Necessary for the steep climb down!
- Water Reservoir
- 1-2 Liters of Water– I’d lean towards more on this one.
- Snacks and Food
- First Aid Kit
- Sunscreen
- Bug Spray
- Rain jacket
- Light winter jacket
- Satellite phone
- Discovery Pass
Mount Si Trail Description
start of the trail
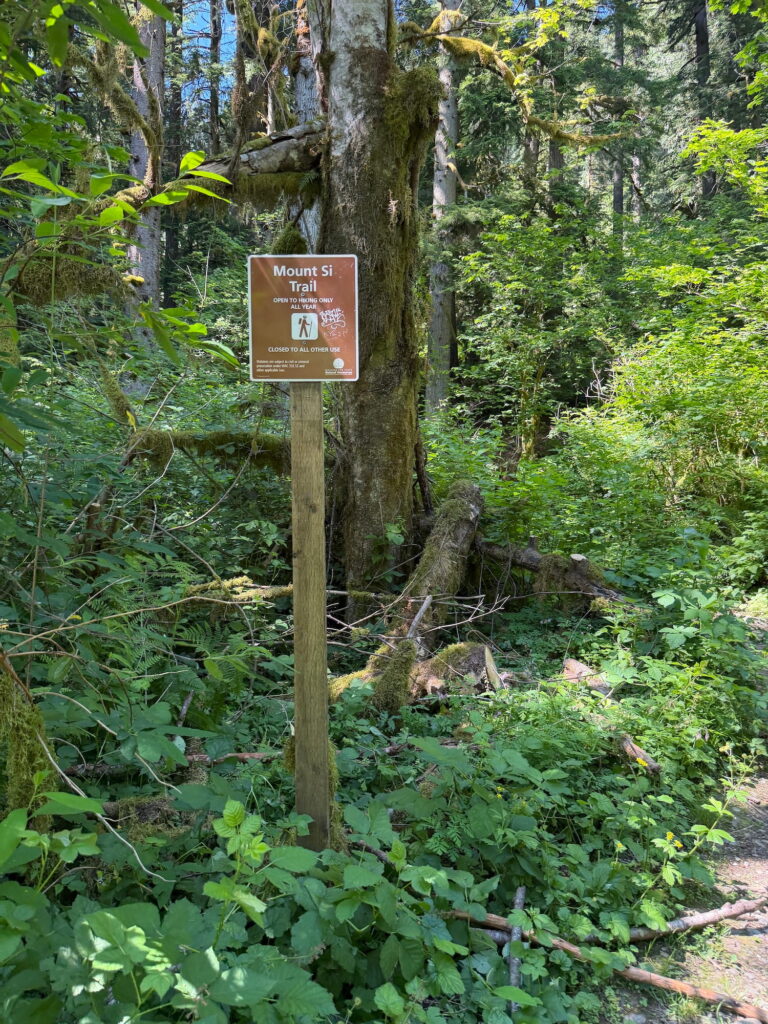
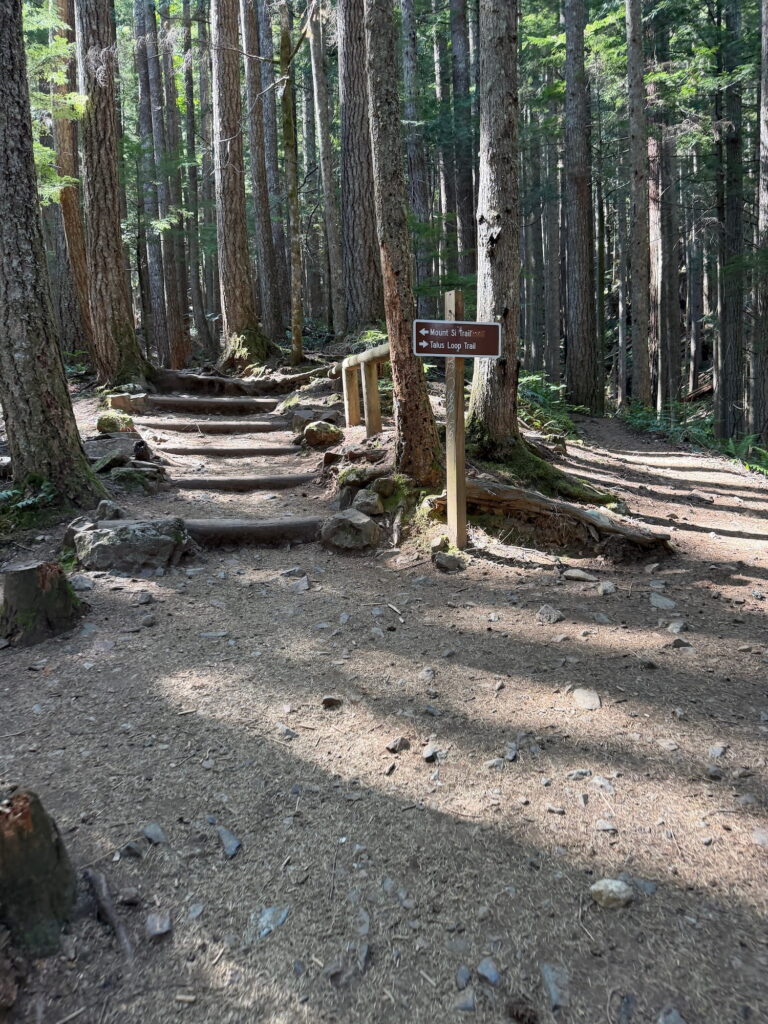
As soon as you leave the parking area, you’ll see signs for the Mt Si trail. It’s really easy to follow these as you keep ascending up the mountain.
It starts out flat to ease you in and get your legs warm. If you’re going in early summer you can look for salmon berries along this part of the trail. I ate my fill of them on the way down!
Then, just after the nice short, flat section, you’ll see another sign for Mt Si on your right. You’ll follow that through the forest and this is when the elevation gains and switchbacks begin!
In the first 1.5 miles, you’ll find that the grade is pretty steady, which is something that I really appreciated. It never took you by surprise and you could set yourself up on a good pace.
snag flat
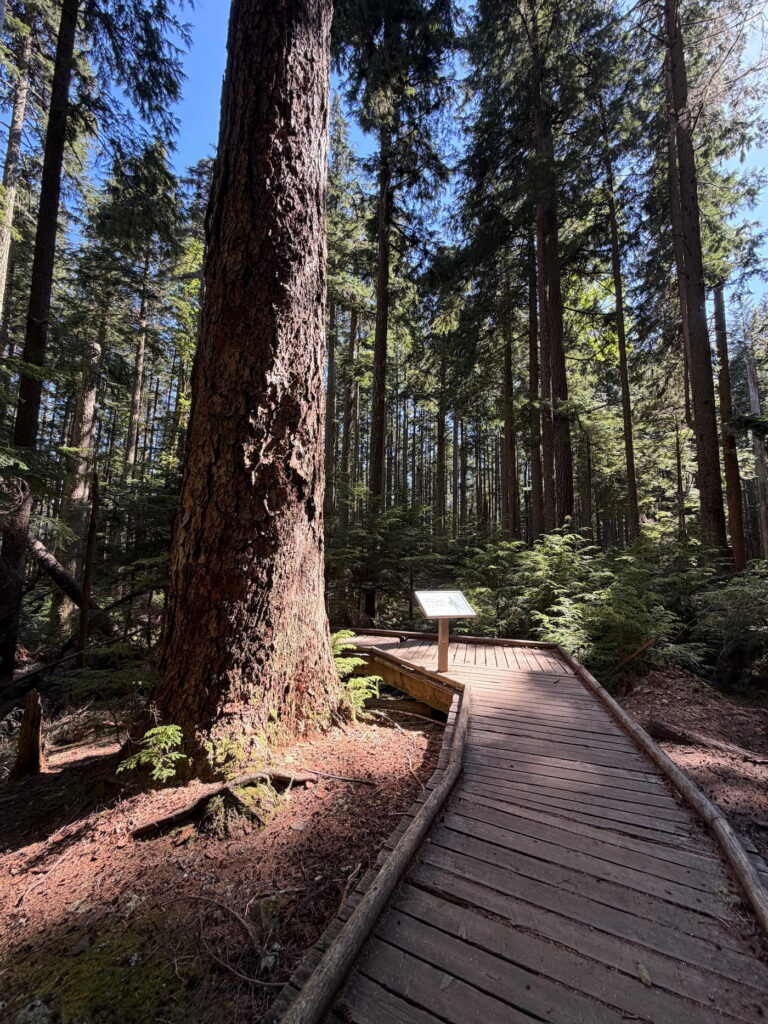
At about 1.5 miles in, you’ll arrive at Snag Flat, which I was completely surprised by (oops I didn’t read the trail maps before beginning).
But, this lovely FLAT section takes you through very tall old-growth trees. These trees have stood the test of time and have escaped all logging as well. There’s a nice bench to sit at and enjoy the view, as well as a interpretive sign to tell you more about them.
This was one of my favorite sections of the trail, as the light seemed to glow through the trees creating an idyllic scene.
Viewpoint
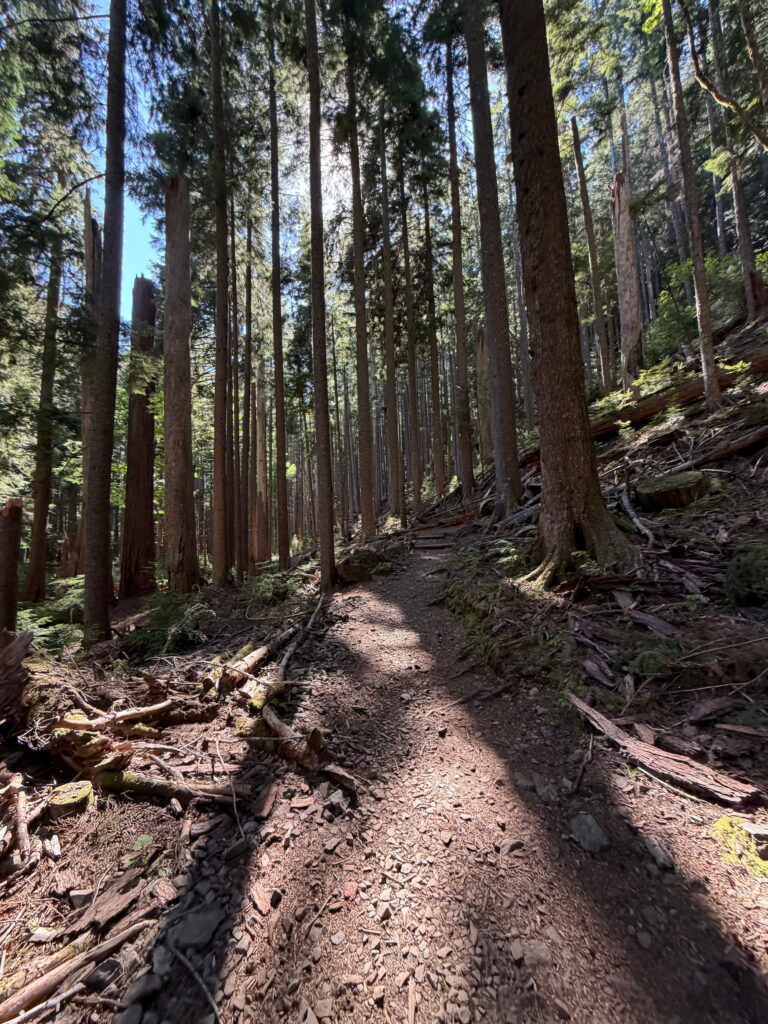
Unfortunately, after the Snag Forest section, the trail then gets a bit steeper as you ascend. But luckily, you’re still covered by the trees which provide plenty of shade.
But, right when I felt as if I could not go on, I got my first glimpse of the mountains above and it really pushed me through.
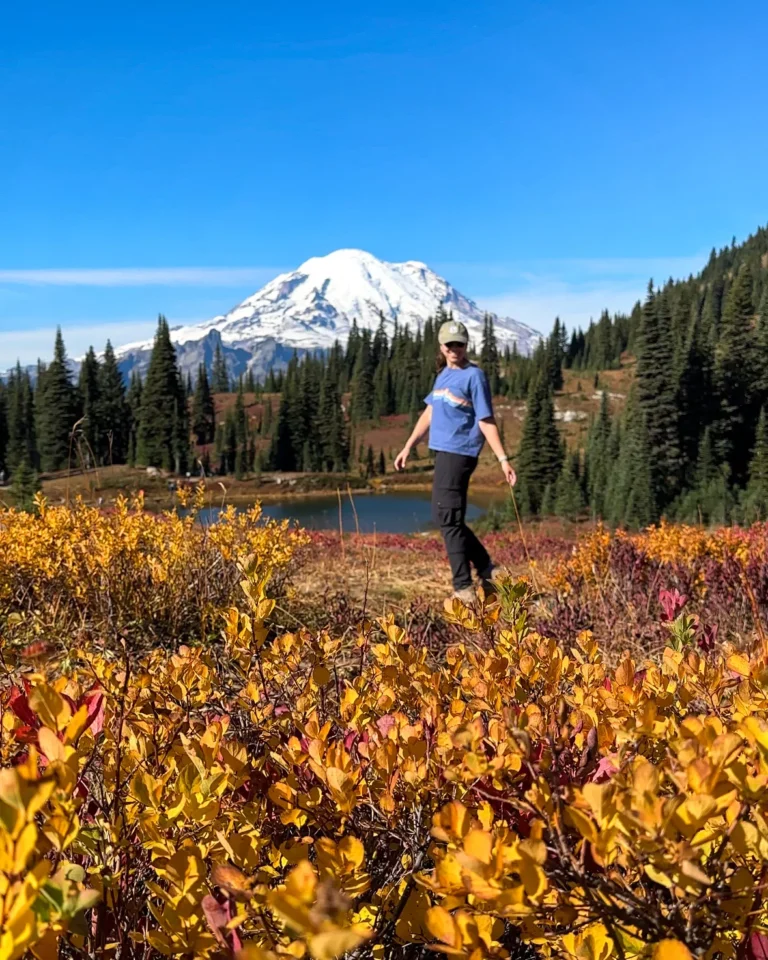
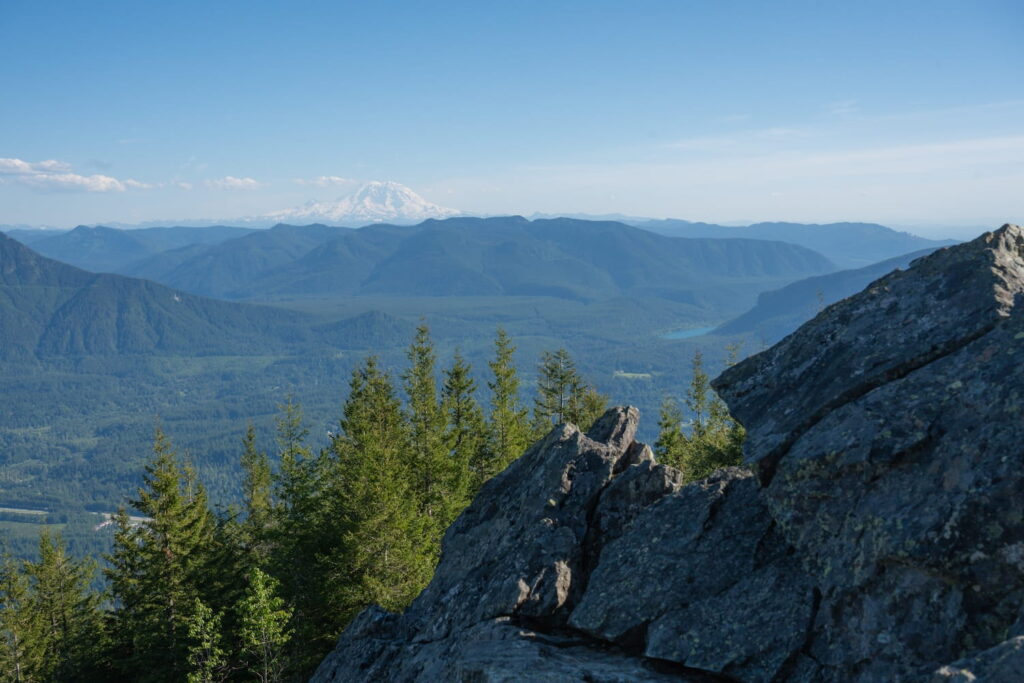
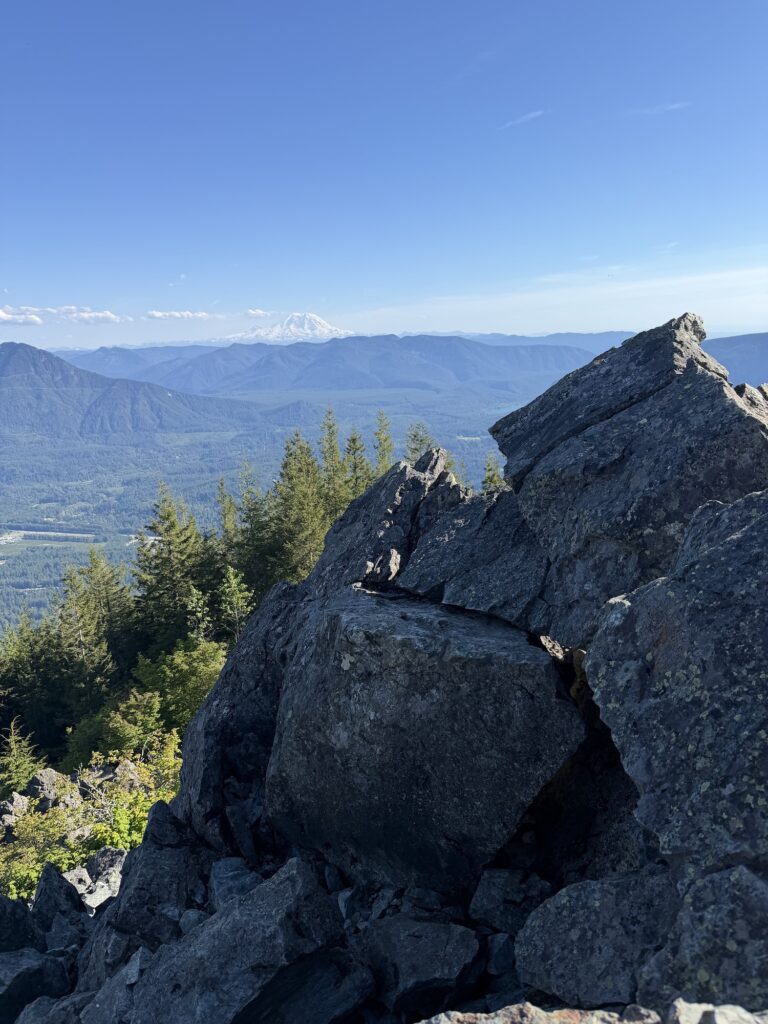
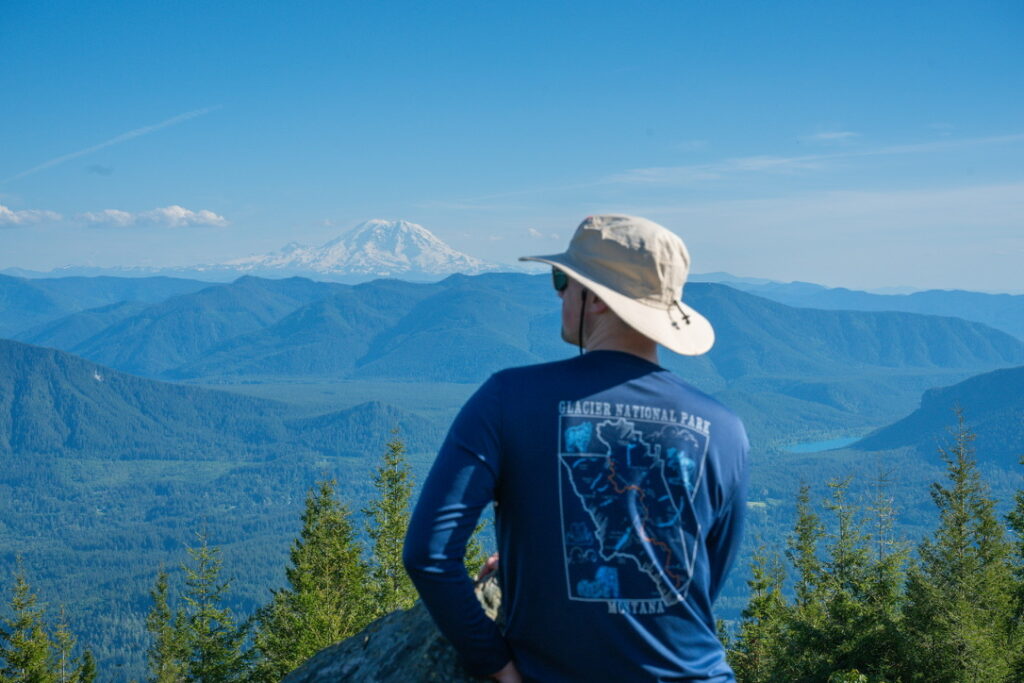
At about 3.5 miles, the trees open up and you’ll see the sky and rocks up above. From there, you’ll climb up onto the rocks to get a stunning viewpoint of Mt Rainier and the mountains in front of you.
Most people (including us) stop here to eat some food and then head back down. There are a bunch of great spots along the rocks that are great to perch on. Just make sure to watch out for all the squirrels that will be begging you for your food.
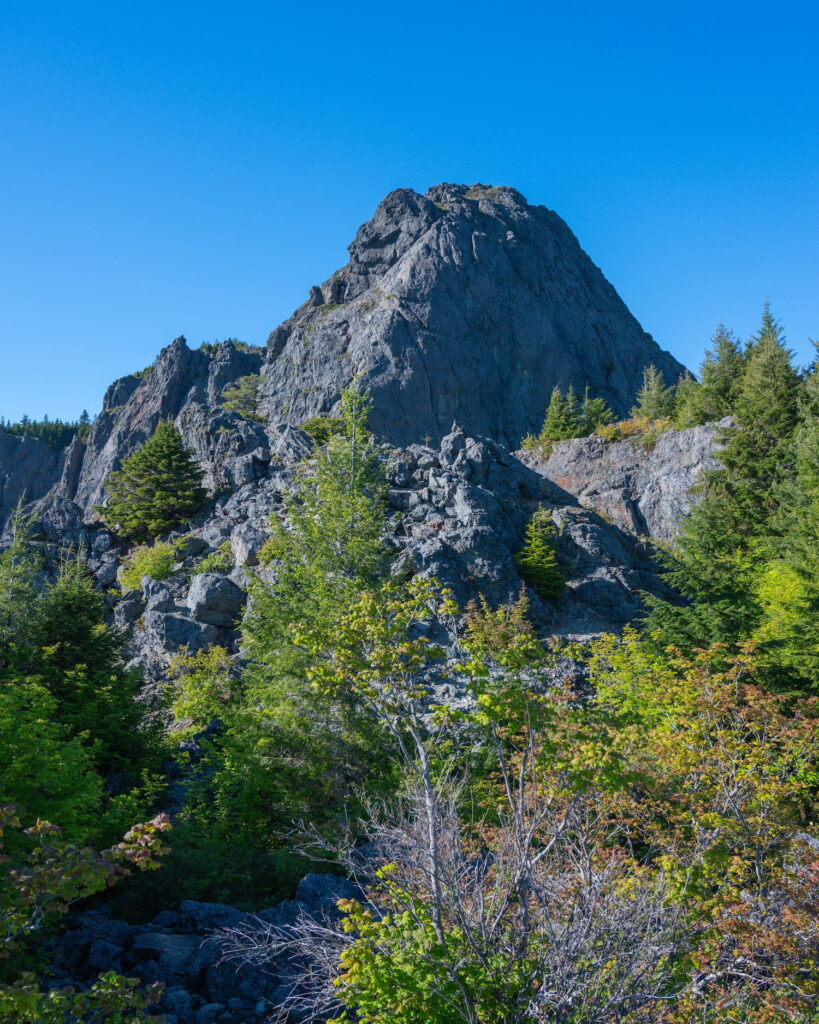
After the rocks, you can continue up the trail to the Haystack. You’ll see stone steps to your right, which you’ll follow before continuing back through the trees.
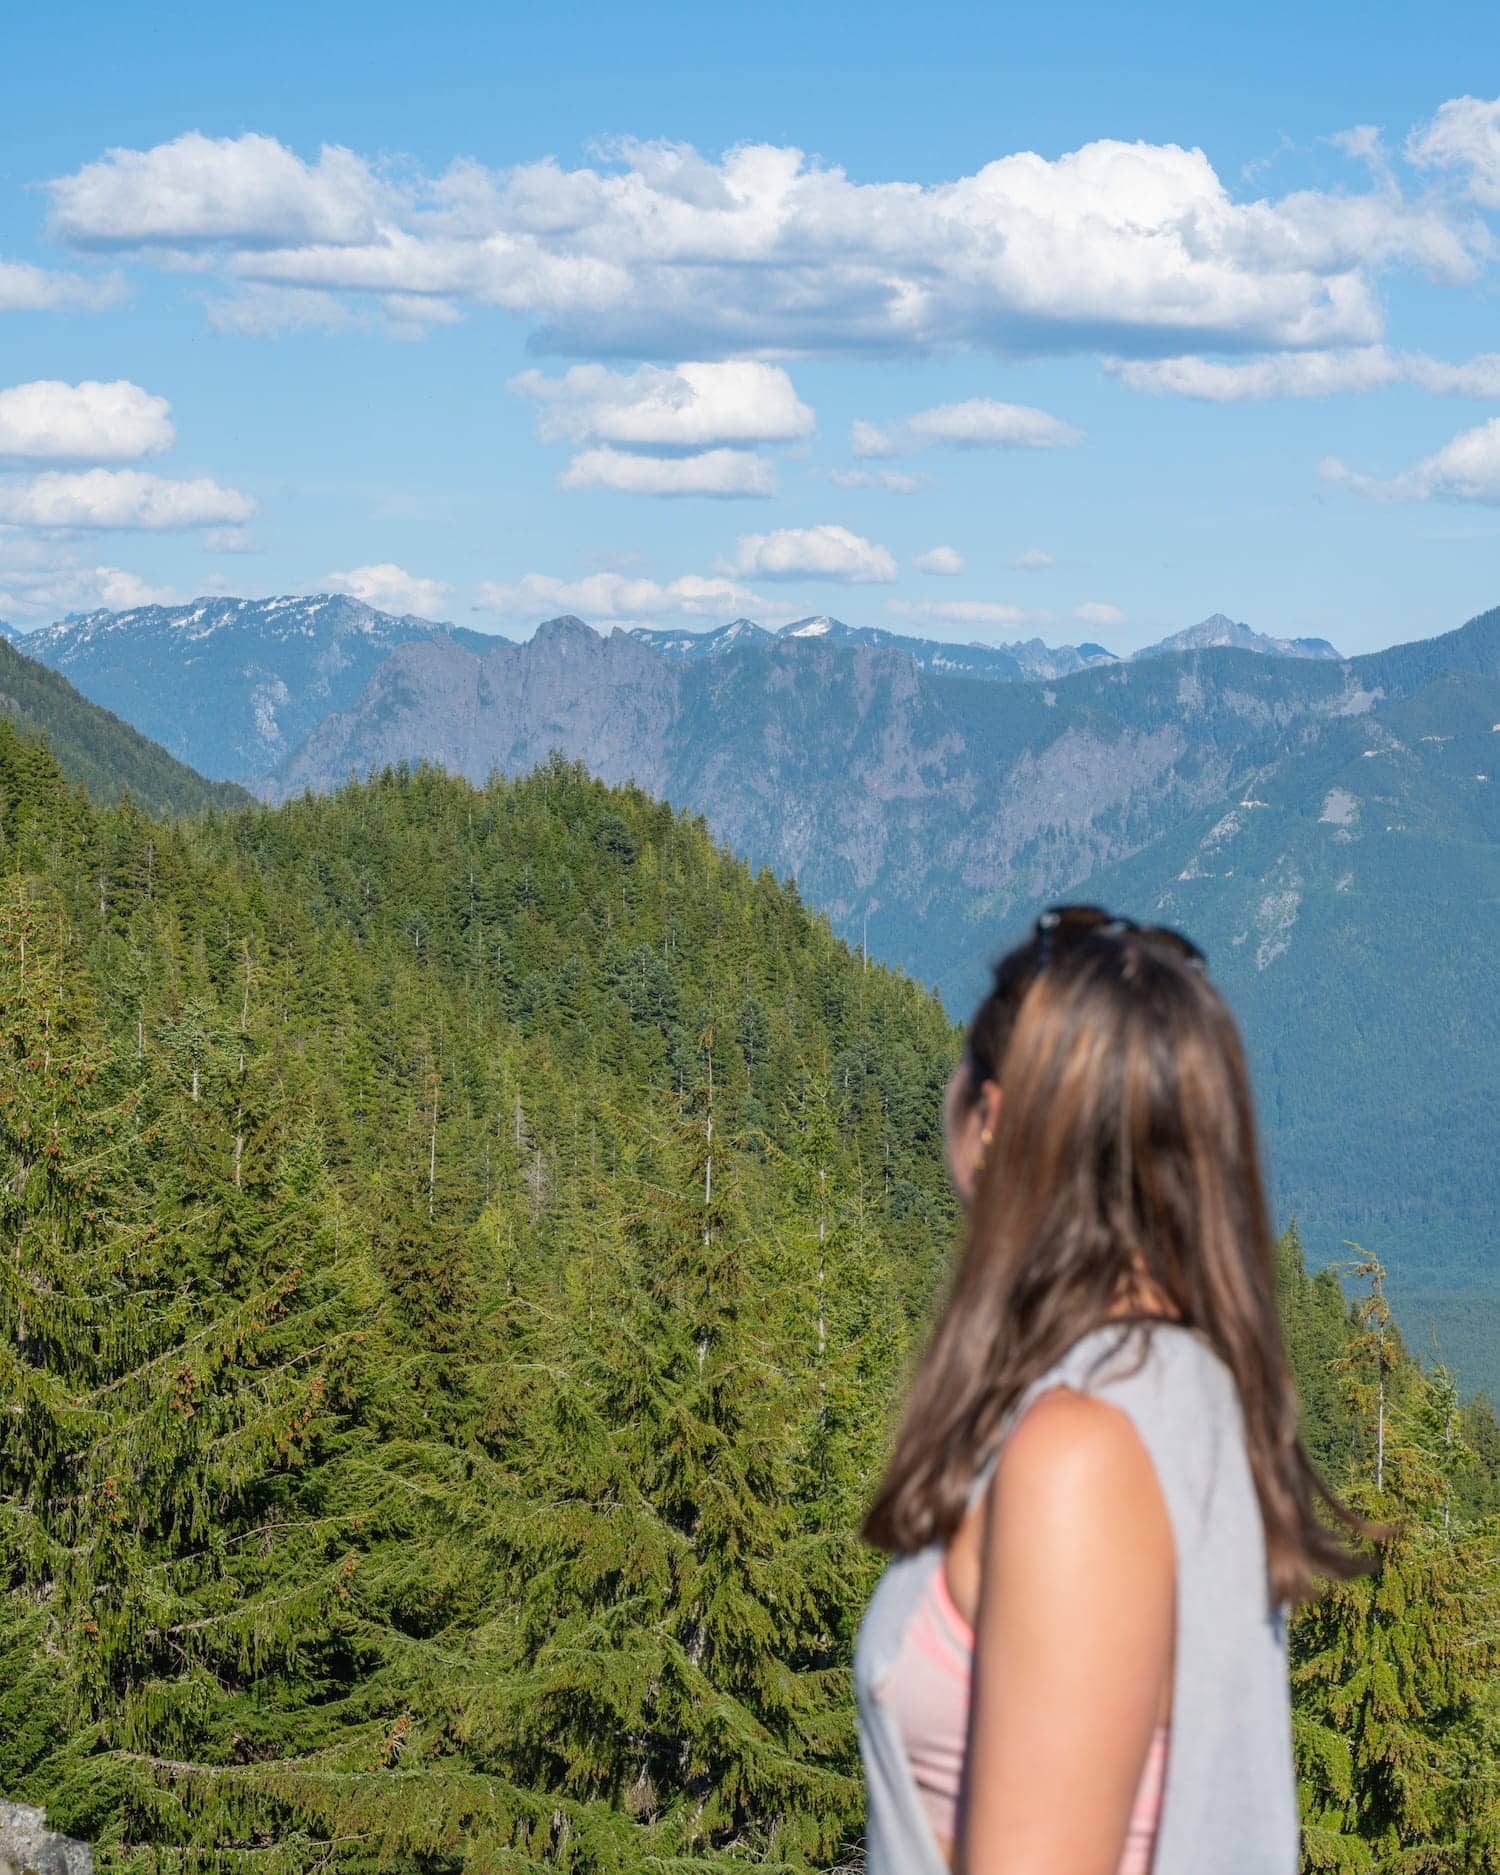
Then, you’ll continue on and arrive at more stunning views this time in the opposite direction towards Snoqualmie and the Olympic Mountains. You’ll see the Haystack above you as well, which is where the true summit of Mt Si is located.
All in all it’s a gorgeous hike, worth the climb!
Final Thoughts on Conquering Mount Si
I got nervous before heading out on the Mount Si trail, but the steady elevation gain, made it feel more attainable.
That being said, this is a hard hike, which takes some preparation and planning before you take it on. Make sure that you have plenty of water, sunscreen, and take your time as you go up the mountain.
I’m excited to take this challenge on every year to start the hiking season off right. Happy trails! 🥾
Let me know if you enjoyed this post in the comments!
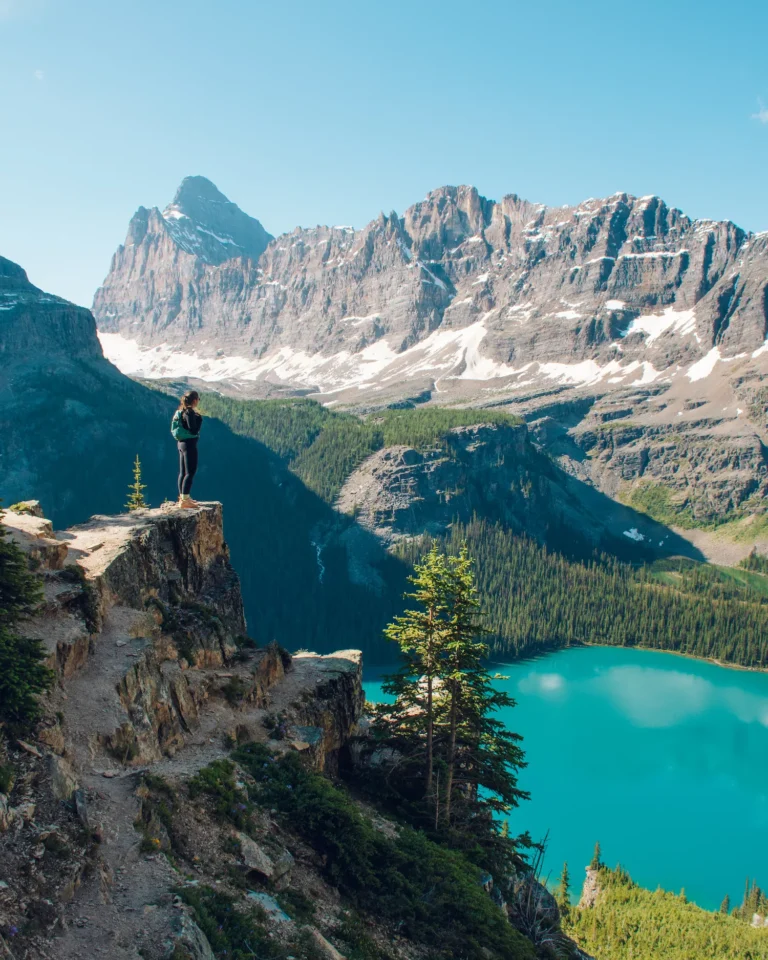
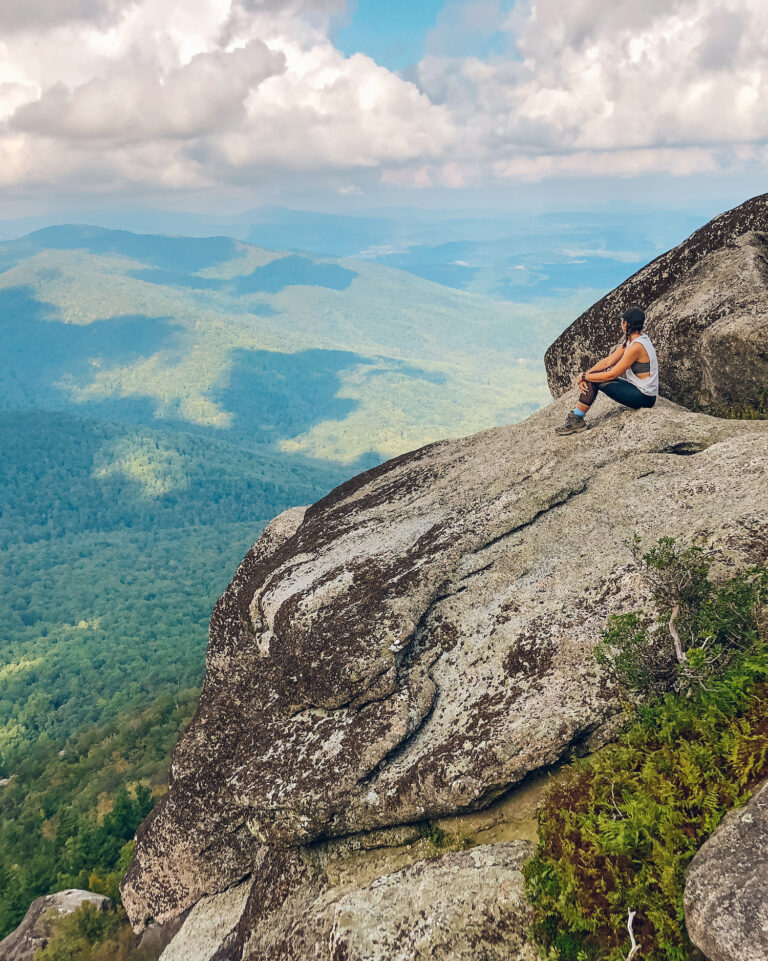
More Hikes to explore in washington
📍 Pin Mount Si Hike Guide: A Popular But Worthy Trail to Pinterest