Alpine valleys, iconic mountains, glacial blue lakes, abundant wildflowers… There’s something so magical about the Italian Dolomites region. In just one week, you’ll barely scratch the surface, but you will fall in love.
After having the Dolomites on my bucket list for years, I finally made it there this past summer. We tried to maximize our trip including staying in rifugios and seeing as much as we could!
I spent hours and hours researching our trip to the Dolomites and now I want to help you have the perfect experience. Below, find my comprehensive week itinerary with details on where to stay, how to get to places, and tips for your visit.
With all of this knowledge, you’re well equipped for the trip of a lifetime!
Disclaimer: There are affiliate links in this blog post. I may get a small commission at no extra charge to you. As always, I recommend gear, products, and places that I have personally used or trust. Thanks for your support!
Our Dolomites Week Itinerary
This first timers itinerary is great for people who are adventurous, like to hike, and want to see the highlights. You can travel by camper van or stay in one hotel on the East side and one on the West side. I’ll go more into this in the section below on where to stay.
Also, I should note that we did Lago di Braes, Cinque Torri, and Falzarego Pass as part of the Alta Via 1, but you can easily visit them on day trips.
Finally, I recommend this itinerary from mid-June through mid-September. If you do it outside of that, you may see more snow and these trails may be subject to closures. Okay, now let’s get into it!
Quick Itinerary Overview
Day 1: Fly into Venice and stay in Venice
Day 2: Drive to East Side of Dolomites, Hike Lago di Sorapis
Day 3: Lago di Braes
Day 4: Tre Cime & Cadini di Misurina
Day 5: Cinque Torri & Falzarego Pass
Day 6: Refugio Freidrich August, Seceda & Alpe di Suisi
Day 7: Val di Funes
Arrival Day
On your first day, it’s likely that you fly into either Venice or Innsbruck. Getting to the Dolomites from Venice can take a bit and end up being a long travel day. So, I would give yourself a night either in Venice proper or at an airport hotel.
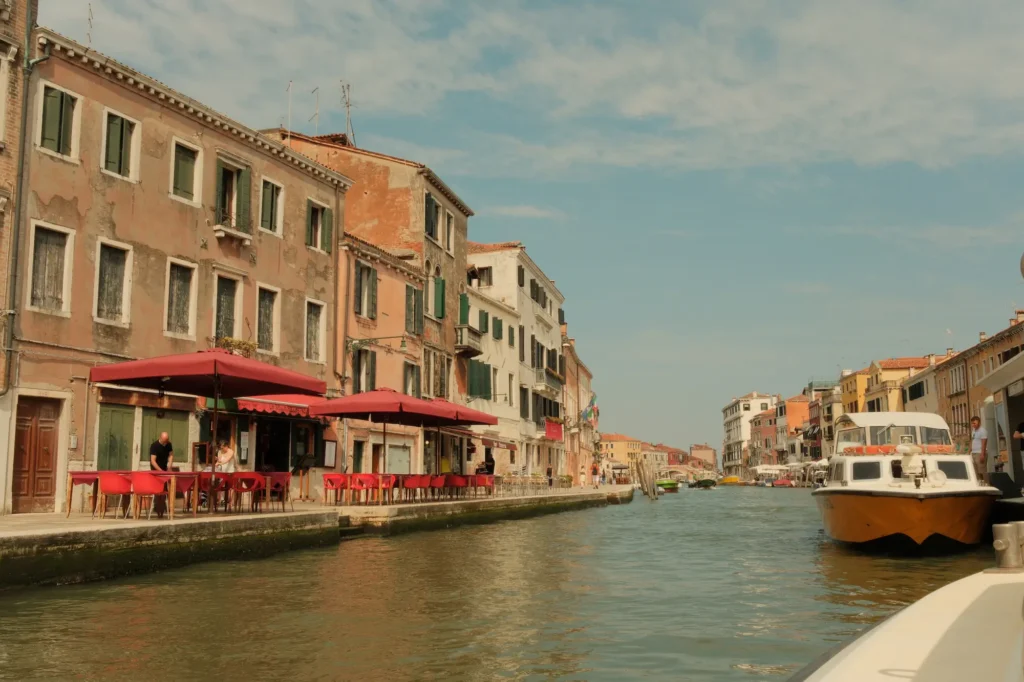
We flew into Venice and went onto the island to explore, because my husband had never been. In order to do that you will have to either take the public water taxi or get a private transfer. Private transfers cost around 160-250 Euros. While the public water taxi is around 18 Euros a person.
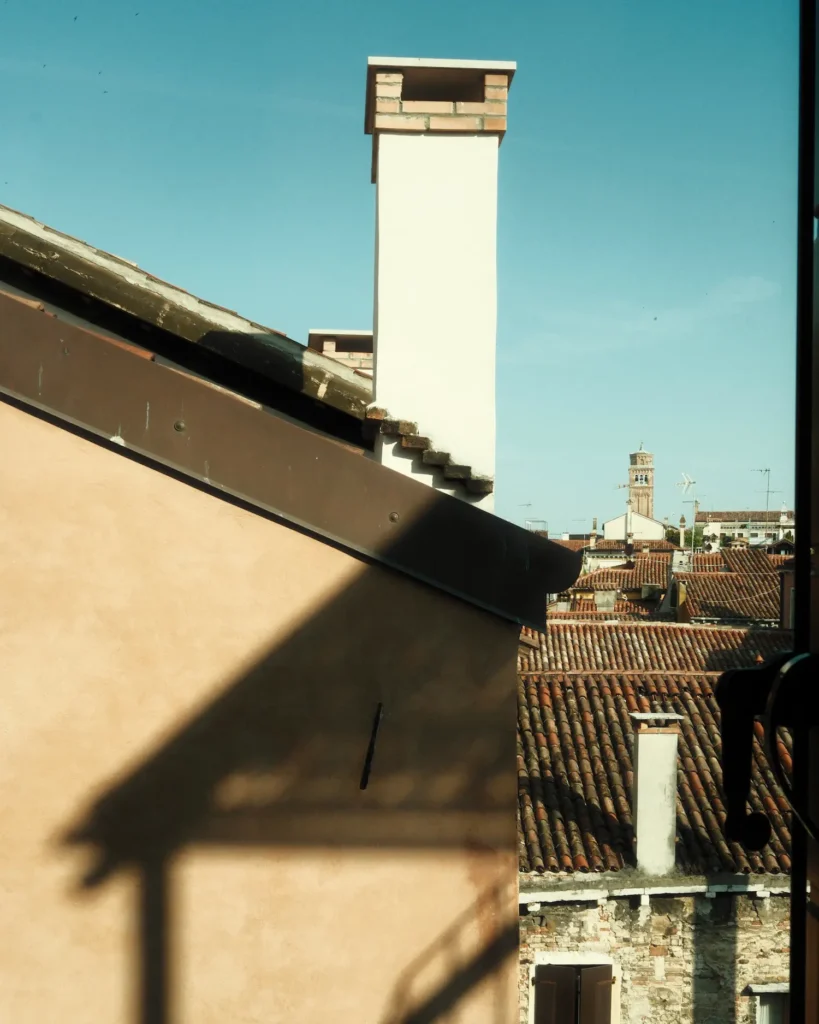
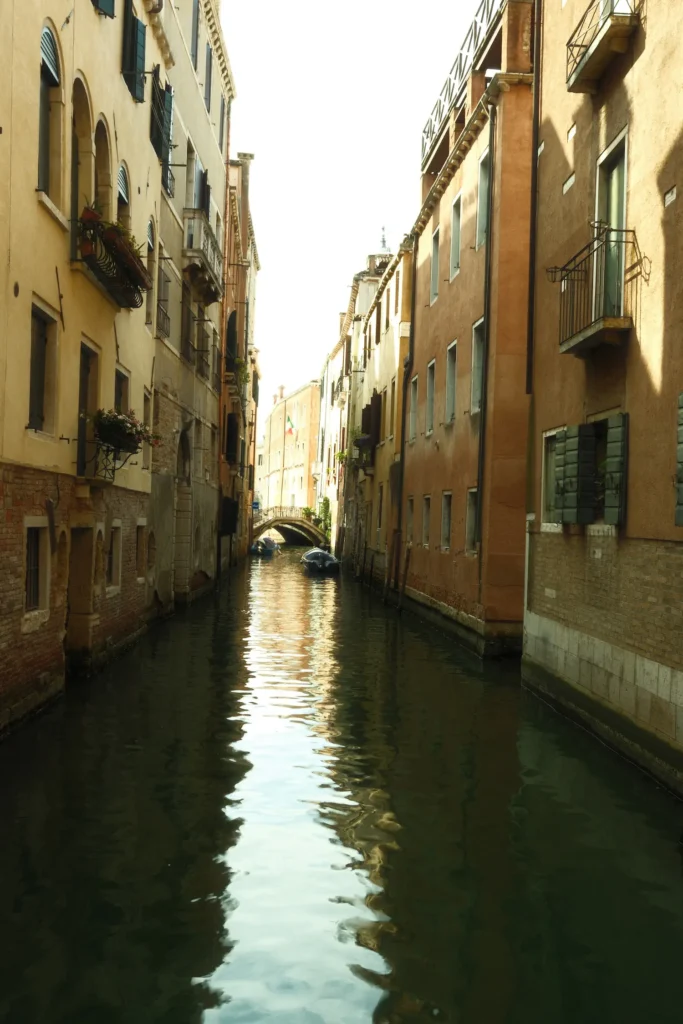
Once you get into the Venice area, then you can walk around and explore places like San Marco or head to places more off the beaten path. Venice can often feel very crowded and when we went there was a huge heat wave, so I felt excited to escape into the mountains.
Honestly, if you’ve seen Venice before then I would skip the complication of getting into the heart of it and stay in an airport hotel instead.
Day 2: Drive to Dolomites & Lago di Sorapis
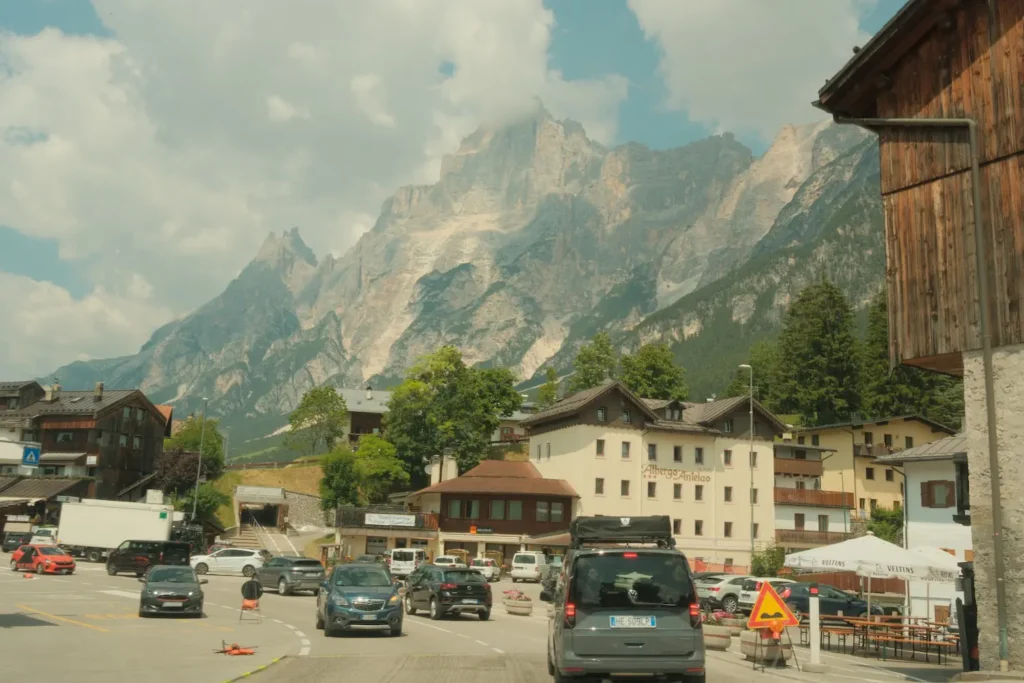
If you stayed in Venice proper, you’ll need to make your way back to the airport to pick up your rental car. On the day we went, it took an hour to get our rental car, so just add extra time to your schedule.
From there, you can hop into the car and take the scenic drive towards the Dolomites.
If you drive directly to the Lago di Sorapis trail, you pass through the Olympic host city of Cortina d’Ampezzo. Those of you who choose to stay there, can check into your hotel before heading out on the hike. We just drove through and it was very cute, but packed in June.
I actually thought there were tons of other charming towns that were more endearing than Cortina sprinkled throughout the region.
lago di sorapis
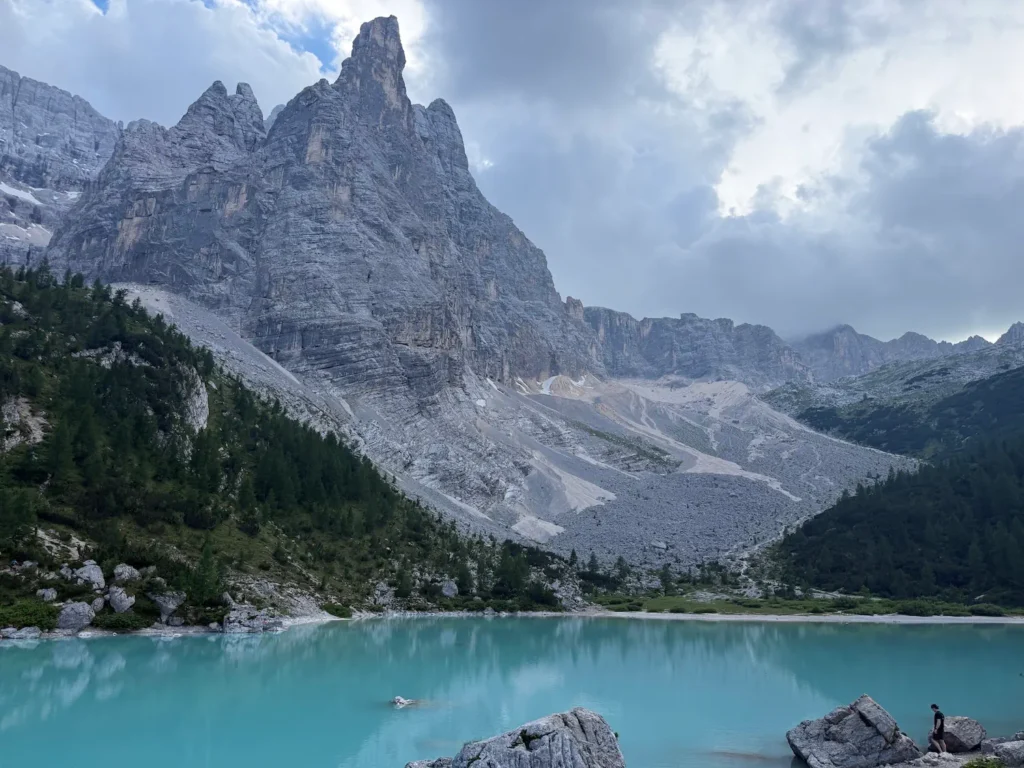
Lago di Sorapis was one of my favorite hikes that we did in the Dolomites!
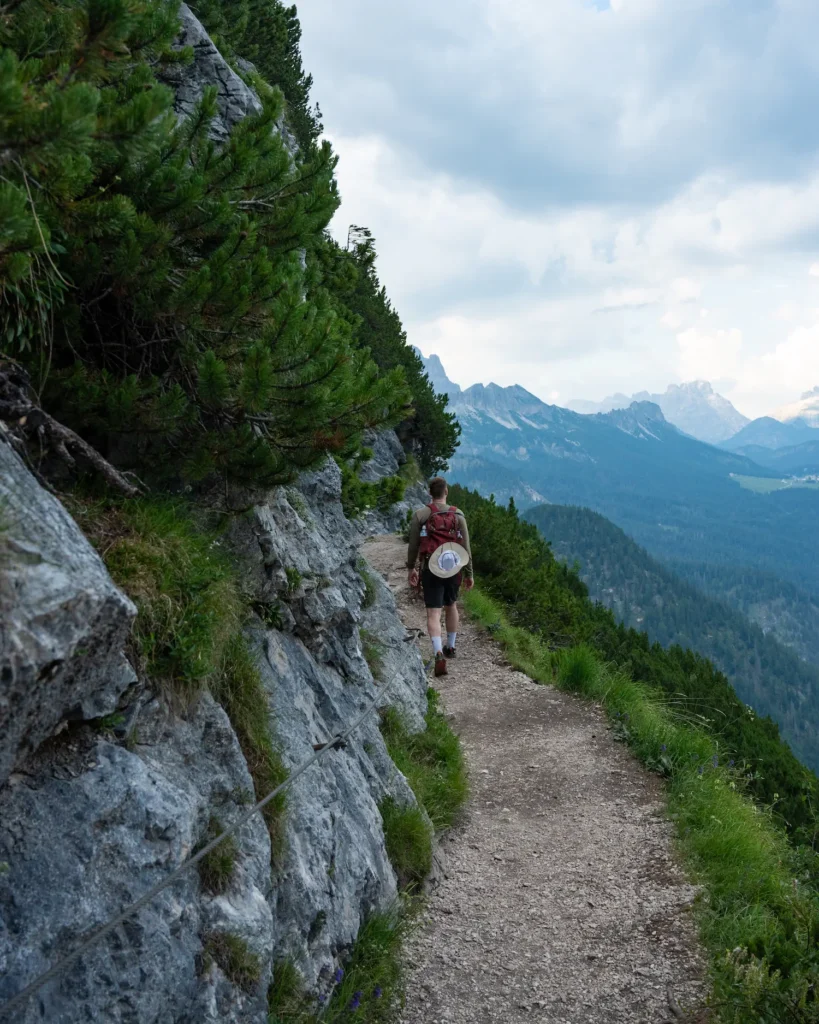
The trail climbs up, up, up, up into the mountains.
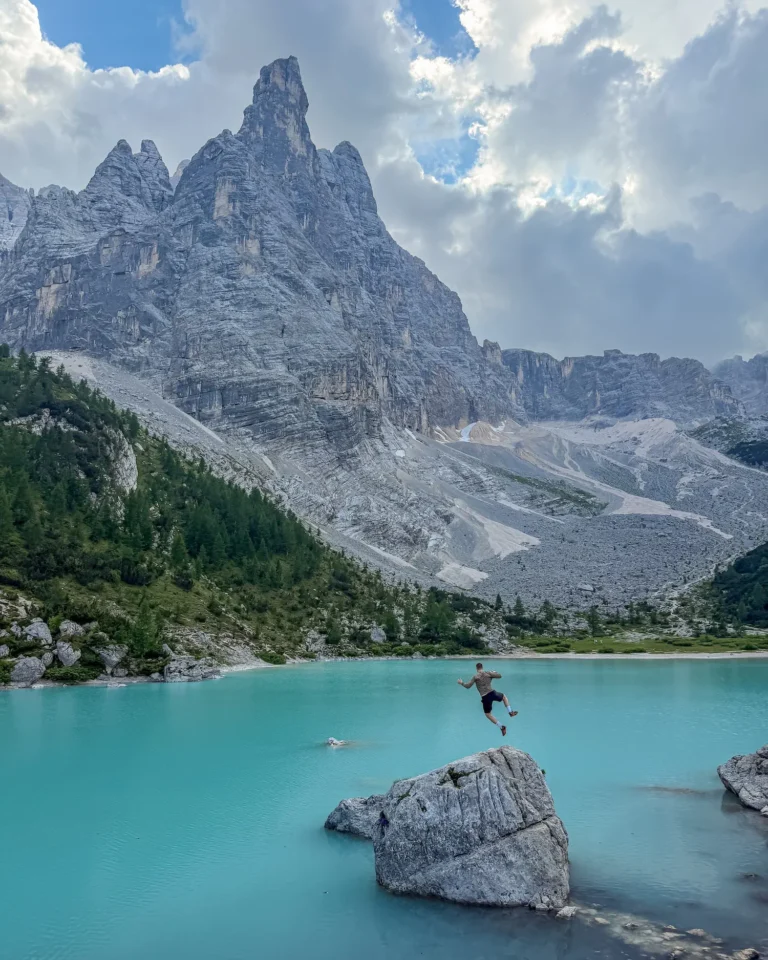
From seeing photos, I knew that the lake would be unforgettable, but I wasn’t expecting the views along the way. It was as if every corner we turned there was a new mountain peak rising up and at times there were mountains and valleys as far as I could see. And then, the real reward, at the top you arrive at one of the iciest blue lakes with a jagged peak perched above.
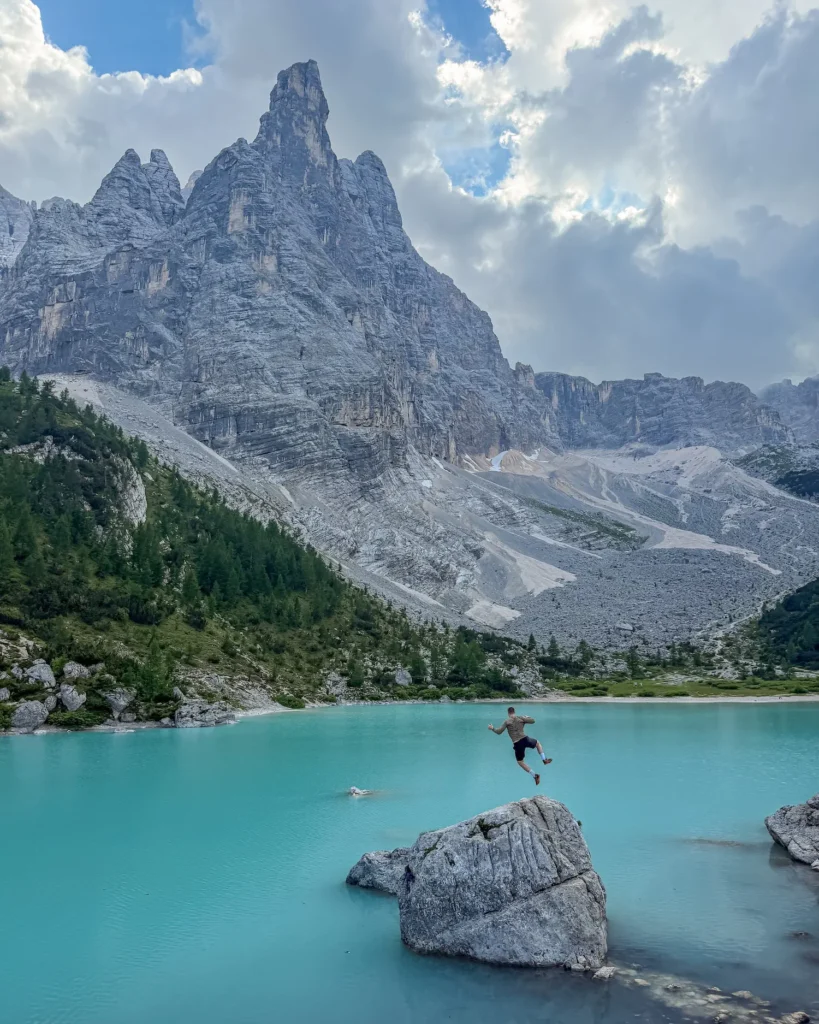
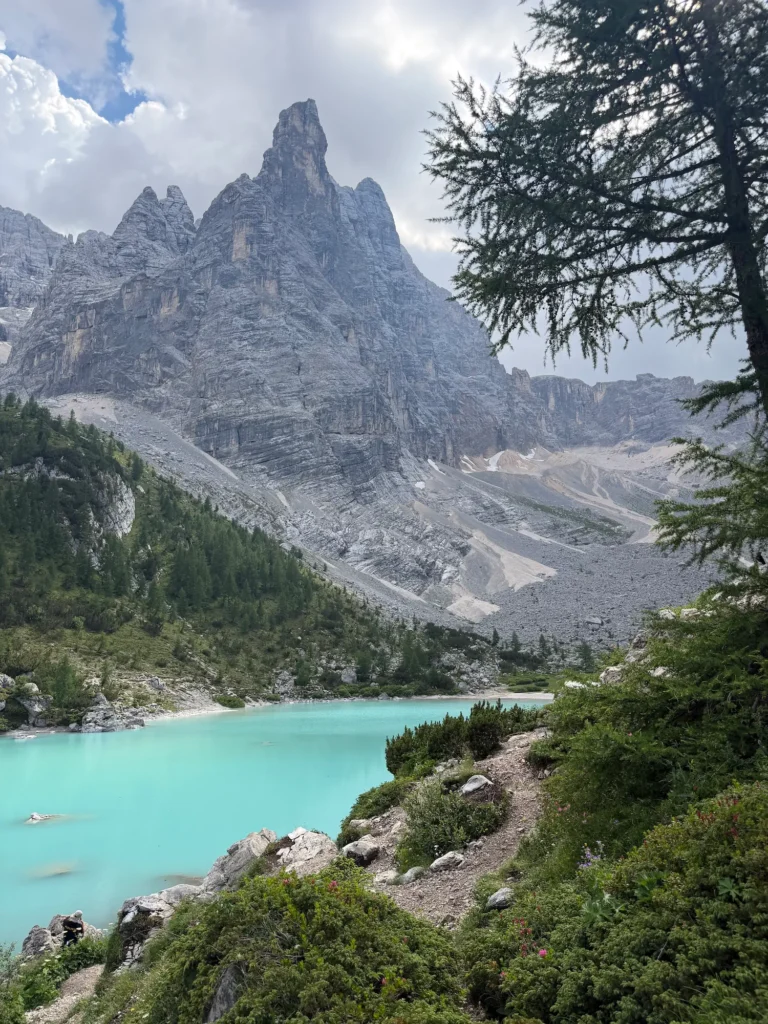
Once you get to the top, you can sit along the shores and eat lunch or visit the rifugio to see the delights that they offer. There are tons of rocks within the lake that you can take beautiful pictures in, but there’s no swimming allowed!
Dylan and I used the rocks to hop from one to the other, before hoisting ourselves onto a large boulder for photos.
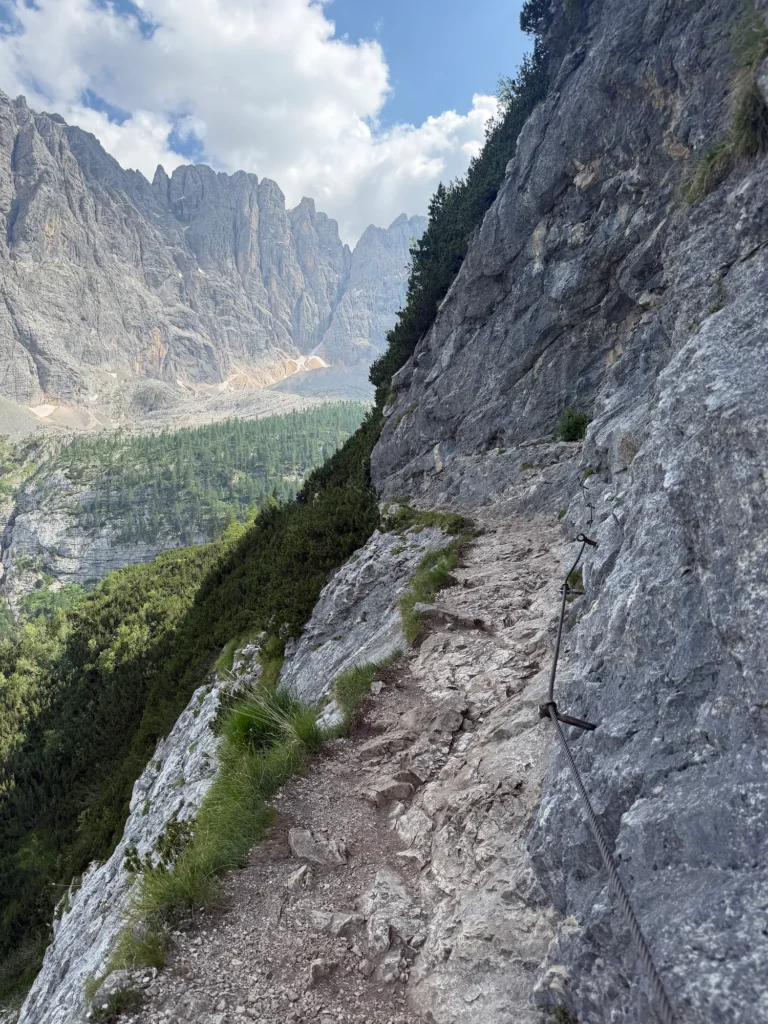
However, this trail is challenging with steep terrain, exposed ledges, and metal rails to hold onto as you go. So, I really only recommend it if you are physically fit and a regular hiker.
Distance: 7.5-8 miles
Elevation: 1550 feet elevation gain
Type: Out and Back
Length: 3.5-5 hours total
Difficulty: Hard
Day 3: Lago di Braes
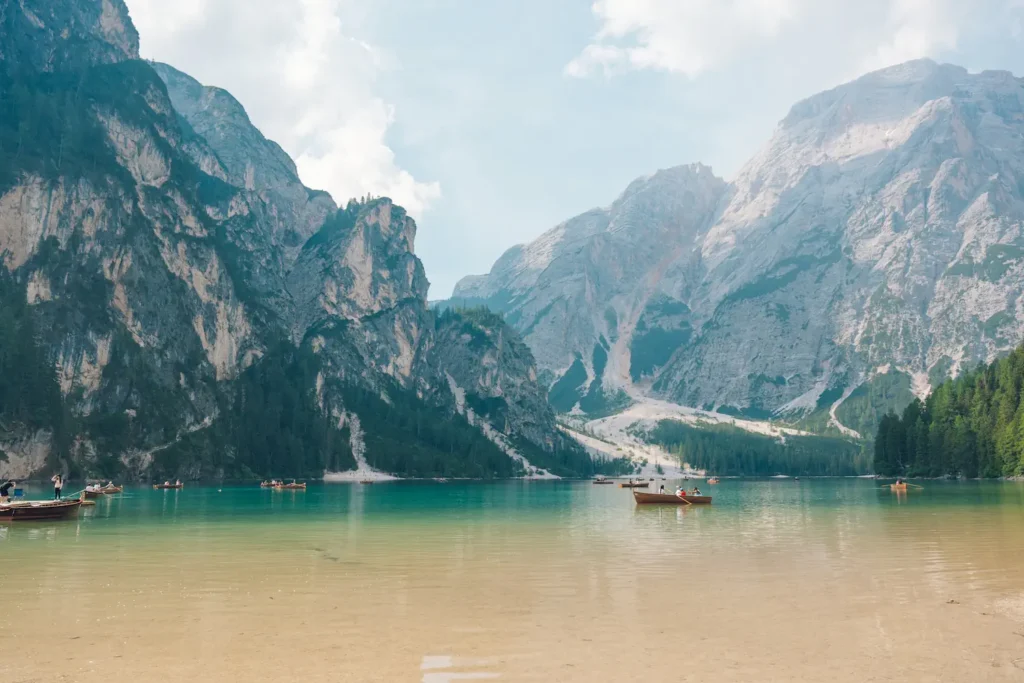
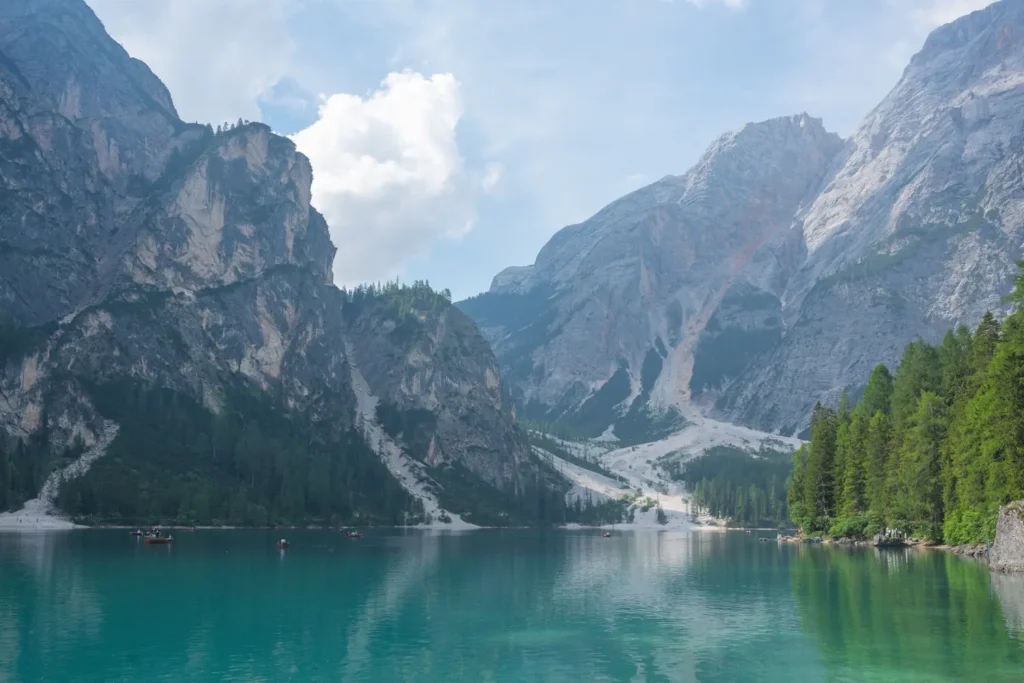
Lago di Braes or Prager Wildsee Lake is one of the most iconic lakes in the region. When you get there, it’s obvious why. The dark turquoise waters are absolutely enchanting.
People visit from all over to get a chance to see this wondrous landscape for themselves. It’s a popular area to spend the day hiking around it, swimming in the water, or waiting to get a chance to take a beautiful boat out on the surface.
📸 If you’re a photographer, then sunrise at Lago di Braes is perfect for you. Get there early, because people tend to li
We started our journey on the Alta Via 1 here, but the water was so alluring that we couldn’t resist taking a dip. It felt so refreshing. 💦
Sadly, we only had less than an hour to spend here, but I could have spent all day enjoying the water. So, make sure you allow yourself plenty of time to soak it in.
Getting to Lago di Braes
🎟️ Reservations for the Lago di Braes Bus are required during the hours of 9 am- 4 pm from July 1 to September 15th. You must pay online for these tickets
Visitors that want to see the lake during these times need to get reservations for Bus route 439 from Welsburg or 442 from Dobbiaco to Fanes-Sennes-Prags Nature Park. Tickets are around 13 Euros a piece.
We took the bus in late June, so it was outside of the reservation window and it was absolutely packed!
Day 4: Cadini di Misurina & Tre Cime de Lavaredo
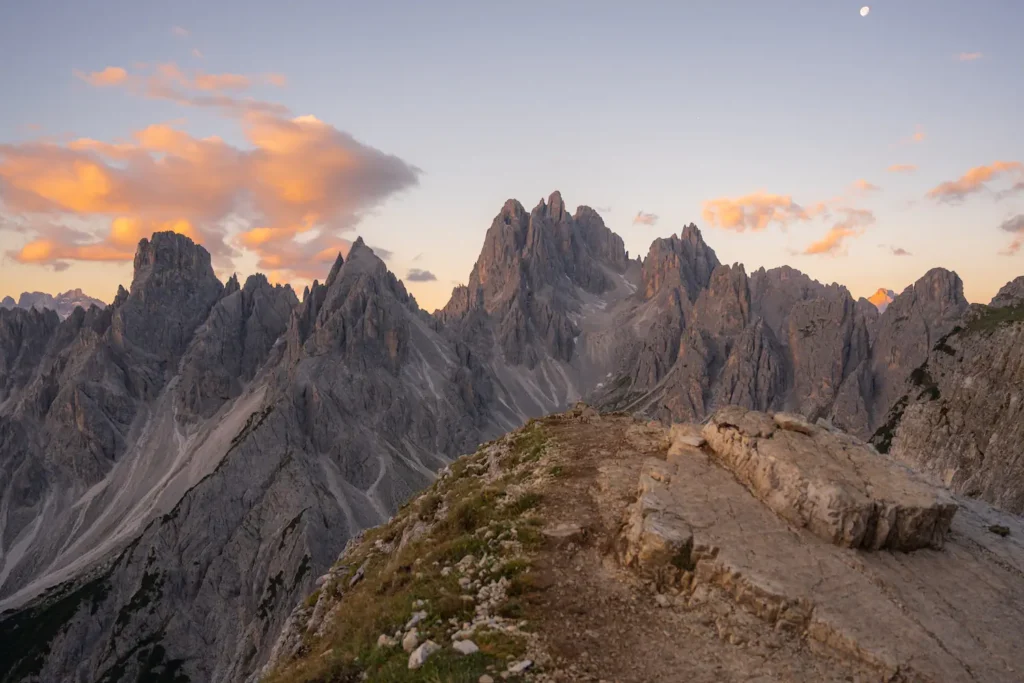
It’s time for the most iconic day of your trip. Visiting the Tre Cime area, the very symbol of the Dolomites.
Parking at Tre Cime
However, before you can get there, you need to make sure that you plan ahead and grab your parking pass. Parking is released about 30 days in advance and often sells out.
Then, select a date and a time. Parking is valid for 12 hours from the time that you select. They require that you enter a license plate number, but if you are renting a car you can enter it later. They’ll send you an email a day in advance to remind you to enter the number.
When I tried to enter my license plate, it wouldn’t work. But, I called the park and they helped me out easily!
🚗 Make sure to book your parking at Tre Cime in advance!
cadini di misurina
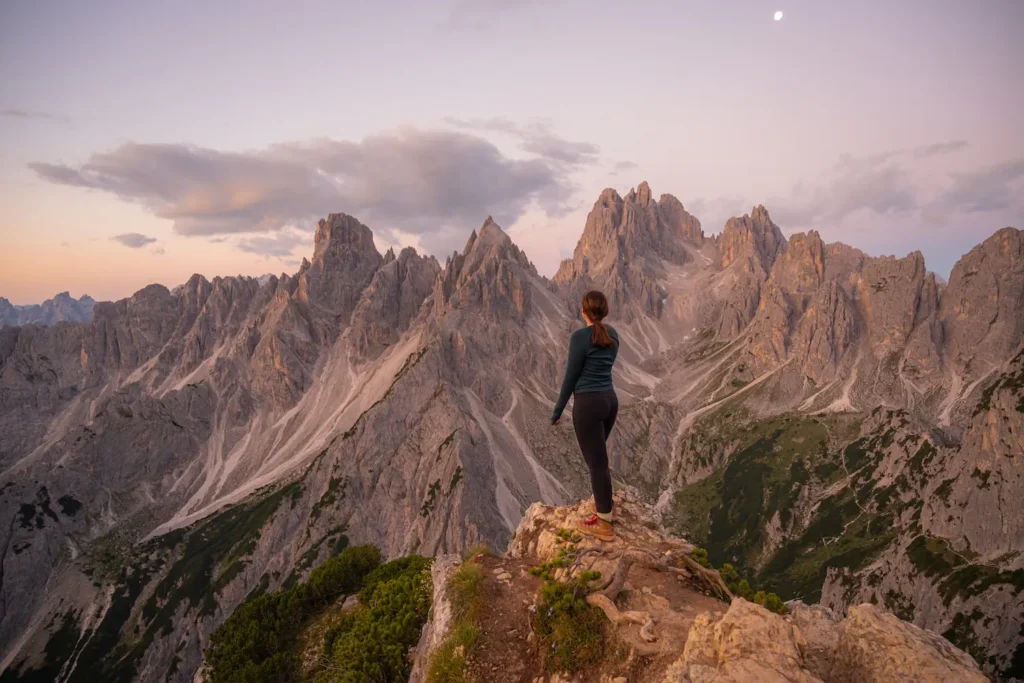
There may be no better bang for your buck then the Cadini di Misurina hike. If I only had time or energy for one hike on this entire trip, this would be it.
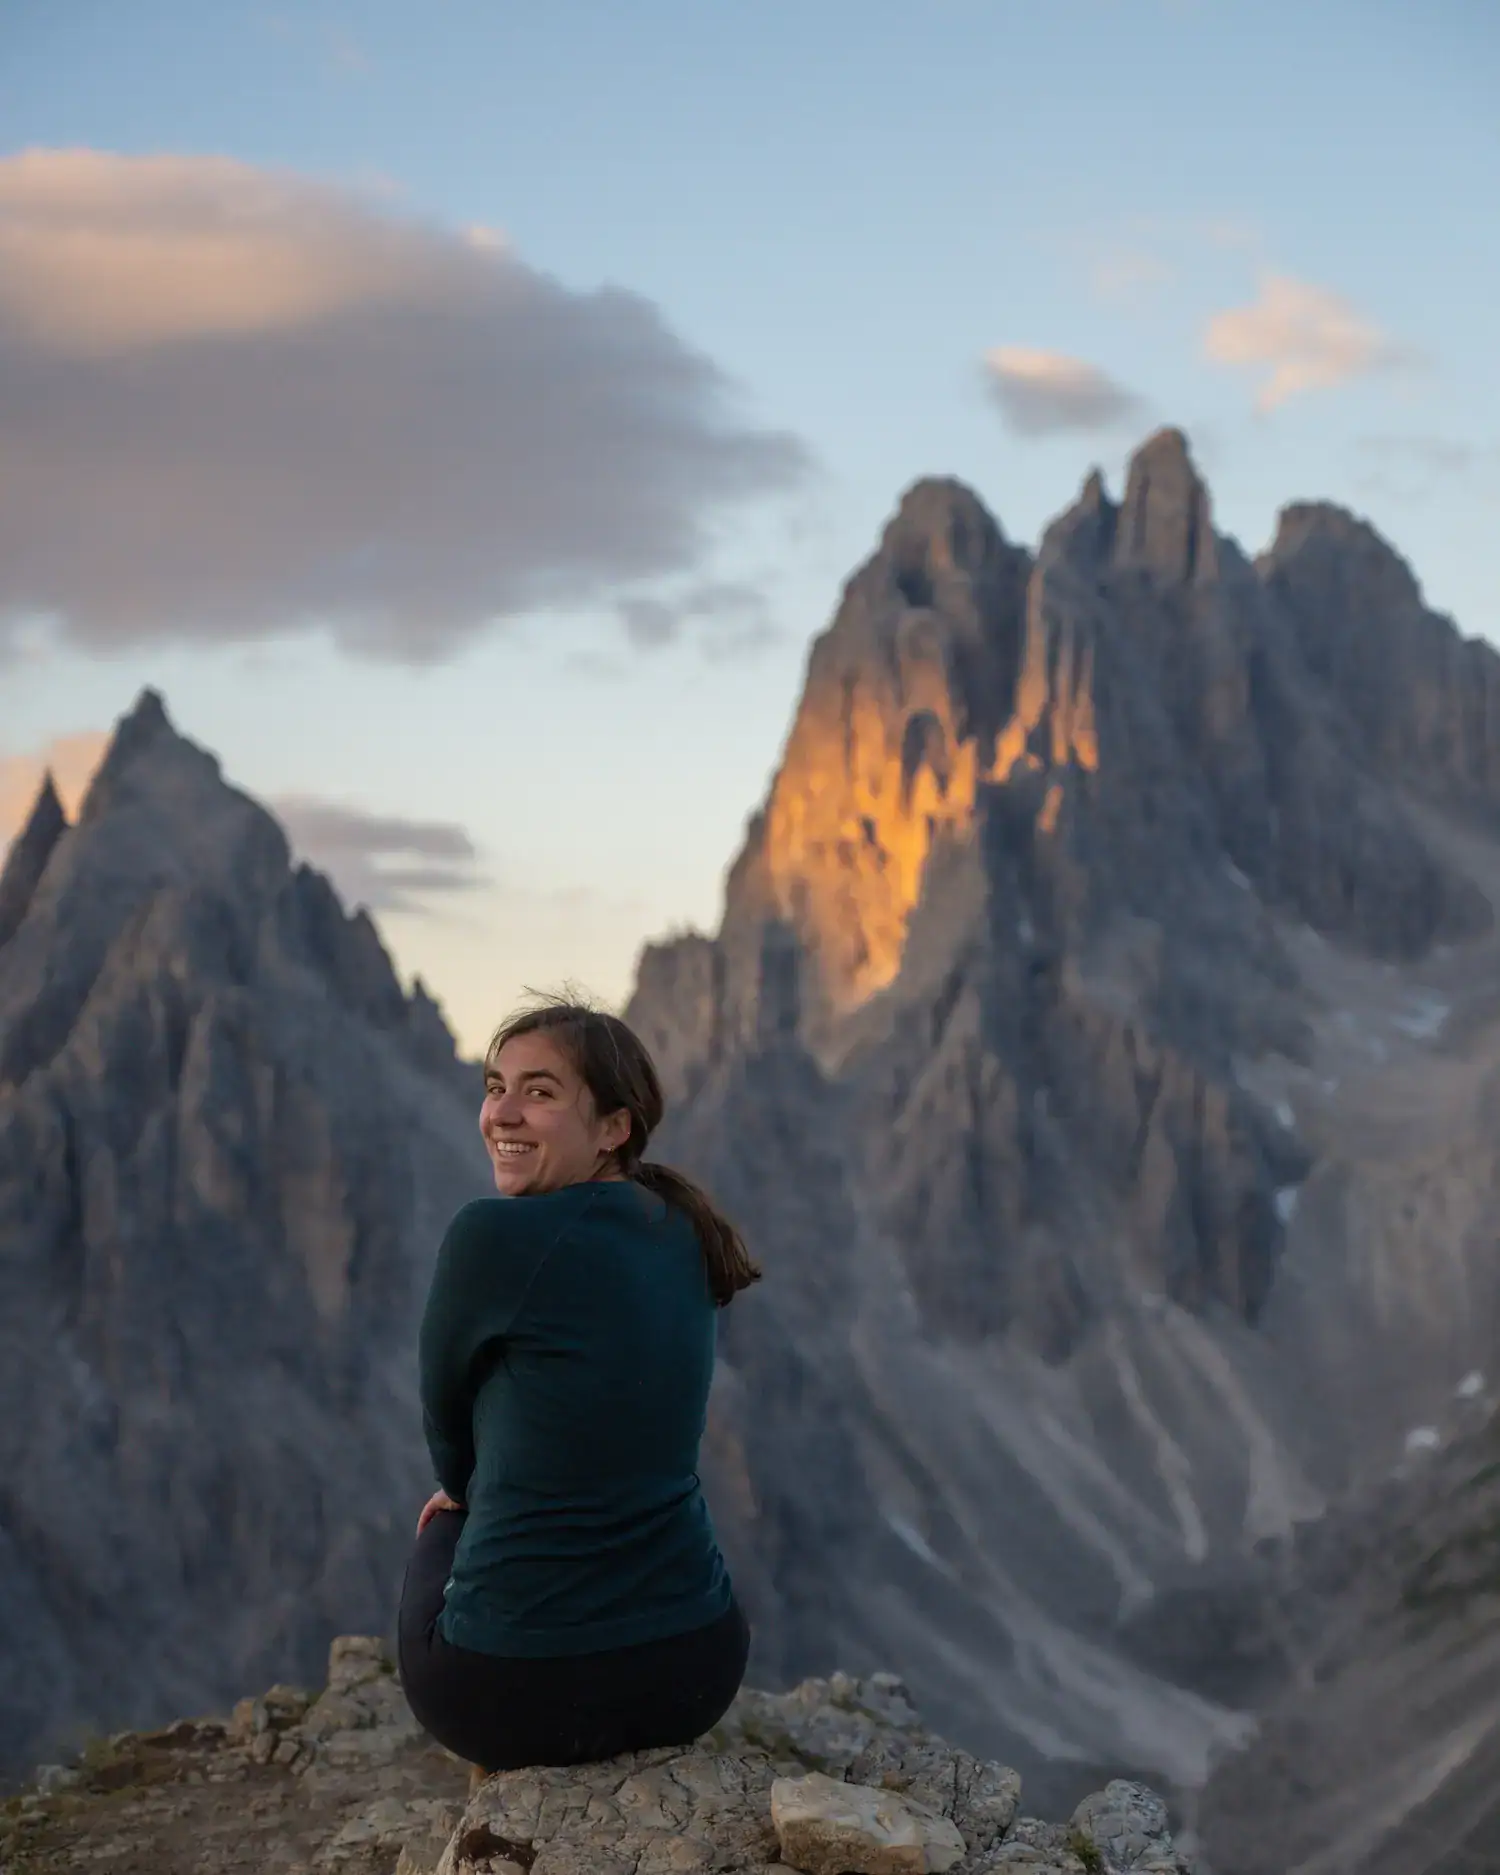
Dramatic peaks cascade down with a path leading up to the panoramic point. I’ve traveled near and far and this is without a doubt one of the most memorable landscapes that I have ever seen!
I recommend doing this hike for the sunrise, so you can watch the mountains glow and the colors create beautiful scenery. If you do that, you will definitely want to bring a headlamp and go early so you don’t miss the colors. We got to the trailhead at 4 am for a 5:25 am sunrise.
The hike itself starts up at the parking lot and follows a steep path down, before climbing right back up. It’s very rocky and somewhat slippery, so make sure you have good shoes and take things slowly.
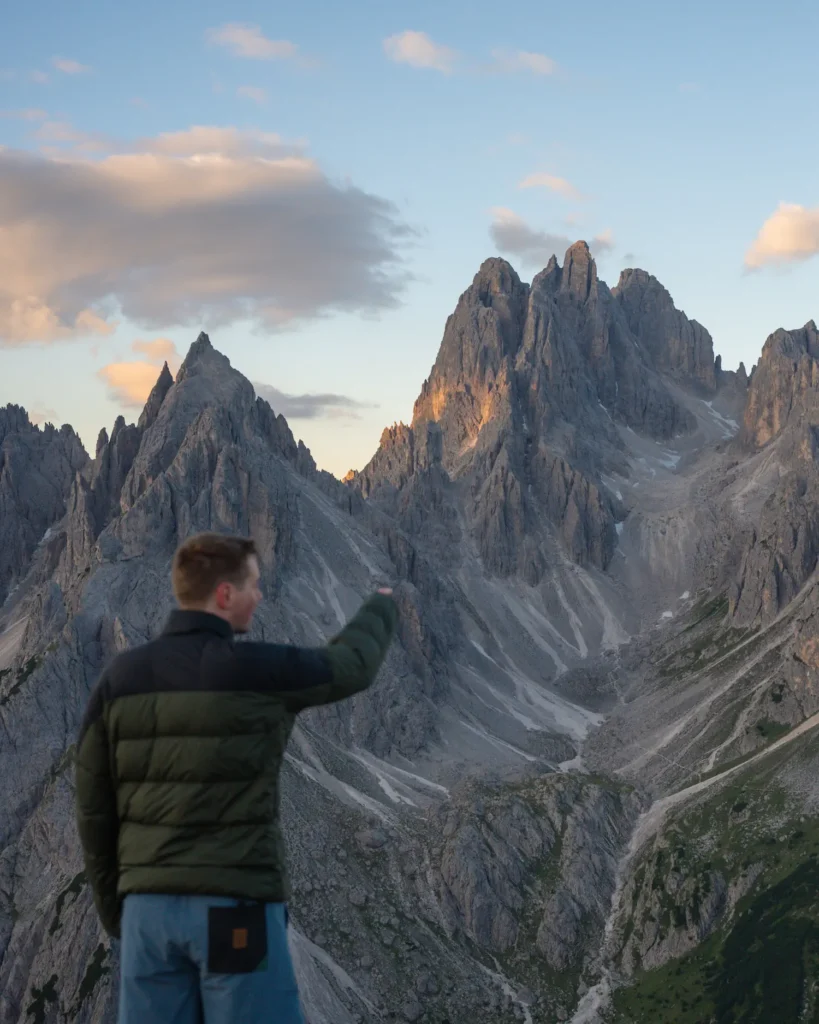
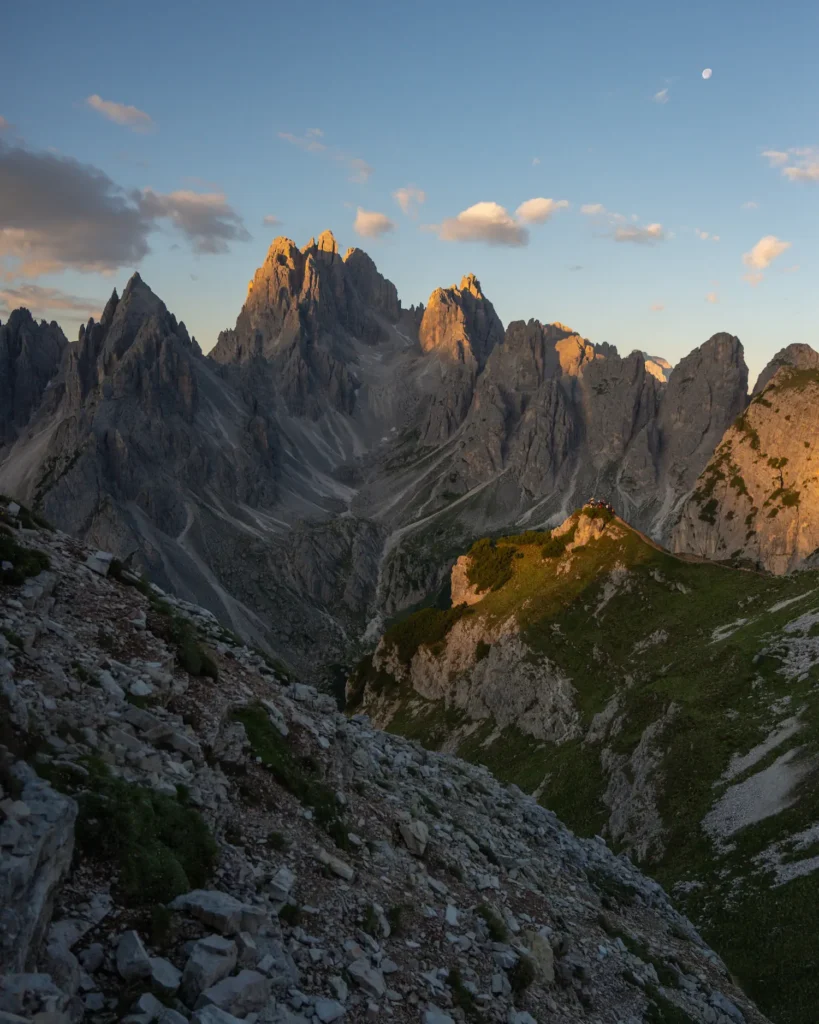
Once you get to the top of the climb, walk around the corner where an arresting vista greets you. From there, it’s just a little bit further to the panoramic point. However, there’s often a line that can be over an hour to take photos at that point.
I recommend just taking photos all around, because wherever you go is stunning.
Sadly, while we were looking at photos on this hike, I stood up quickly out of a criss cross applesauce position and heard a loud POP in my knee. I had torn my meniscus, which means that many of the hikes I had planned on doing later had to be cancelled.
Distance: 2.2 miles
Elevation: 650 feet elevation gain
Type: Out and Back
Length: 1-2 hours total
Difficulty: Moderate
tre cime de lavaredo
Unfortunately, after my injury on the Cadini di Misurina, I was out of commission.
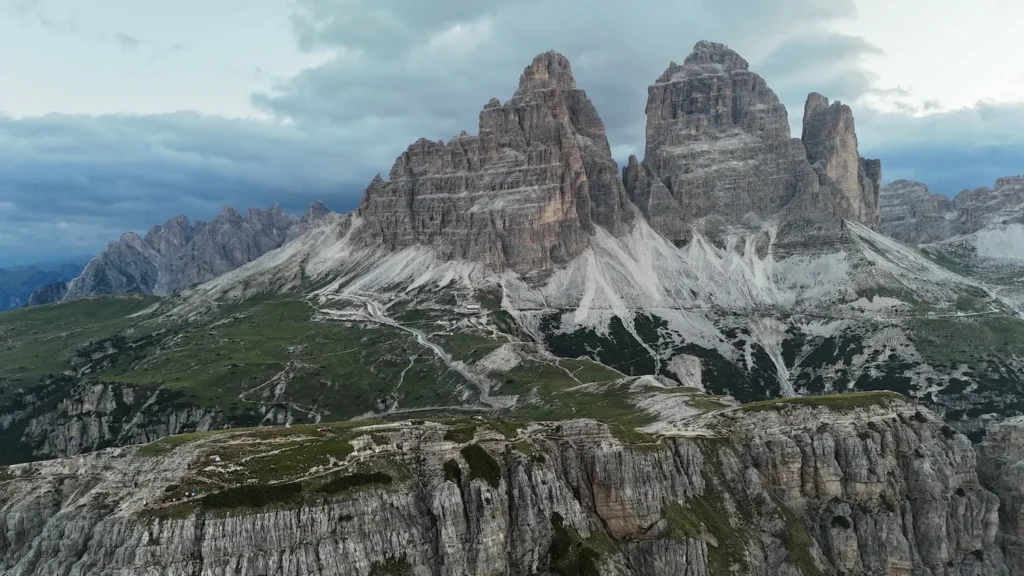
But, I did the research for this hike, so I can share what I know. This is arguably the most famous area of the Dolomites.
You’ll take this trail around the three iconic peaks of Tre Cime. As you follow the loop, you’ll get be surrounded by mountains.
Distance: 6.3 miles
Elevation: 1600 feet elevation gain
Type: Out and Back
Length: 3-4 hours total
Difficulty: Moderate
Day 5: Cinque Torri & Falzarego Pass
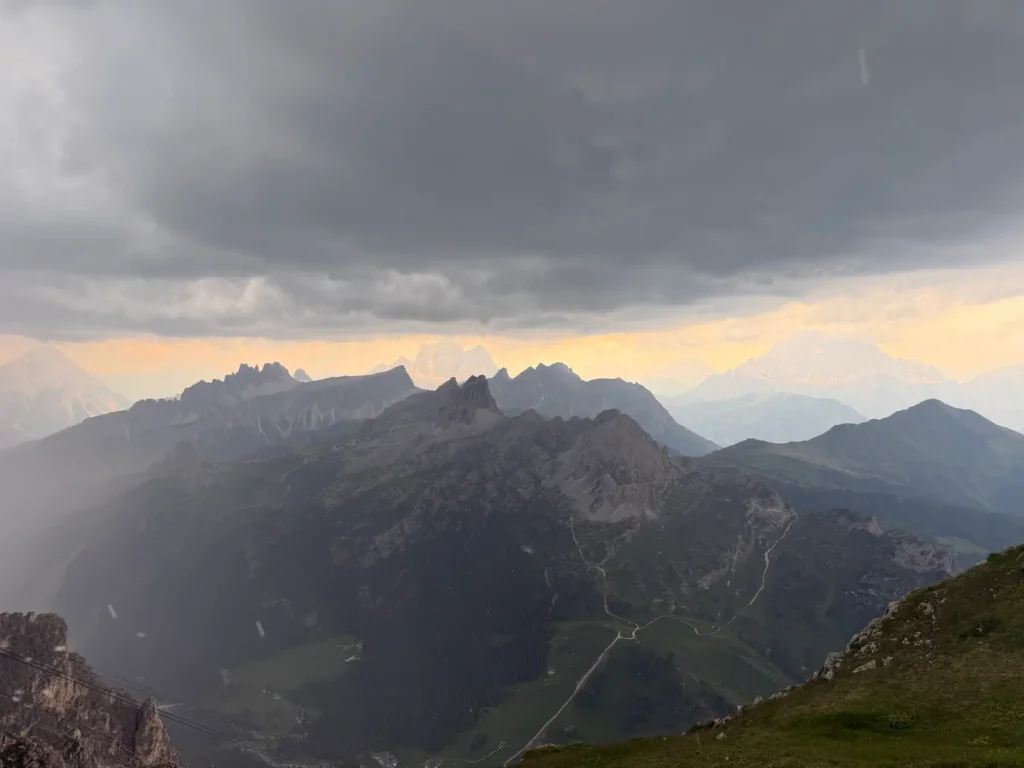
I explored these areas as part of the Alta Via 1, but you can easily explore them within a day.
Today is all about great views, cable cars, and history.
If you are changing hotel locations, today is a good day to go from the East side to the West side after your visit!
cinque torri
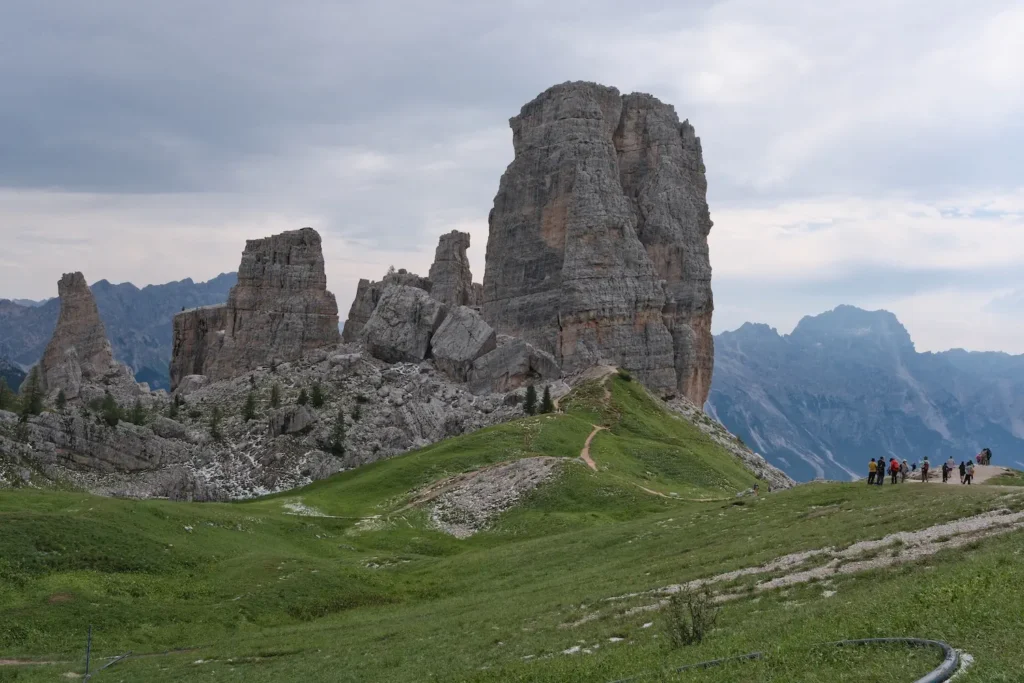
Before coming to the Dolomites, I simply expected to be wowed by the landscapes. But, I didn’t expect to learn so much about history. Cinque Torri or the Five Towers is a large rock formation that is home to an impressive World War I open air museum.
In order to get to Cinque Torri, you can either take a cable car up from the Baita Bai de Dones parking lot or you can do a short but steep 3.5 mile hike to the area. Once you’re there, you can stop at the Rifugio Scoiattoli and grab a bite to eat or head straight to the rocks and explore the World War I museum.
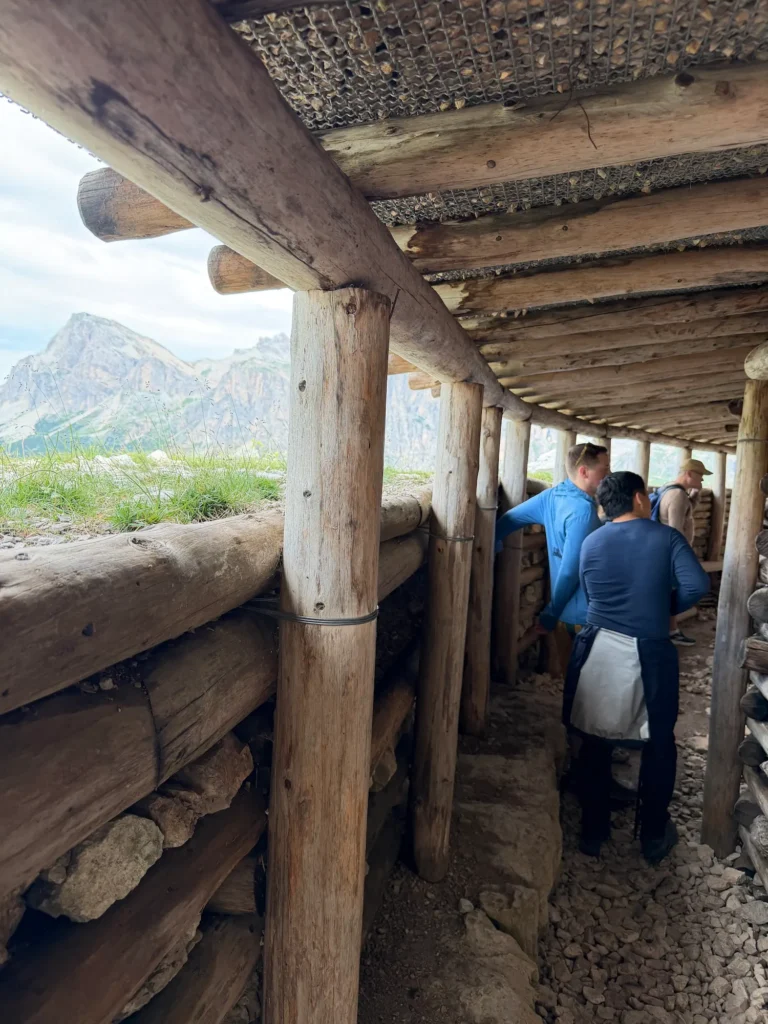
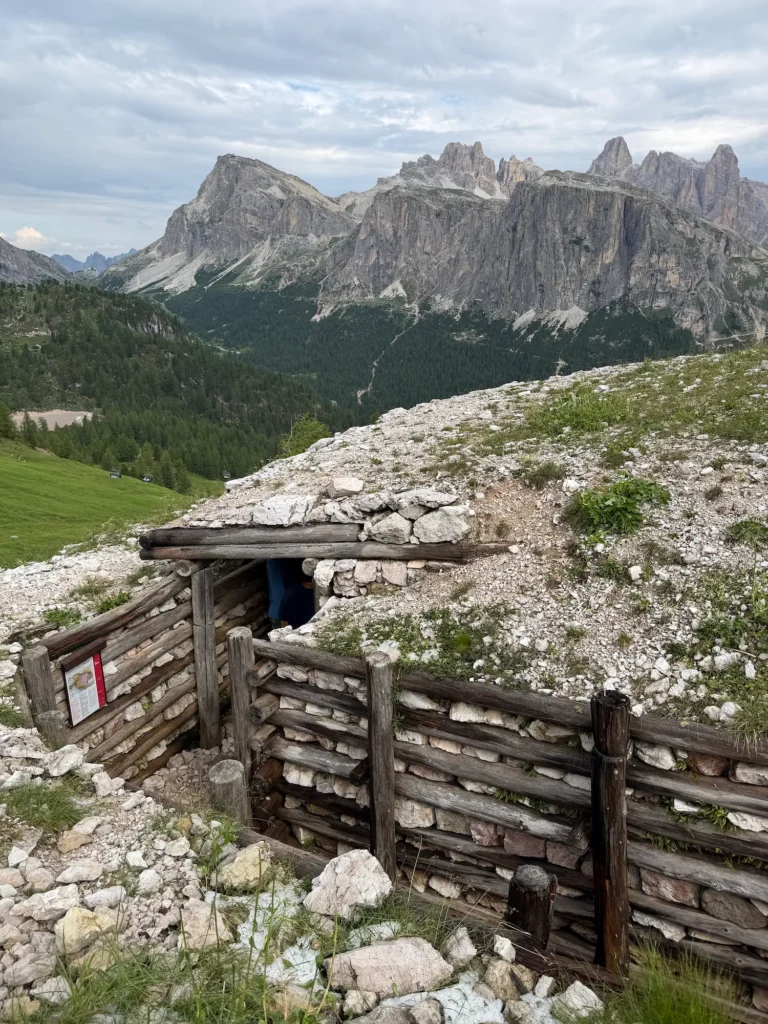
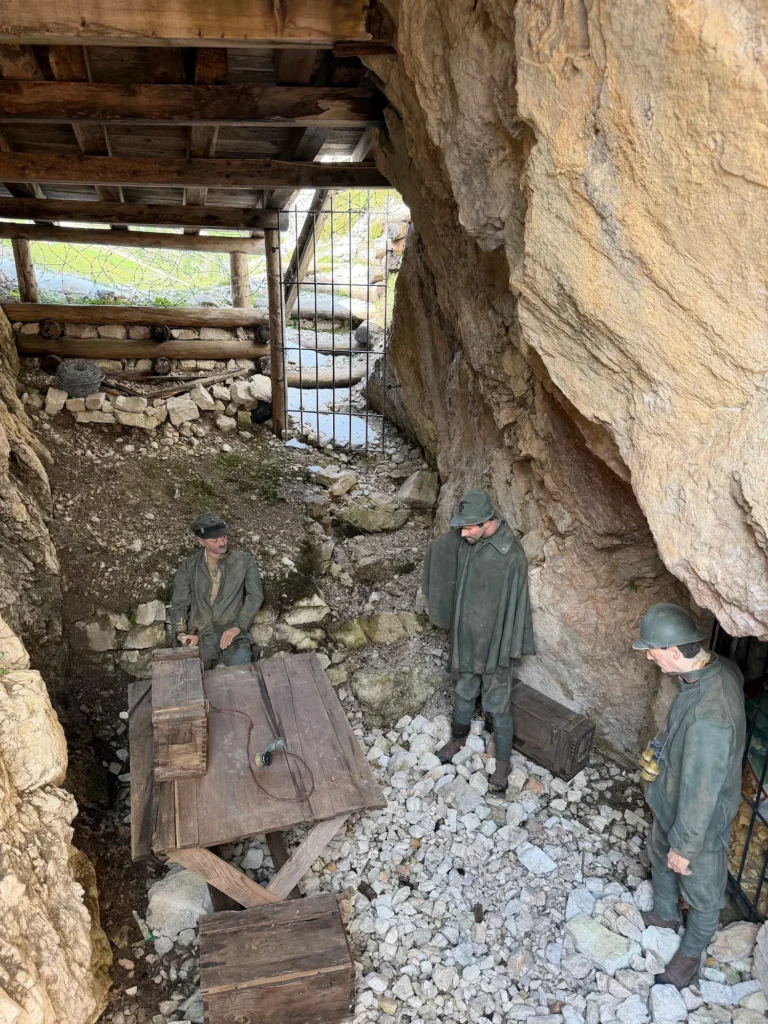
If you’re feeling super ambitious, you can even climb up further to Rifugio Nuvolao, one of the oldest and highest huts in the Dolomites. We were lucky enough to stay in that Rifugio for a night on our Alta Via 1 trek and it was our favorite of the journey!
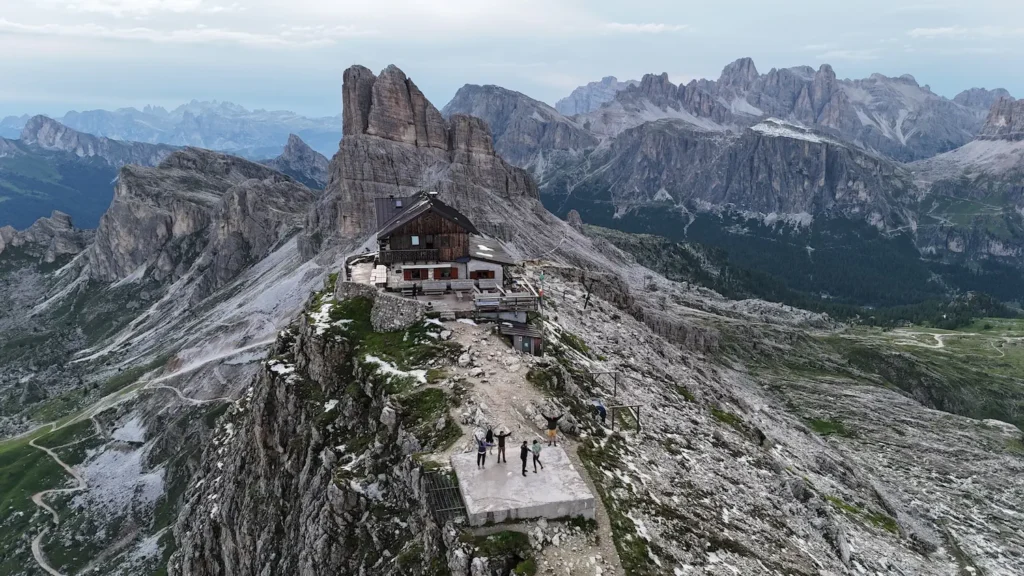
That being said, exploring the World War I museum is a unique expereince. There are tons of signs explaining the history behind the various trenches, forts, and barracks. I couldn’t believe these structures that were carved into the sides of the mountains. I felt like I learned a lot about that time that I didn’t know before.
⏰ If you’re short on time, you don’t have to do both! I would skip Cinque Torri and head straight to Falzarego Pass.
falzarego Pass
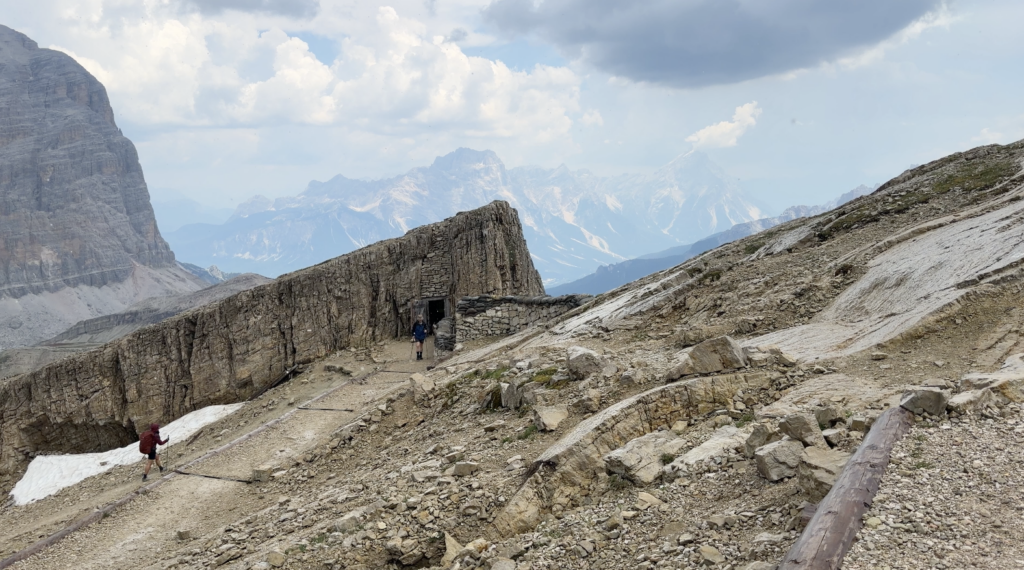
Falzarego Pass is one of the most scenic mountain passes in the Dolomites. The wonderful Rifugio Lagazuoi sits at the top of the pass with World War I tunnels nestled below on the side of the moutnain, which beckon you to explore.
Luckily, getting there is also an easy feat. There’s a cable car that runs directly from the Falzarego Pass Parking lot straight up to Rifugio Lagazuoi. You don’t need to book in advance.
Since we were doing the Alta Via 1, we passed by World War I tunnels on our hike up. They have an open air museum for them, so you can simply walk through the tunnels and explore on your own.
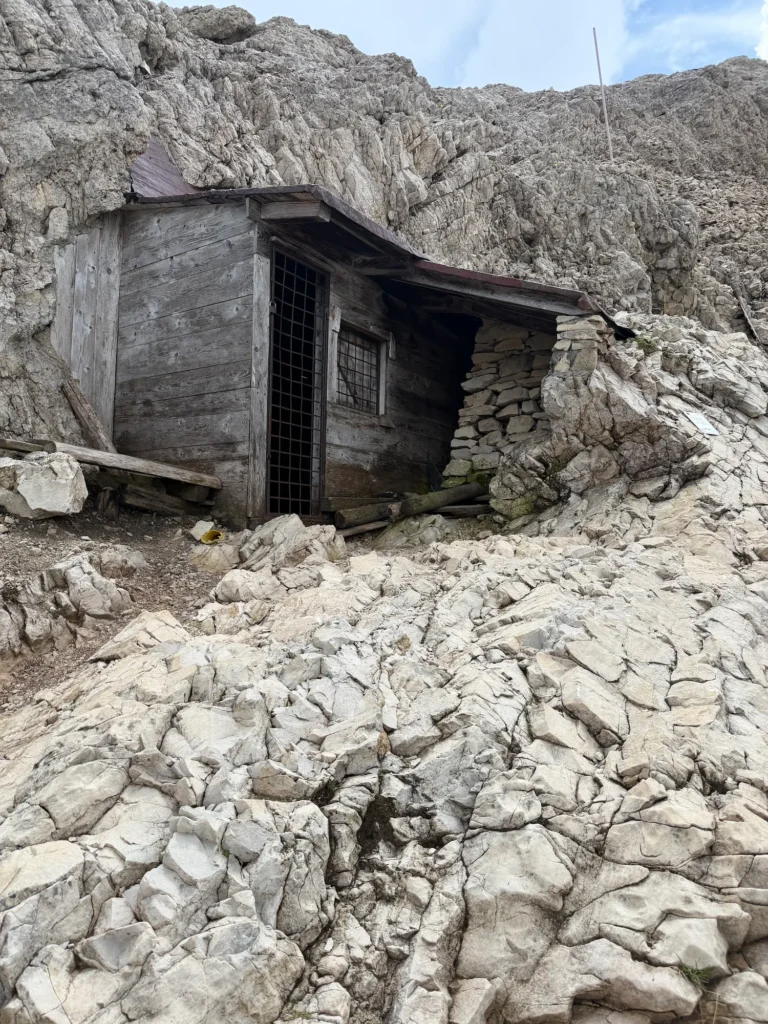
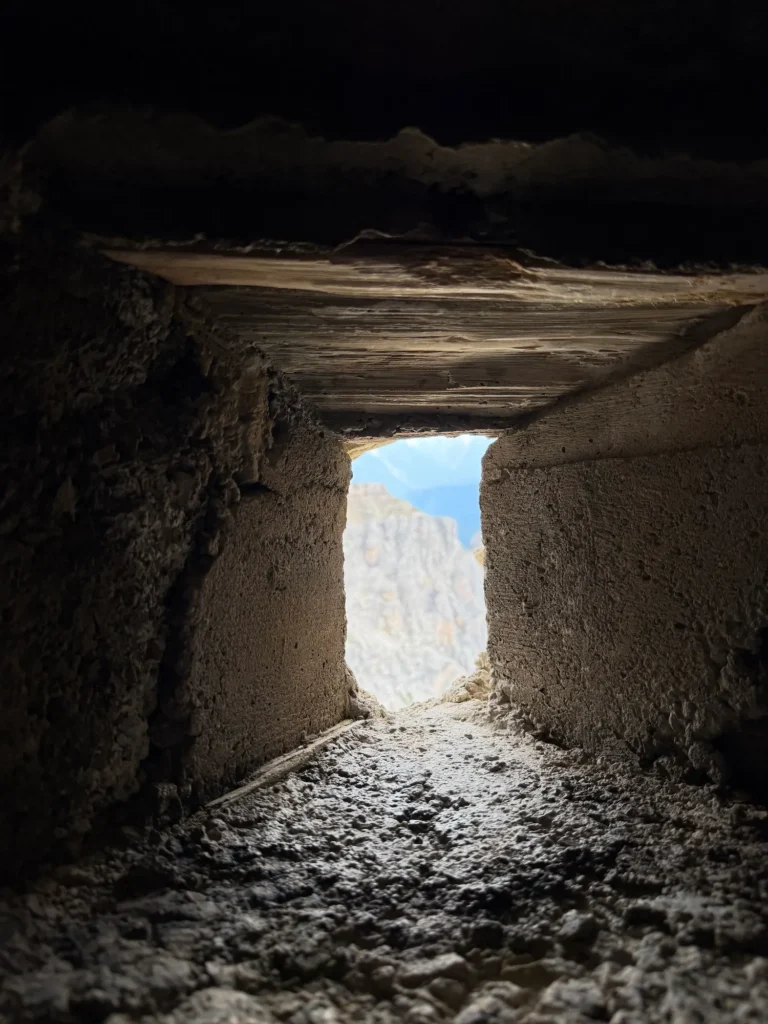
Finally, we got to the Rifugio after a very long day and immediately put our names down for lunch. The food there was delicious and they’re well known for their apple strudel. But, I enjoyed a warm hot chocolate and pasta.
Crazily, on our way down the cable car a huge hail storm hit and we had to wait 90 minutes to finally get on it! The mountain storms are no joke.
Day 6: Refugio Freidrich August, Seceda & Alpe di Suisi
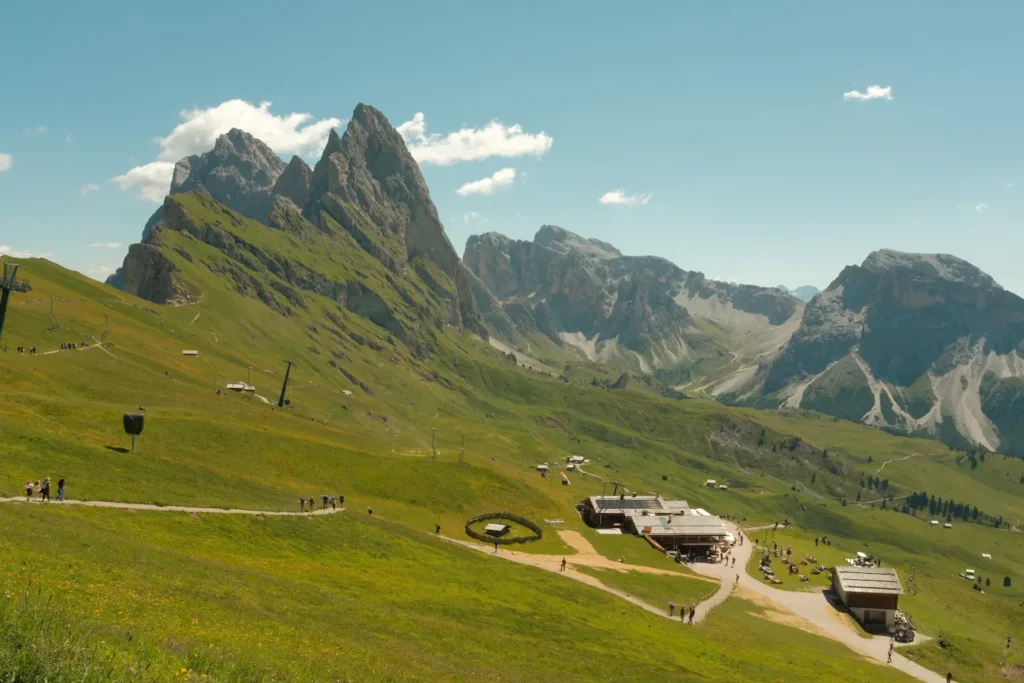
This is definitely one of the days that we packed in a lot, but you can change it around as you see fit. For example, you can skip the Rifugio hike or move Alpe de Suisi to sunrise or the following day!
Rifugio freidrich august
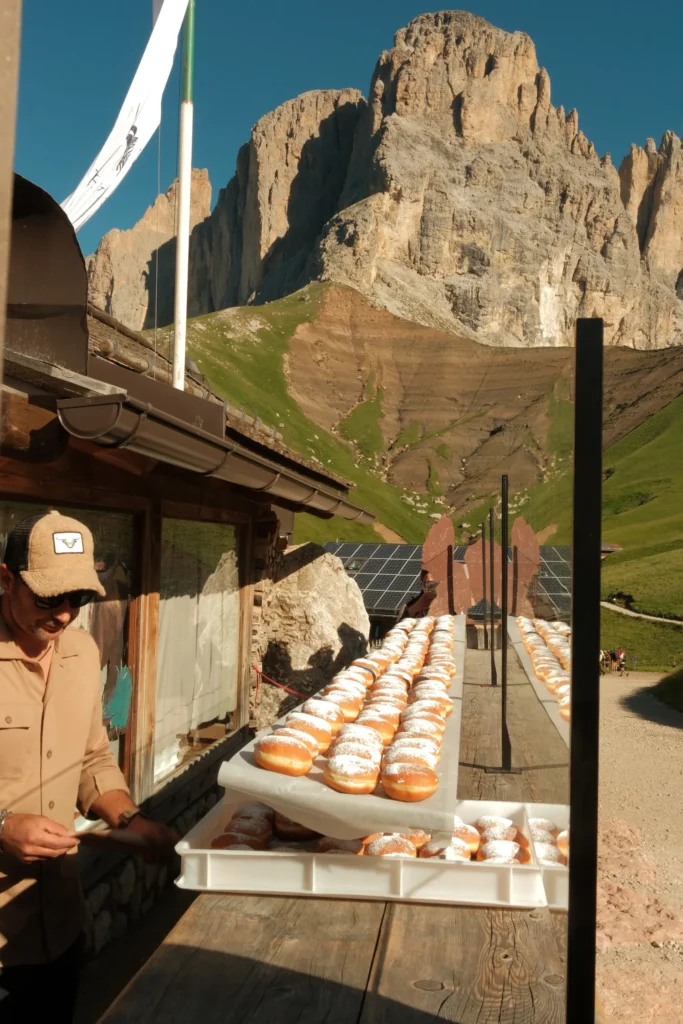
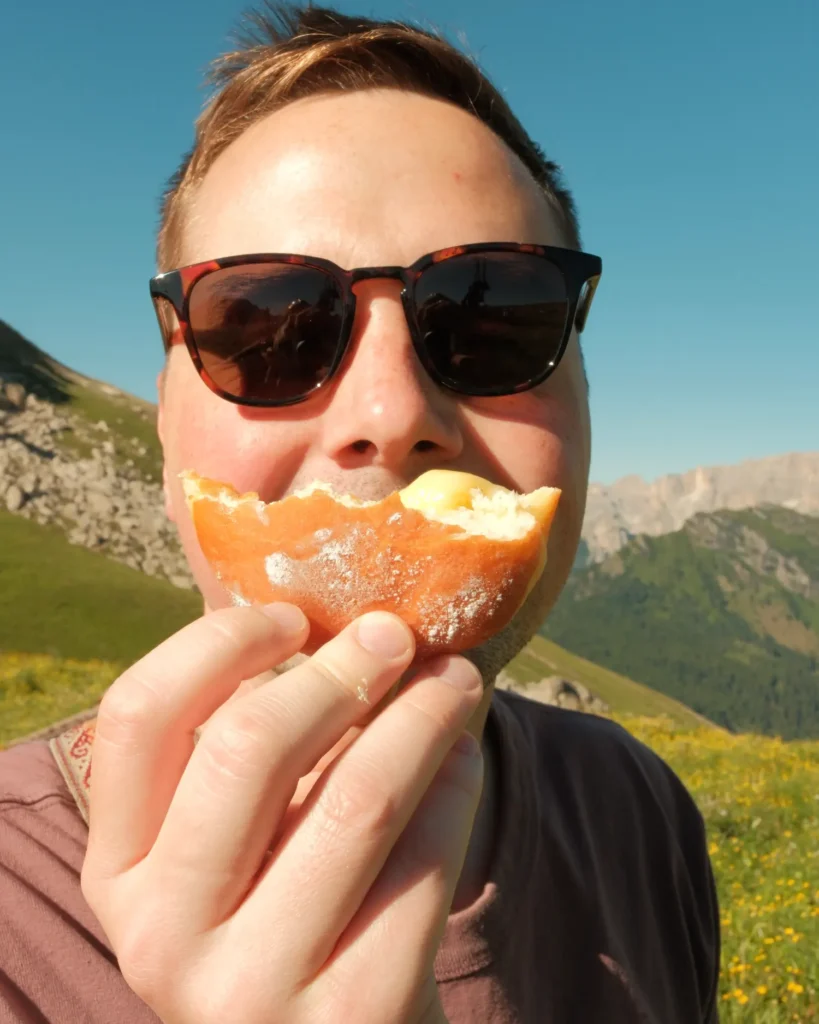
Rifugio Freidrich August has gained social media fame for their fresh Krapfen, powdered sugar dusted donuts. And despite my injury, I refused to miss them!
Getting to the Donuts
- From Passo Sella: If you too want to taste these pillowy delights, then head to the mountains early. The hike to the donuts leaves from the Passo Sella parking lot. It takes just 20 minutes to reach this scenic rifugio and there are plenty of signs.
- From Campitello de Fassa: Take the Col Rodella cable car up and walk 15 minutes downhill to the rifugio.
I recommend getting there before 9:30 to make sure that you snag a fresh donut during peak season. Let me tell you, the walk was definitely worth it. We had two donuts each and I’m still thinking about them.
We filled our belly with the donuts while sitting on a log overlooking the mountains with wildflowers lining the grass.
Was it worth hiking on my bum knee? I think so!
seceda
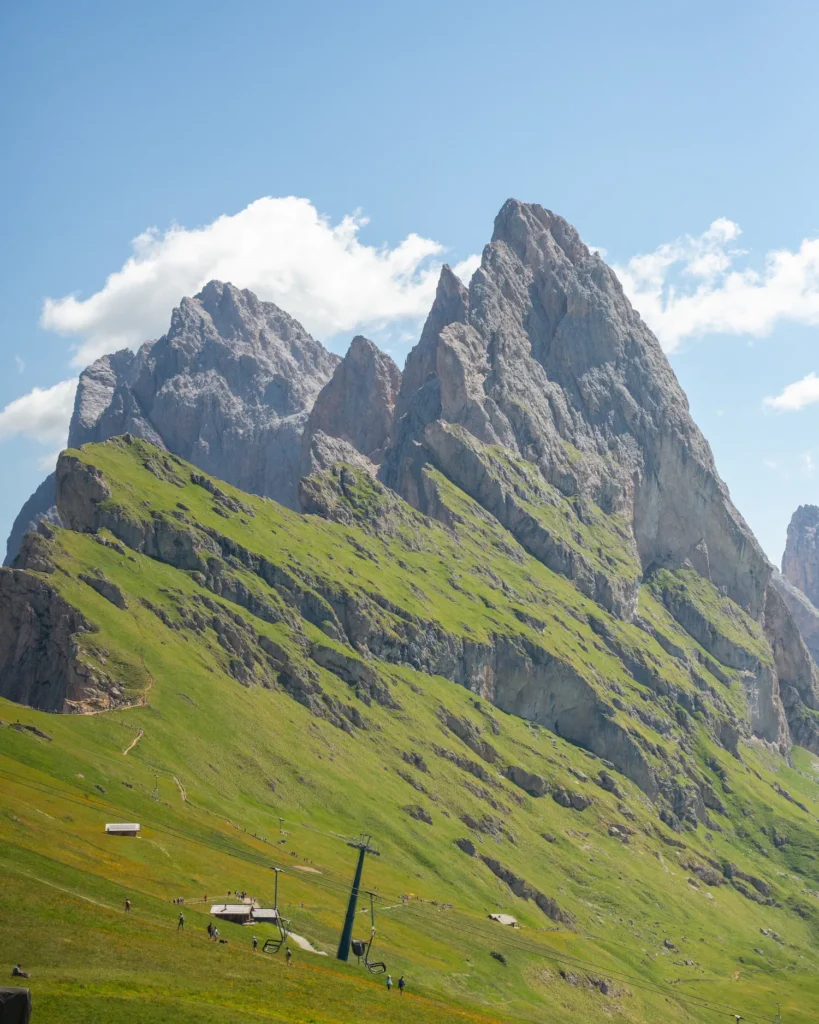
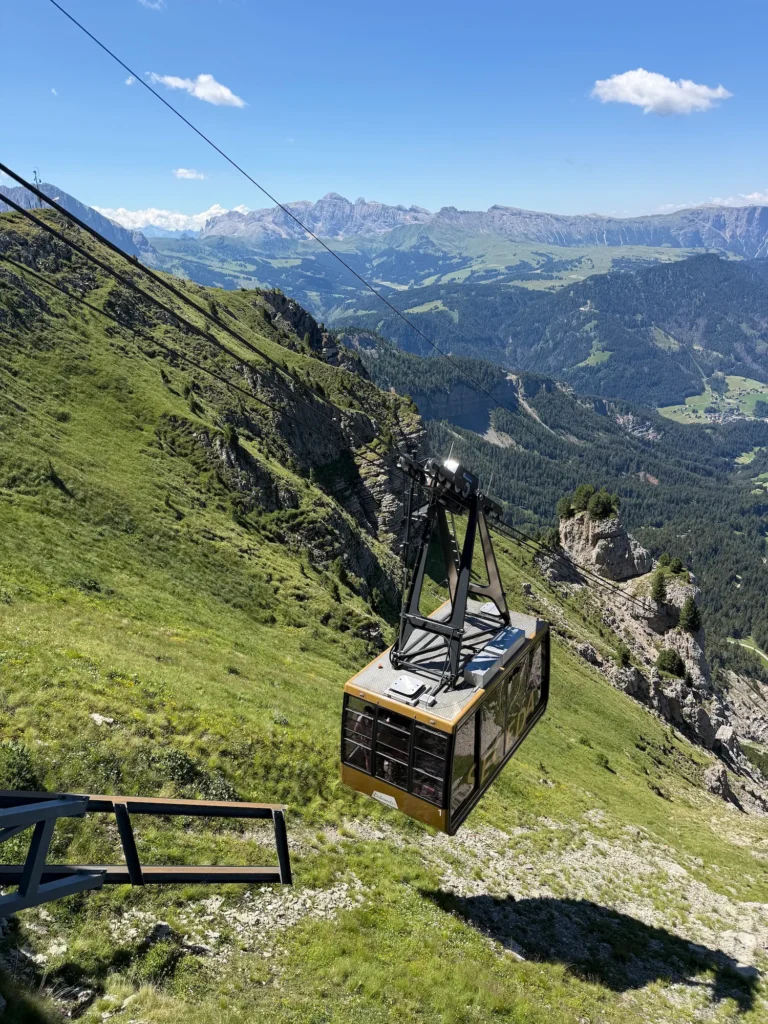
I walked off the cable car and was immediately met with 360 degree views that seemed to go on forever.
After you’ve had your fill of donuts, you can head back down the mountain to the Ortisei area.Once you get to Ortisei, there are plenty of signs for the Seceda cable car, they’re almost impossible to miss. You can go straight there and then find parking in one of the garages for Seceda.
Officials encourage you to book cable car reservations in advance online, but I checked ahead of time and there were plenty of openings. So, I booked them in the Passo Sella parking lot on our way down to Seceda.
💵 The Seceda cable car is expensive (74 Euros round trip), but I thought it was well worth it!
From the parking lot, walk straight to the cable car and take a series of two steep, scenic rides up to 8200 feet (2500 meters). As soon as you walk off the car, you’re greeted with insane views in 360 degrees.
There’s a restaurant at the top, as well as plenty of hiking trails and a short walk to the main viewpoint. Most of these trails are family friendly and are great ways to see more beauty at the top.
We didn’t get a chance to walk around because of my injury, but it was still breathtaking and I’m glad we went. Hopefully, I can return one day to stroll through the rolling hills.
🚠 Starting in 2026, they recommend that you book cable car reservations for Seceda in advance!
alpe di suisi
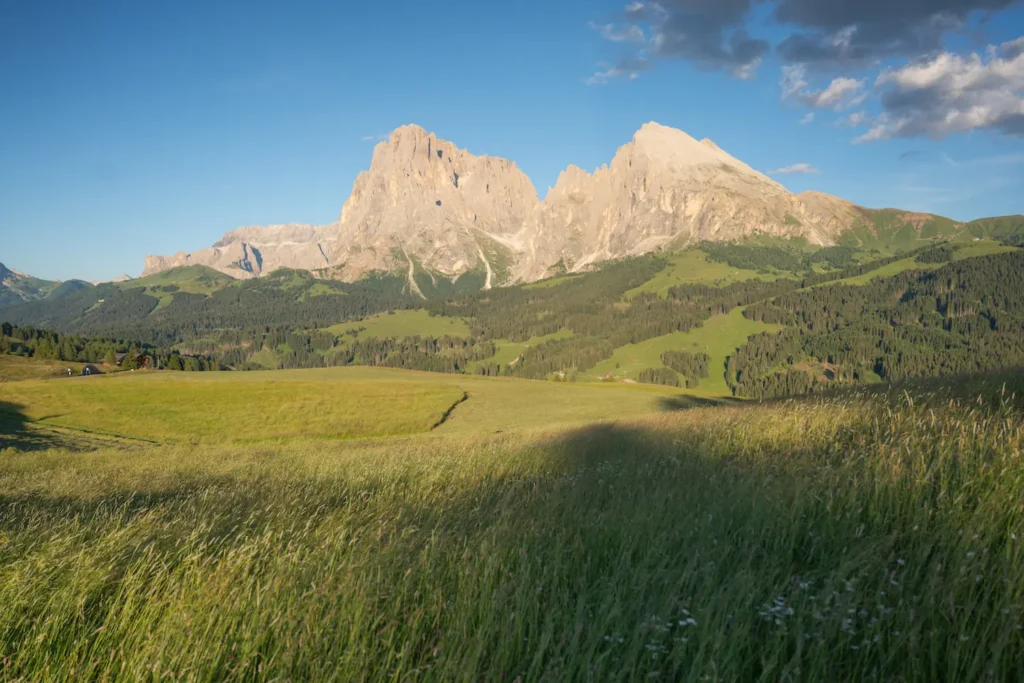
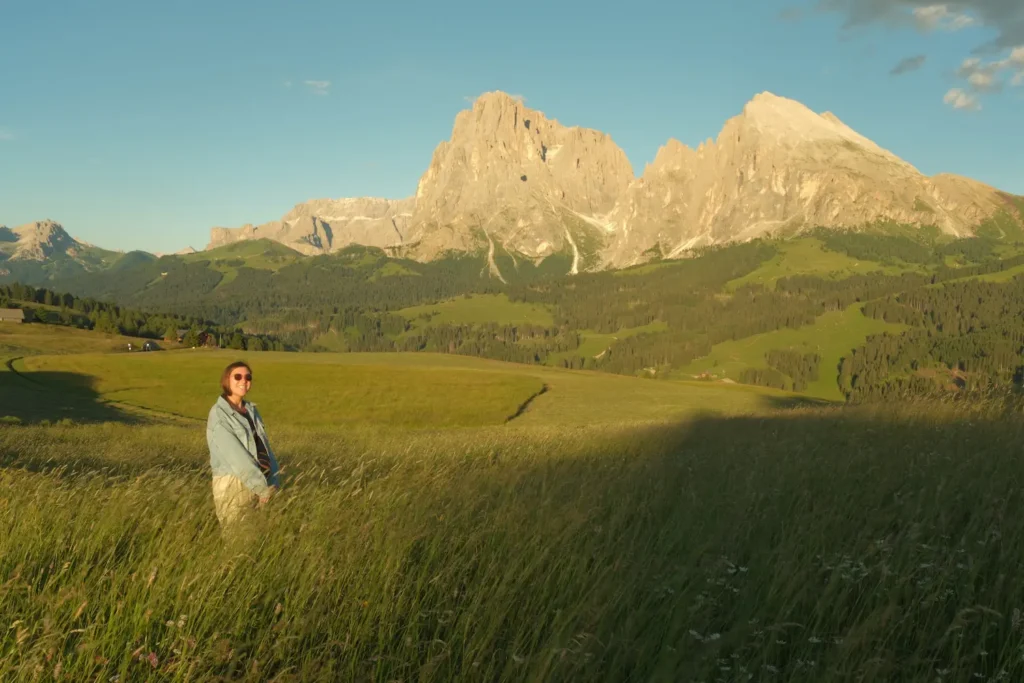
Alpe di Suisi is the largest alpine meadow in Europe and it’s one of the most peaceful places I’ve been.
Wildflowers and tall grasses sway in the wind, while tall mountains sit behind the meadow. It’s a great area to walk around, explore, and simply indulge in the scenery.
We went up for golden hour light on our visit and everything shone with hues of yellow. It was truly spectacular and made me want to just lay there for hours.
At the top of Alpe di Suisi, you can go on one of the various hikes around the meadows. There are trails ranging from easy strolls to harder, more challenging excursions.
🚫 The road to Alpe de Suisi is closed to private vehicles from 9 am to 5 pm!
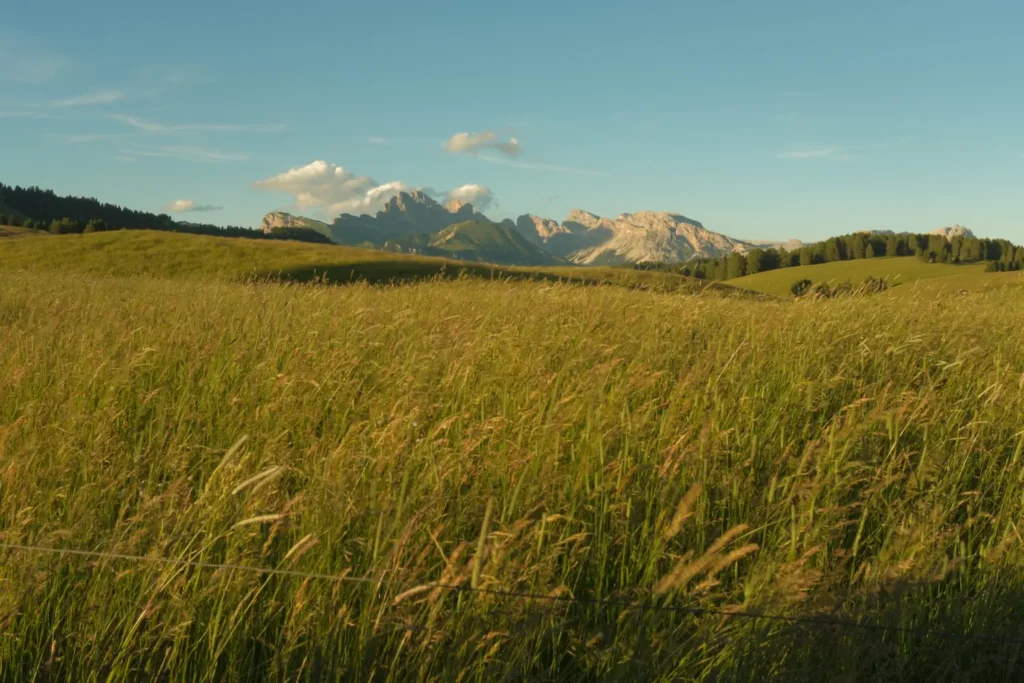
Accessing Alpe di Suisi
Because the road is closed during the hours of 9-5 pm, many people choose to go for sunrise or sunset. However, if you’d rather visit during the day then you can take the cable car from the town of Ortisei, which is 40 Euros a person.
To catch the fleeting light of sunrise or golden hour, you need to make a reservation for parking. There are two lots: P1 Spitzbühl and P2 Compatsch. Both of them cost 30 Euros a vehicle and reservations open six days in advance.
Getting these parking reservations also give you access to the road. If you do not get a parking reservation, then you can be fined 150 Euros for driving through!
Day 7: Val di Funes
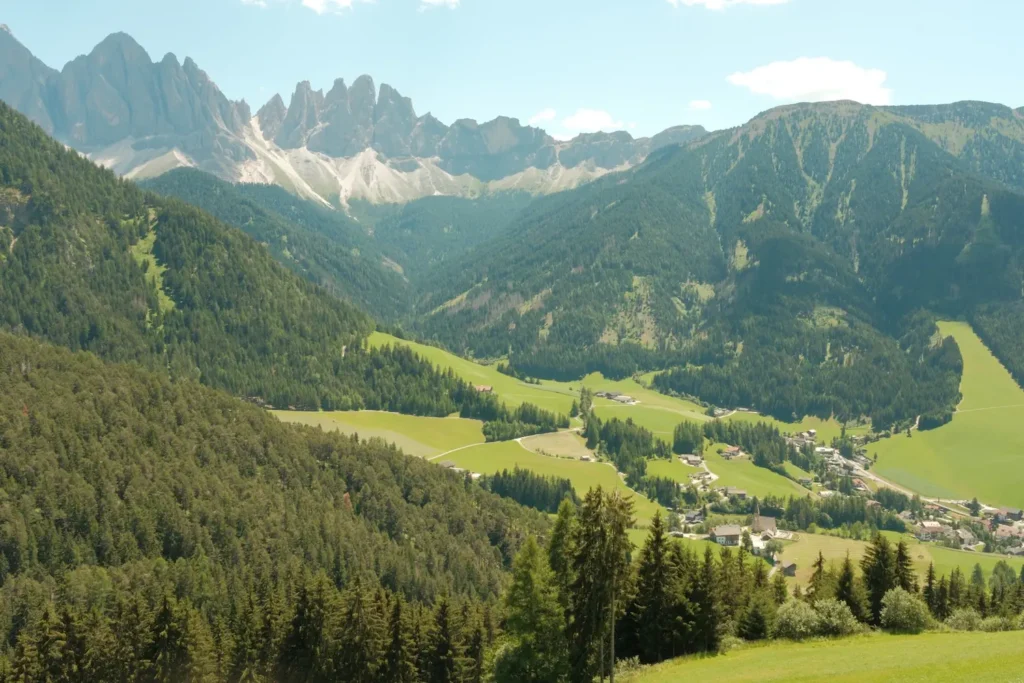
On your last full day in the Dolomites, you can journey up to Val de Funes, a 15 mile stretch through an alpine valley.
Around every turn of this drive, are remarkable views of rolling hills, charming towns, green farmland, and bright sunshine. I was in awe as I looked all around.
Spend the day just enjoying the views, stopping at charming restaurants or going on an ambitious hike.
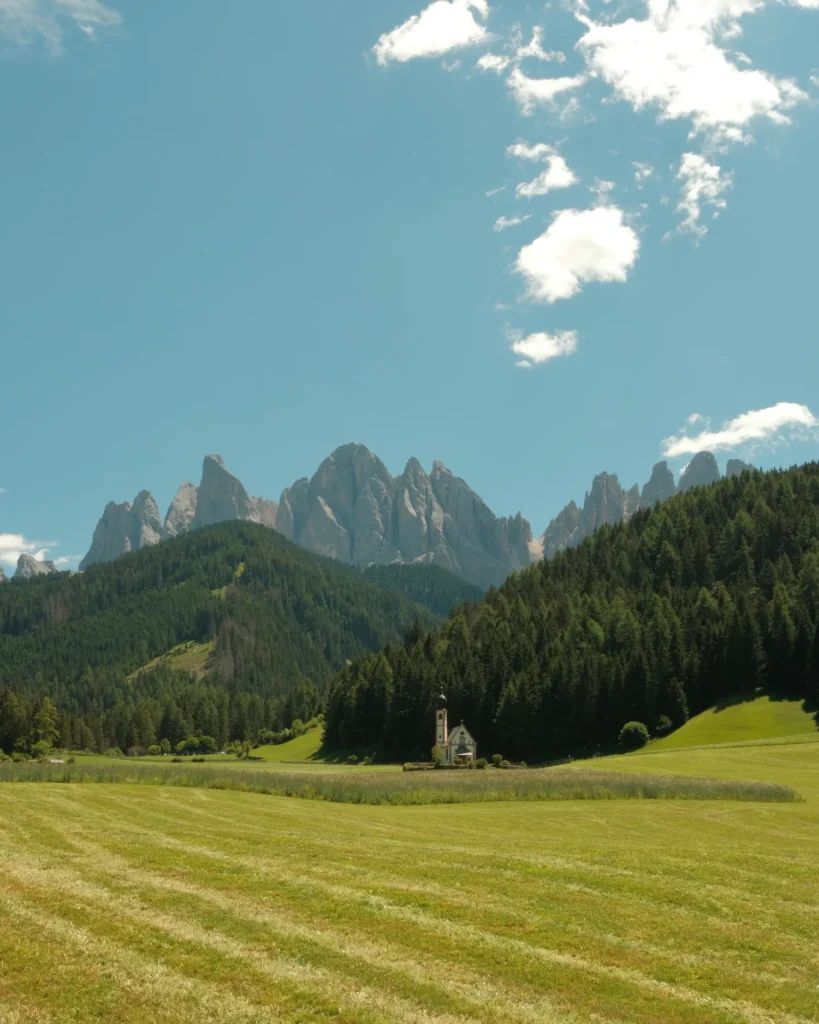
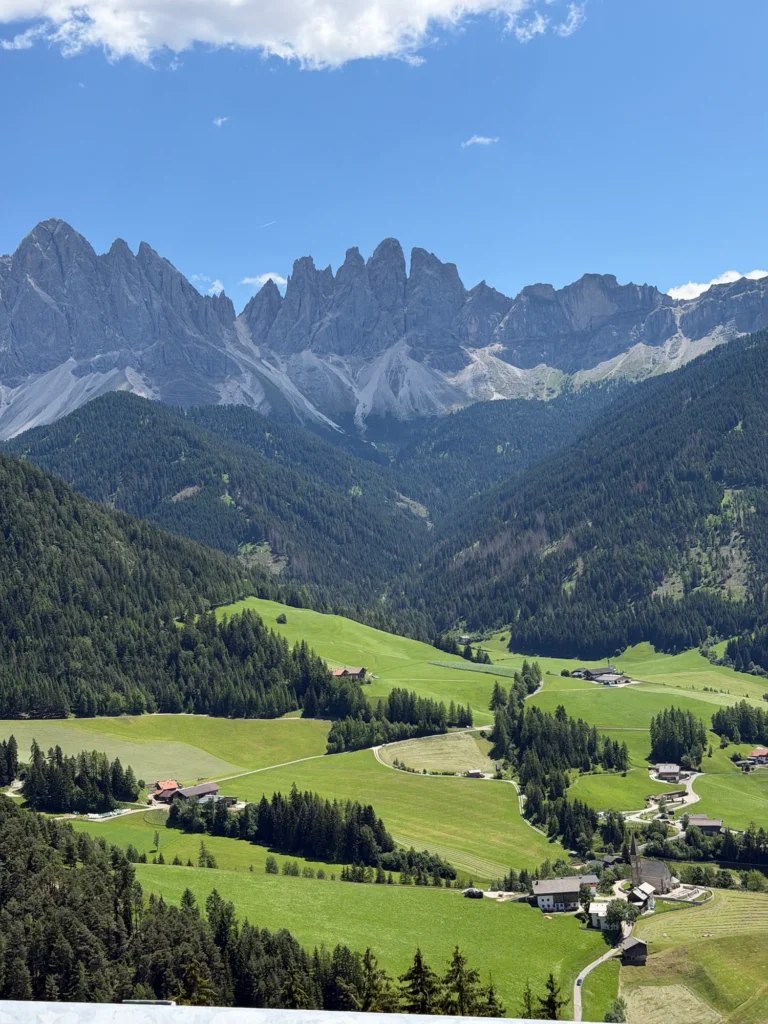
Things to see in val di funes:
- Church of St John: An idyllic church in the valley with steep mountain peaks that rise up above it. There’s a parking lot a few minutes walk from the viewpoint. The viewpoint is a wooden perch where you can look over the fence. It’s a great photo spot!
- St Magdalena Church: Another iconic church for photos in this area. It requires a bit more walking than St John. From the St John parking, walk 1.5 miles up the road to get to the famous photo spot.
- Adolf Munkel Trail to Geiser Alm: This 7 mile trail is often said to be many people’s favorites. Wander through wondrous mountain landscapes before reaching a rifugio perched beautifully under the high peaks. This was on my list, but then I tore my meniscus and unfortunately we didn’t make it.
Dolomites Planning Details
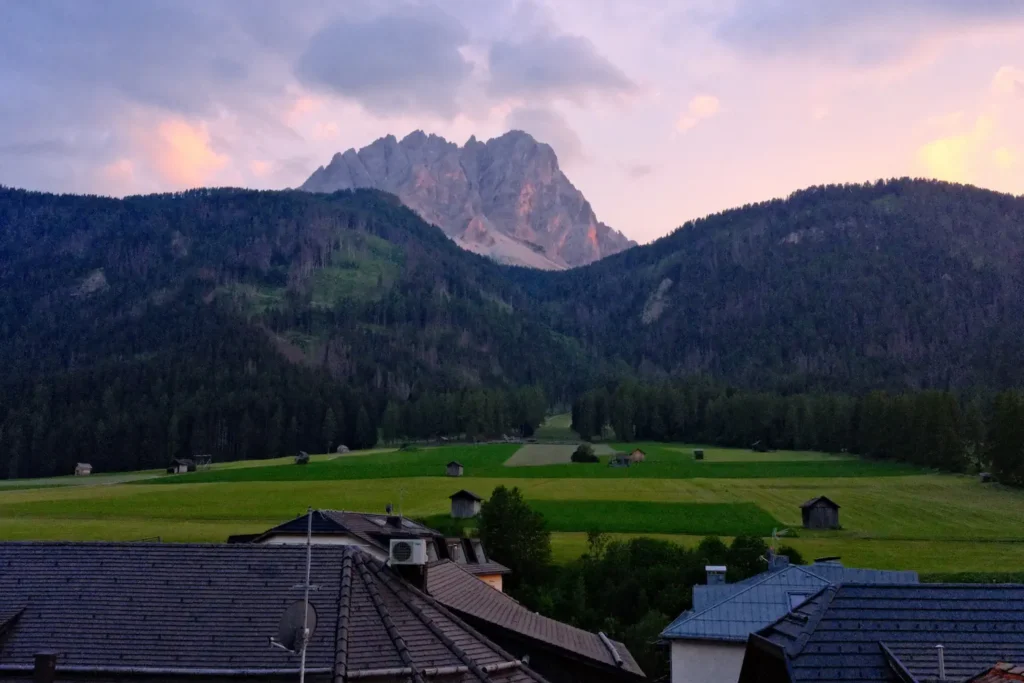
Now that you’ve got the itinerary down, there are some logistics, it’s time to nail down the travel details. I’ve written down all of the tips to help you plan the perfect trip!
Getting to the Dolomites
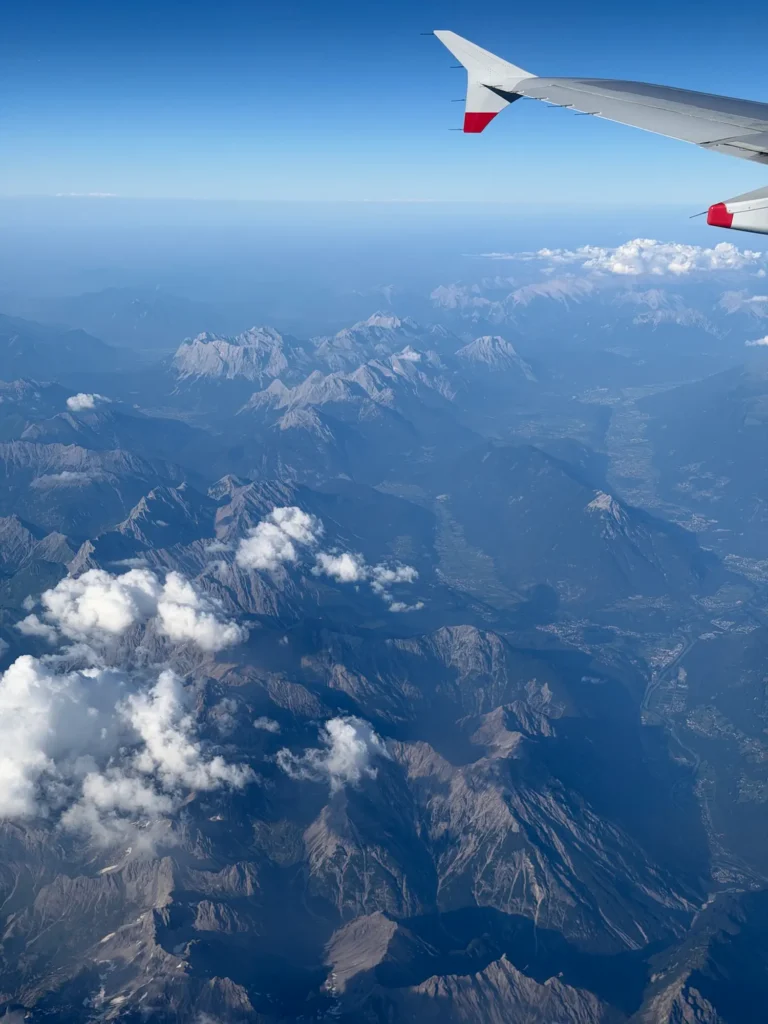
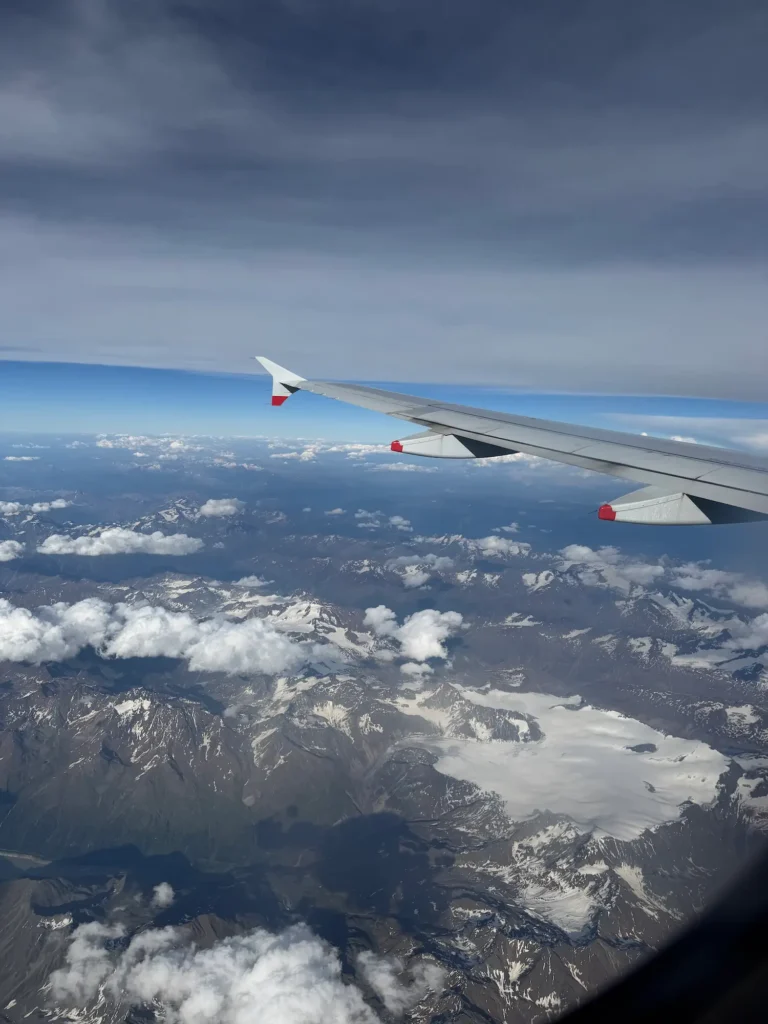
When I first was planning our trip to the Dolomites, I was very overwhelmed when trying to figure out how to get there. But, our travels ended up going really smoothly and I’d recommend our process to others.
So if you’re coming from abroad there are a few major airports that you can fly into including Milan, Innsbruck (Austria), and Venice. While Innsbruck and Venice are both only a couple of hours away, I’d recommend flying into Venice (Venice Marco Polo Airport). That way you don’t have to cross country lines.
Once we flew into Venice, we actually spent a night there, which helped us make sure everything was in order before heading to the Dolomites. I suggest staying in Venice on either end of your trip to make the long travel days easier.
Then, you can pick up a car at the Venice Airport and drive 2-3 hours to your first destination in the Dolomites.
Where to Stay in the Dolomites
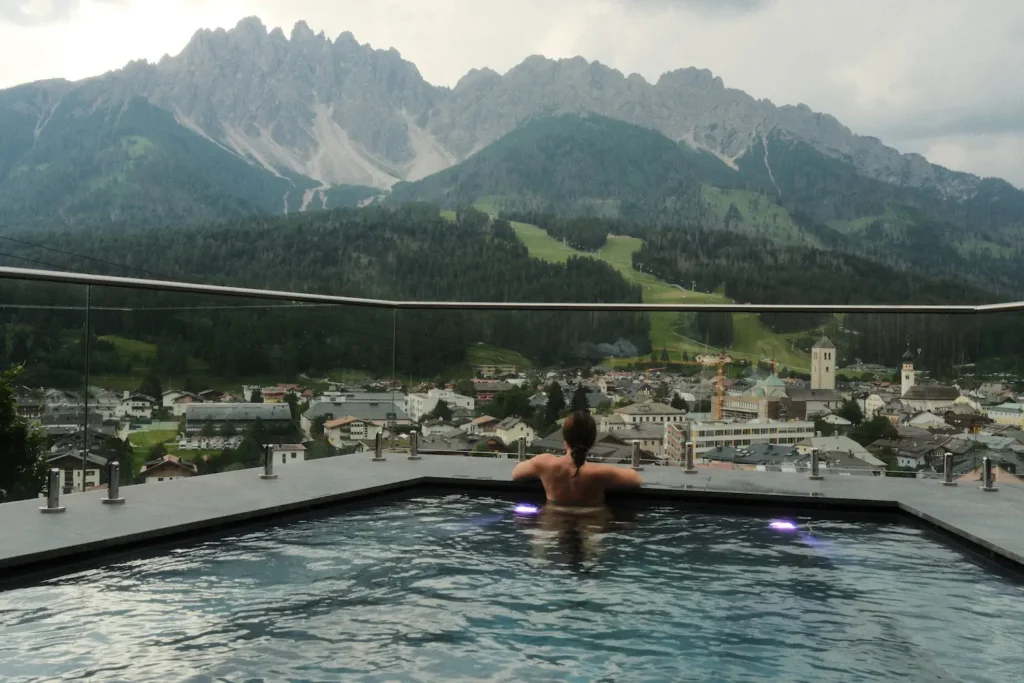
If you have an extended period of time in the Dolomites, I recommend staying in two locations. Choose one lodge on the East side and then move to a town on the West side.
This way you can easily see various places around both areas and limit your driving times. After our hut to hut hike, we stayed in San Candido on the East side before relocating to Val Gardena on the West side. I’ll give you more detailed recommendations below.
East side
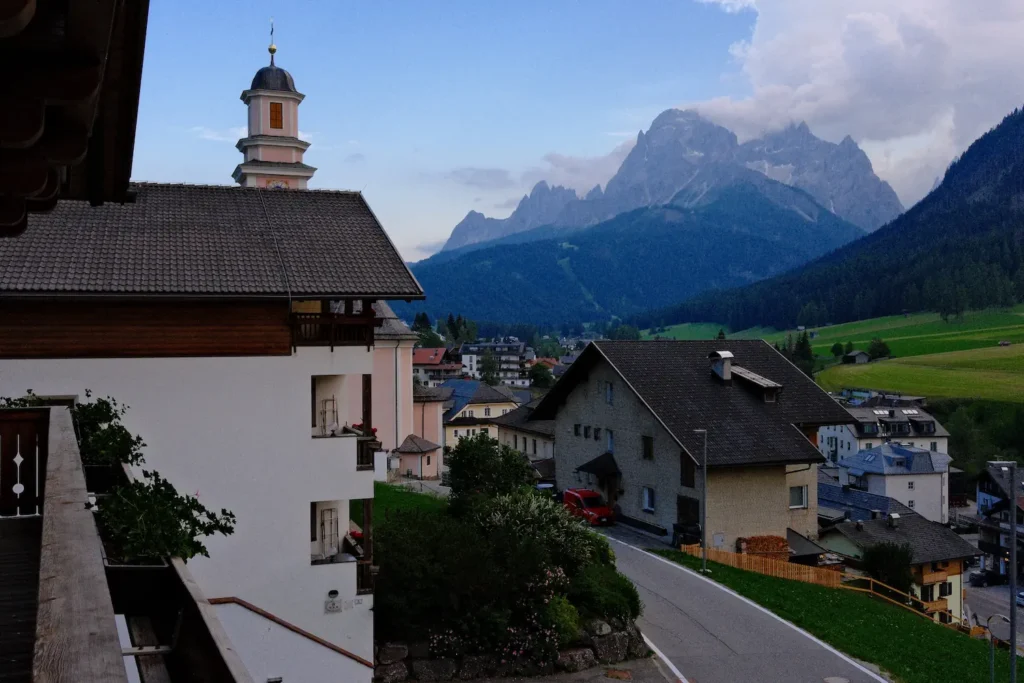
There are so many adorable towns in the Dolomites, that it can be hard to choose where to stay. Here are some of the favorites:
- Cortina d’Ampezzo: The host city of the winter Olympics in 2026, this town is quaint, adorable, and very popular. Cortina is central to many of the areas you will want to visit and it has that Dolomite town feel. But, because of its popularity it’s definitely the most expensive area to stay and books up quickest.
- Dobiacco: This is another town in the Northeast area with a large train station. It’s very central to many of the sights, but I would say it has a bit less charm.
- San Candido: San Candido is on the Northeast side of the Dolomites and it’s just 10 minutes from the border of Austria. This town is very family friendly with great biking trails and wonderful lodges. I liked how this area felt a bit quieter. We stayed at the Naturhotel Leitlhof and I couldn’t recommend it more!
- Sesten: A small quiet town at the edge of Italy and Austria. We stayed in a VRBO for a night here and it was the most peaceful experience. If you want to leave the noise, this is the spot for you.
West side
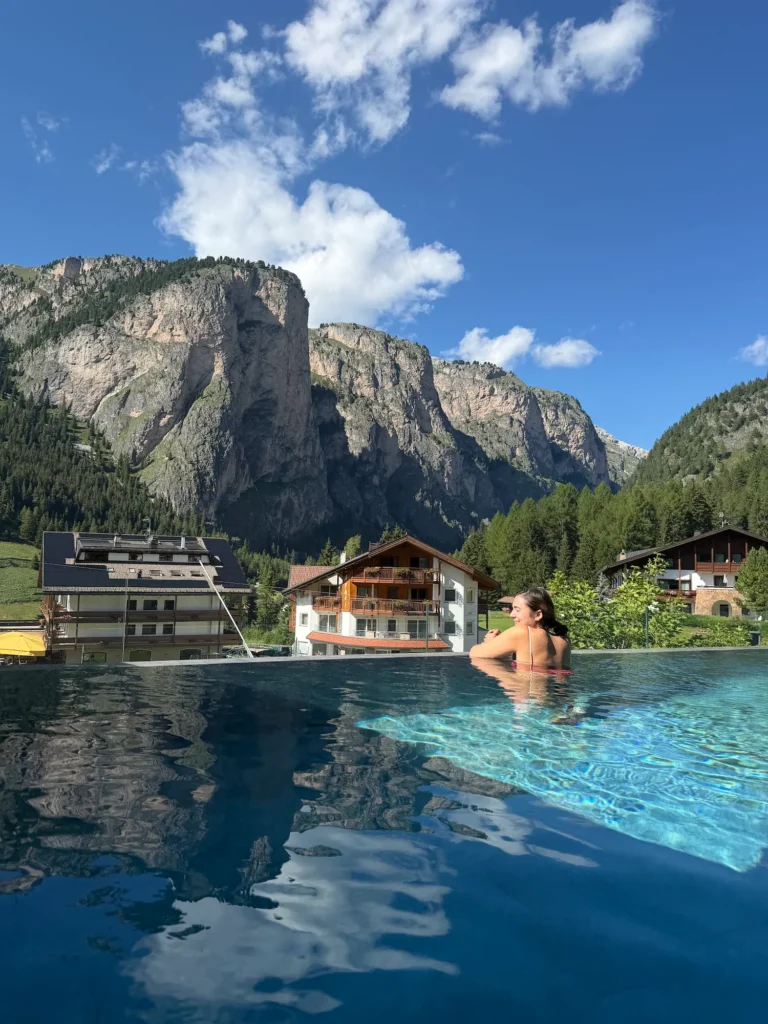
- Bolzano: This is the largest city in the South Tyrol region, which means it has a bit of everything. That being said, it’s not as centrally located to many of the Dolomites highlights. But, if you’d prefer a metropolitan area, this is where you should stay.
- Ortisei: Ortisei is the most central town and often the busiest. Both the Seceda and Alpe di Suisi cable cars leave directly from this town, so it’s a popular spot. That means that these hotels are often some of the most snatched up! Stay here if you want to rely on public transport and be walking distance to everything.
- Val Gardena: Val Gardena is just 10 minutes down the road from Ortisei, so they almost feel connected. But, it’s slightly smaller and very walkable. We stayed at the Hotel Continental Dolomites and it was a good home base.
Hotel recommendation
If you only want to stay in one spot consider the Naturhotel Leitlhof!
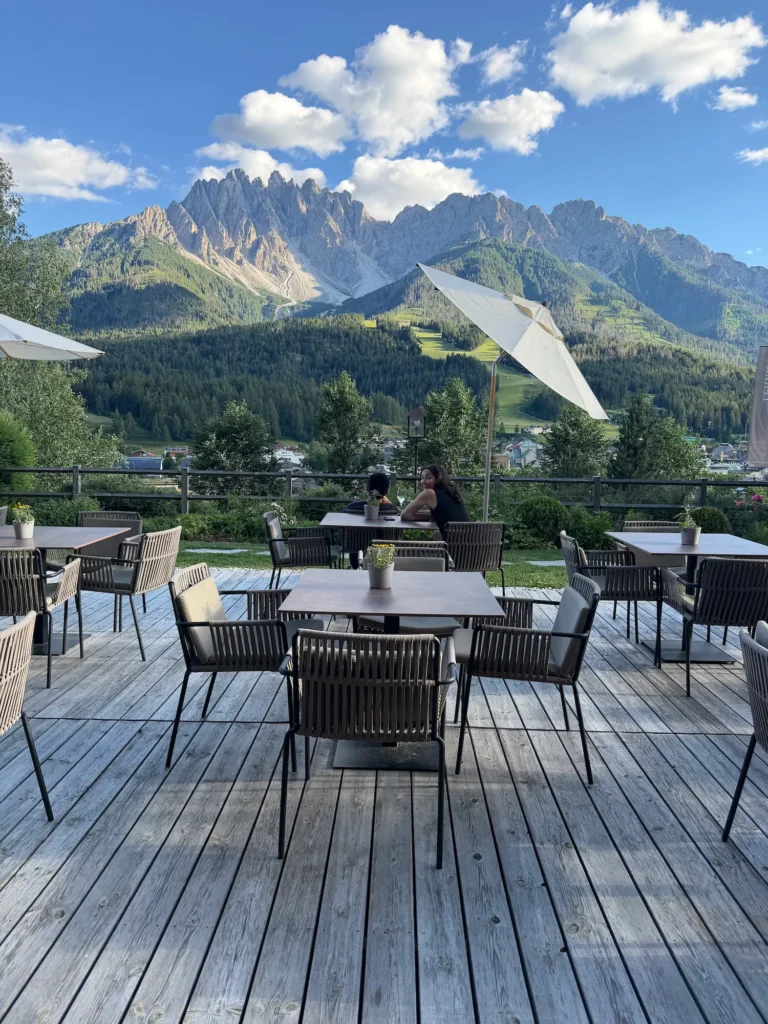
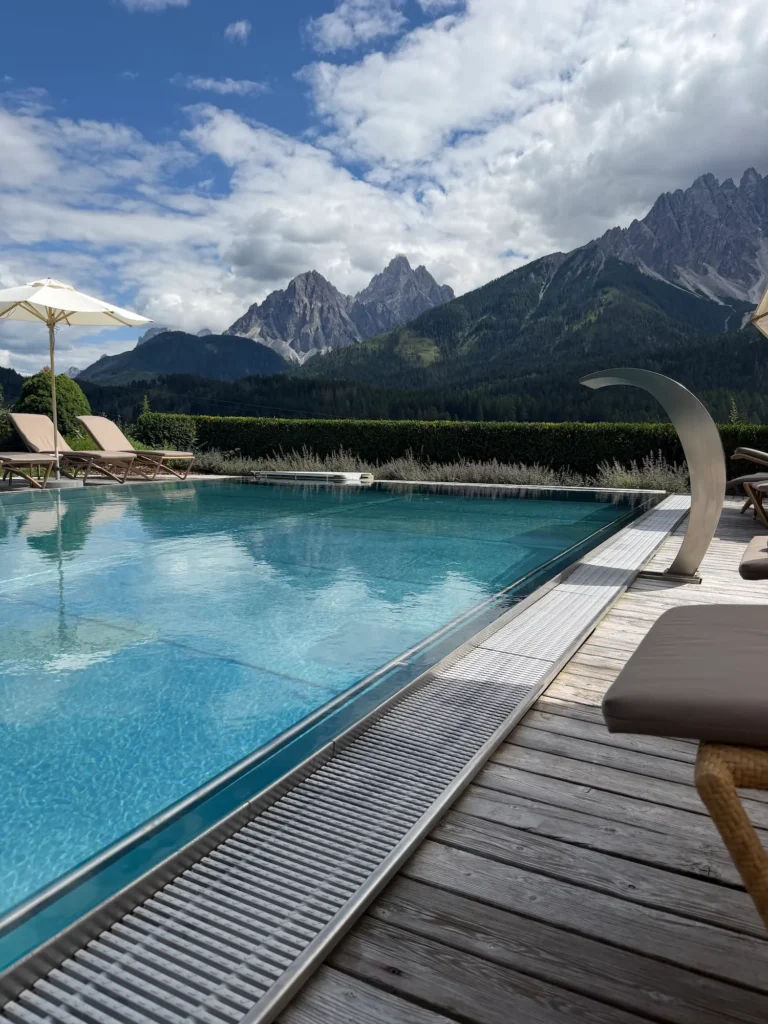
This is not sponsored in any way, but our stay there was astounding. First of all, the view from the hotel is out of this world.
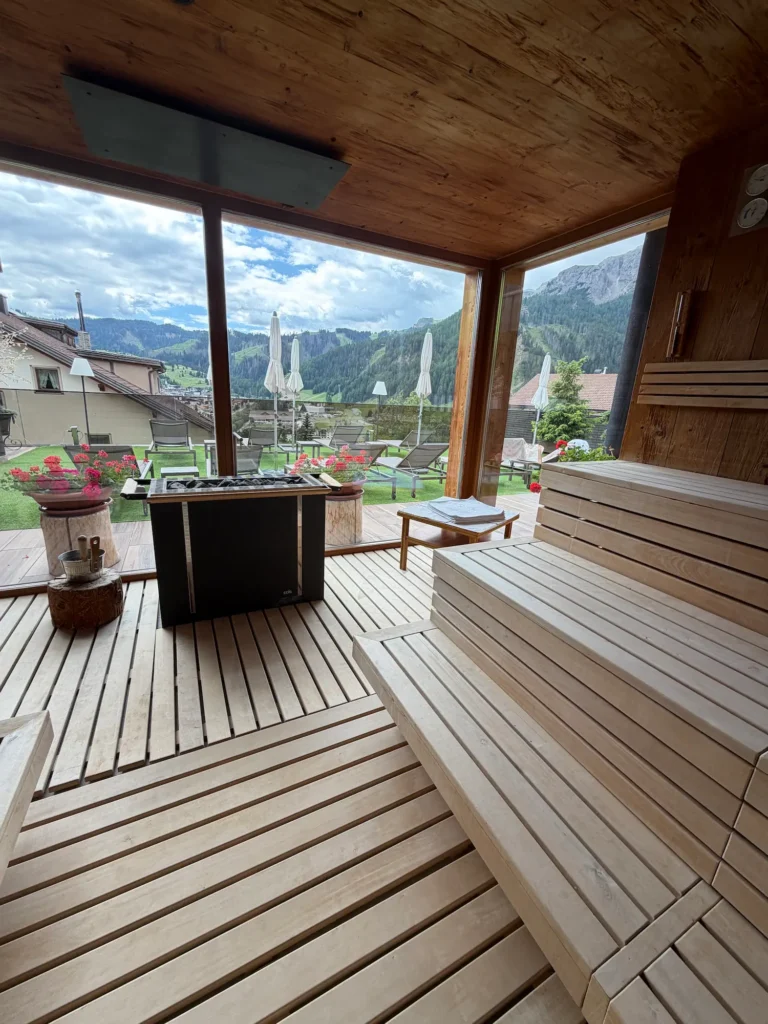
Secondly, the amenities and service were impeccable. They have a massive spa with various saunas, pools, and steam rooms. They offer electric bikes and various excursions.
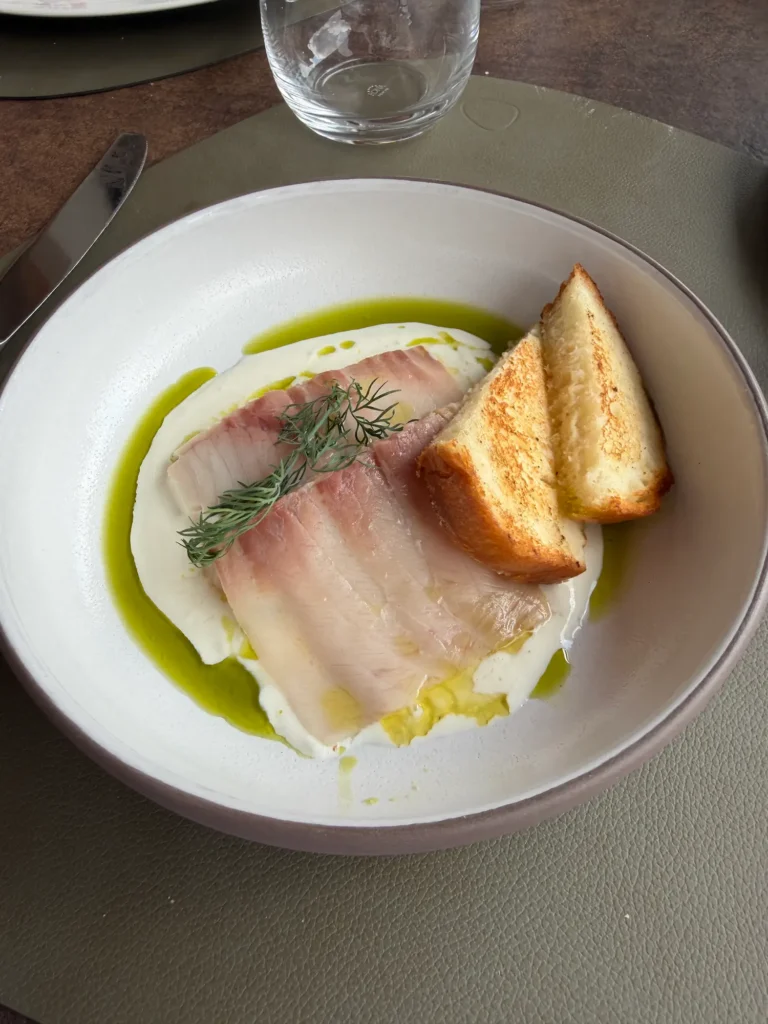
Plus, breakfast and dinner are included and they serve delectible food over multiple courses with huge buffet spreads too. Dylan said the smoked char was the best thing he ate on the whole trip!
I will be thinking about this hotel for a while.
Book your stay at the Naturhotel Leitlhof here!
Best Time to Visit the Dolomites
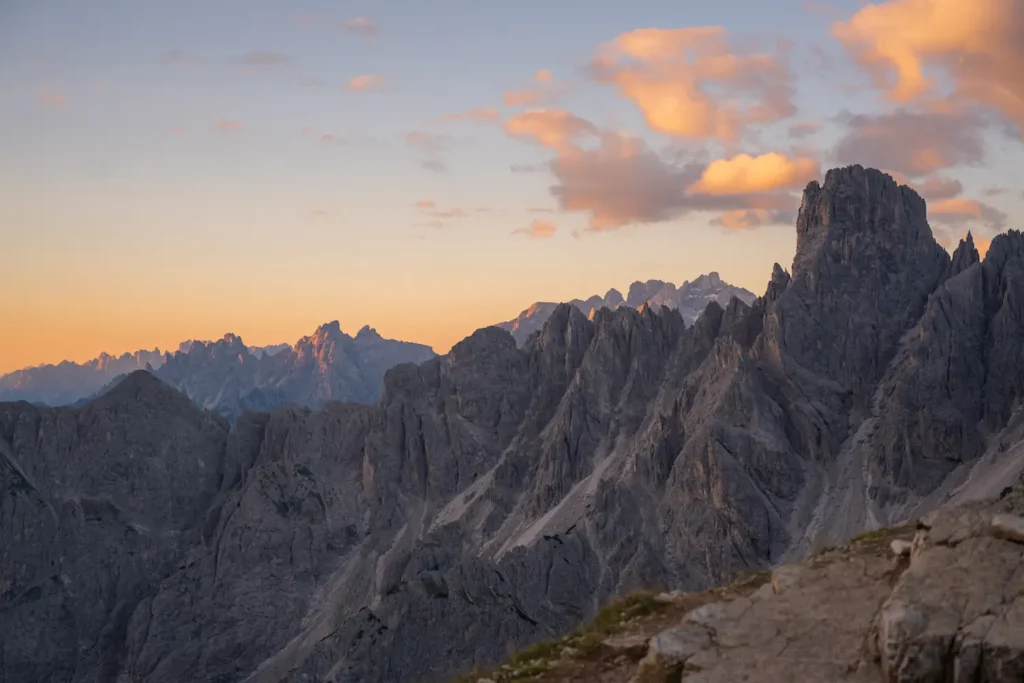
The Dolomites are one of those places that is truly special year round.
In the Fall, you get vibrant orange and red hues that cover the mountain. In the winter, expect some of the best skiing and snowboarding in the world, and in the summer, find endless wildflowers, clear trails, and sunshine.
However, summer is definitely the most crowded time of year, so if you prefer the quiet then book in the shoulder season of May or September.
We went just before the peak (late june to early July) and while it was still crowded, we had an incredible experience. I wouldn’t have done it any differently.
How Early You Need to Plan
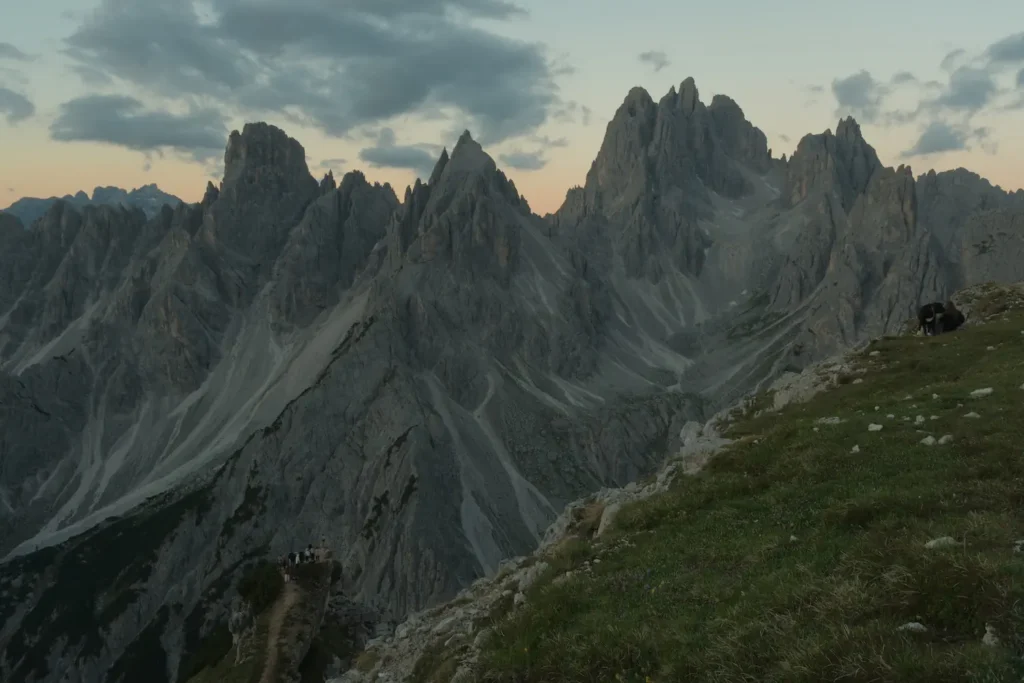
Every year the Dolomites just get more and more popular. In fact, I bet if you scroll through Instagram for a few minutes, a video set in the Dolomites will inevitably pop up. Plus, they hosted the winter Olympics in 2026. So, travel here is blowing up!
So, that means that like most well-touristed areas, you will want to plan early. Especially, if you plan on visiting in the peak summer months.
We took our trip in late June and by December we were already having a hard time finding accommodations. If you want your choice of hotels in summer, I’d recommend booking 9 months prior.
Also, if you want to stay in any of the rifugios, make sure to research each one separately. They all release reservations at different times and often sell out immediately. Three members of our group tried to book one rifugio the minute reservations opened, and only one of us got through. Thank goodness!
Do You Need a Rental Car?
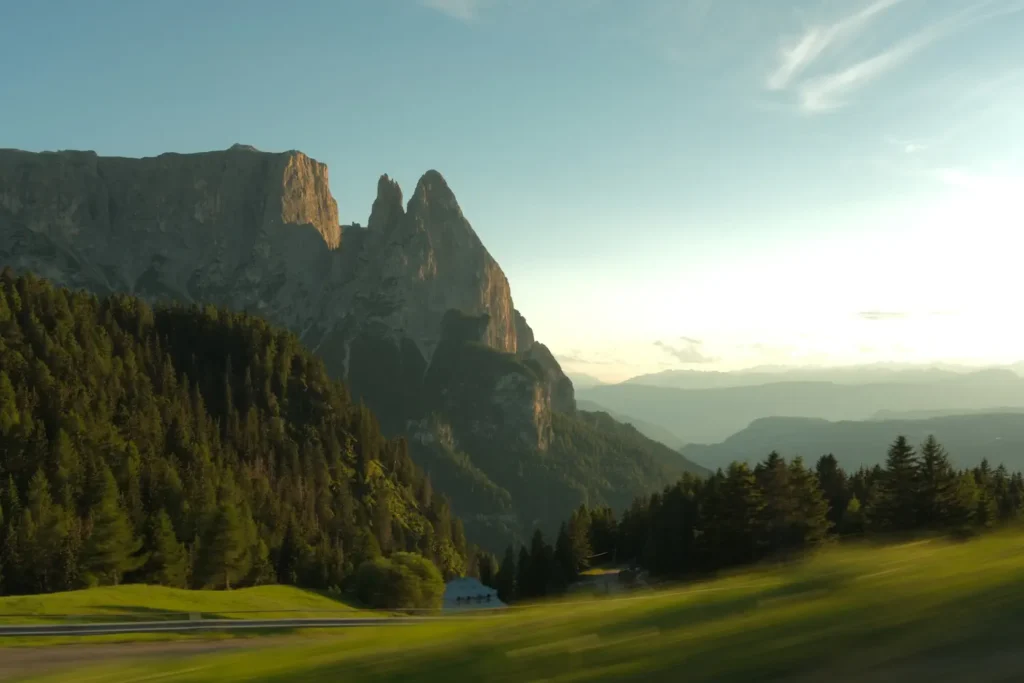
Honestly, there is great public transportation in the Dolomites, so you do not NEED to rent a car. I was actually shocked at how the buses went to most of the popular spots, even the ones along curvy mountain roads.
Plus, many of the hotels within the Dolomites will give guests free public transportation cards to get around. It’s such a great and sustainable way to travel throughout the area.
That being said, if you want more flexibility or are traveling with a group I do recommend it.
If you are going to rent a car, you should know a few things:
- First, manual cars are far cheaper, so if you want to save money that’s the way to go. My husband can drive stick, but I can’t. Passenger princess for the win!
- There’s a large highway with tolls to get from Venice to the Dolomites. But, I wouldn’t pay for the toll pass as you won’t use a lot of tolls within the Dolomites. Just pay for the tolls at the toll booths (they take cash and card).
- Traffic jams are common. Some of the mountain roads are incredibly steep and curvy. We were often waiting for large buses, bikers, and construction stops. Add in extra time to get around!
Final Thoughts
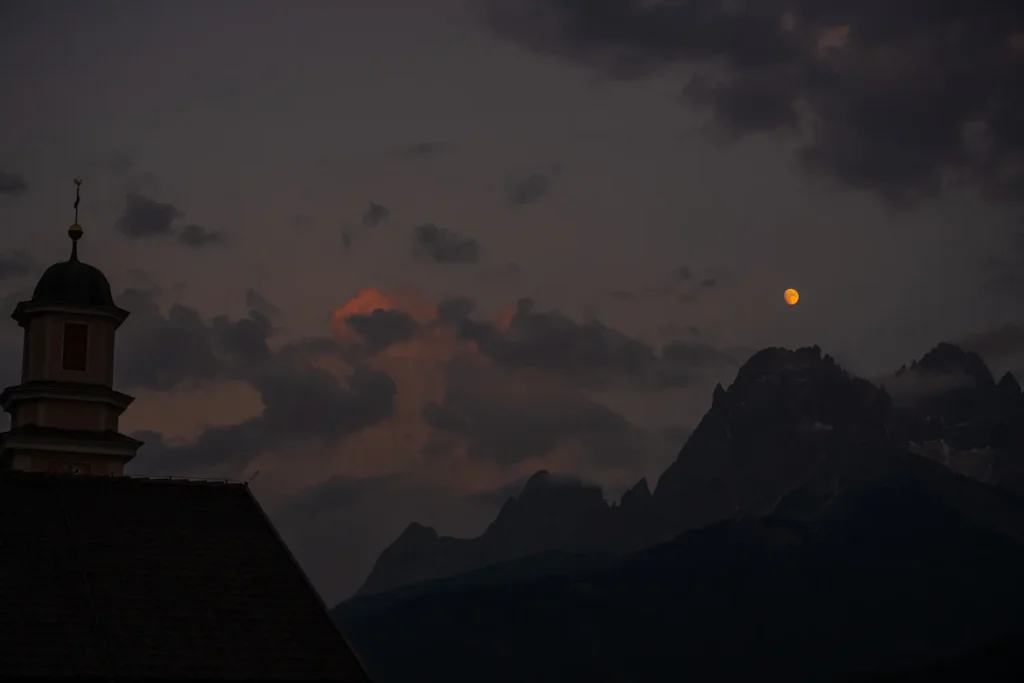
I haven’t heard a single person that has been to the Dolomites without falling absolutely in love with it.
This week Dolomites itinerary will take you through some of the highlights, but you will definitely leave wanting more.
The Dolomites completely lived up to the hype for me. Spending days walking through flower filled valleys, eating the perfect al dente pasta, and swimming in turquoise lakes. It’s a place that stays with you long after you leave. I hope this itinerary allows you to experience a little bit of magic too!
Let me know in the comments if you enjoyed this post!
📍 Pin The Perfect Week in the Dolomites for First Timers (Based on Our Experience) to Pinterest