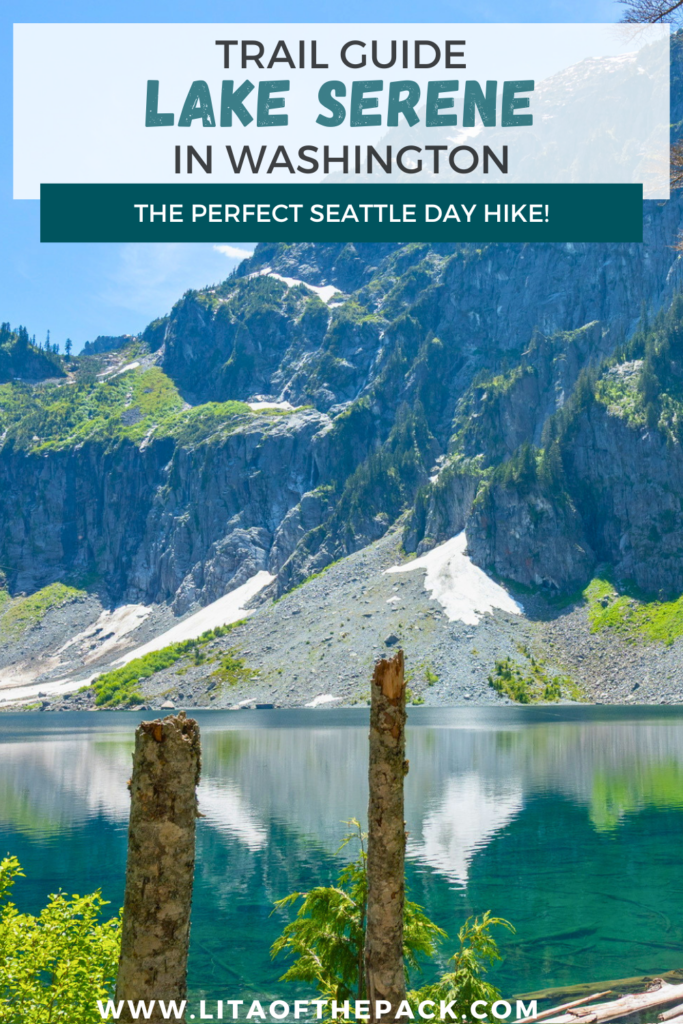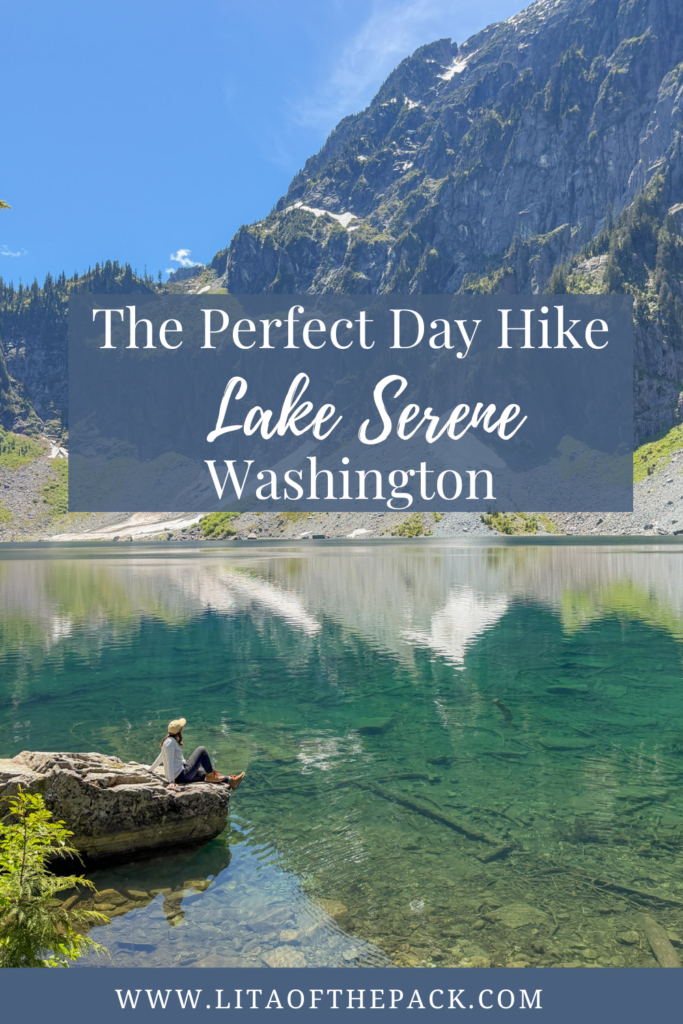
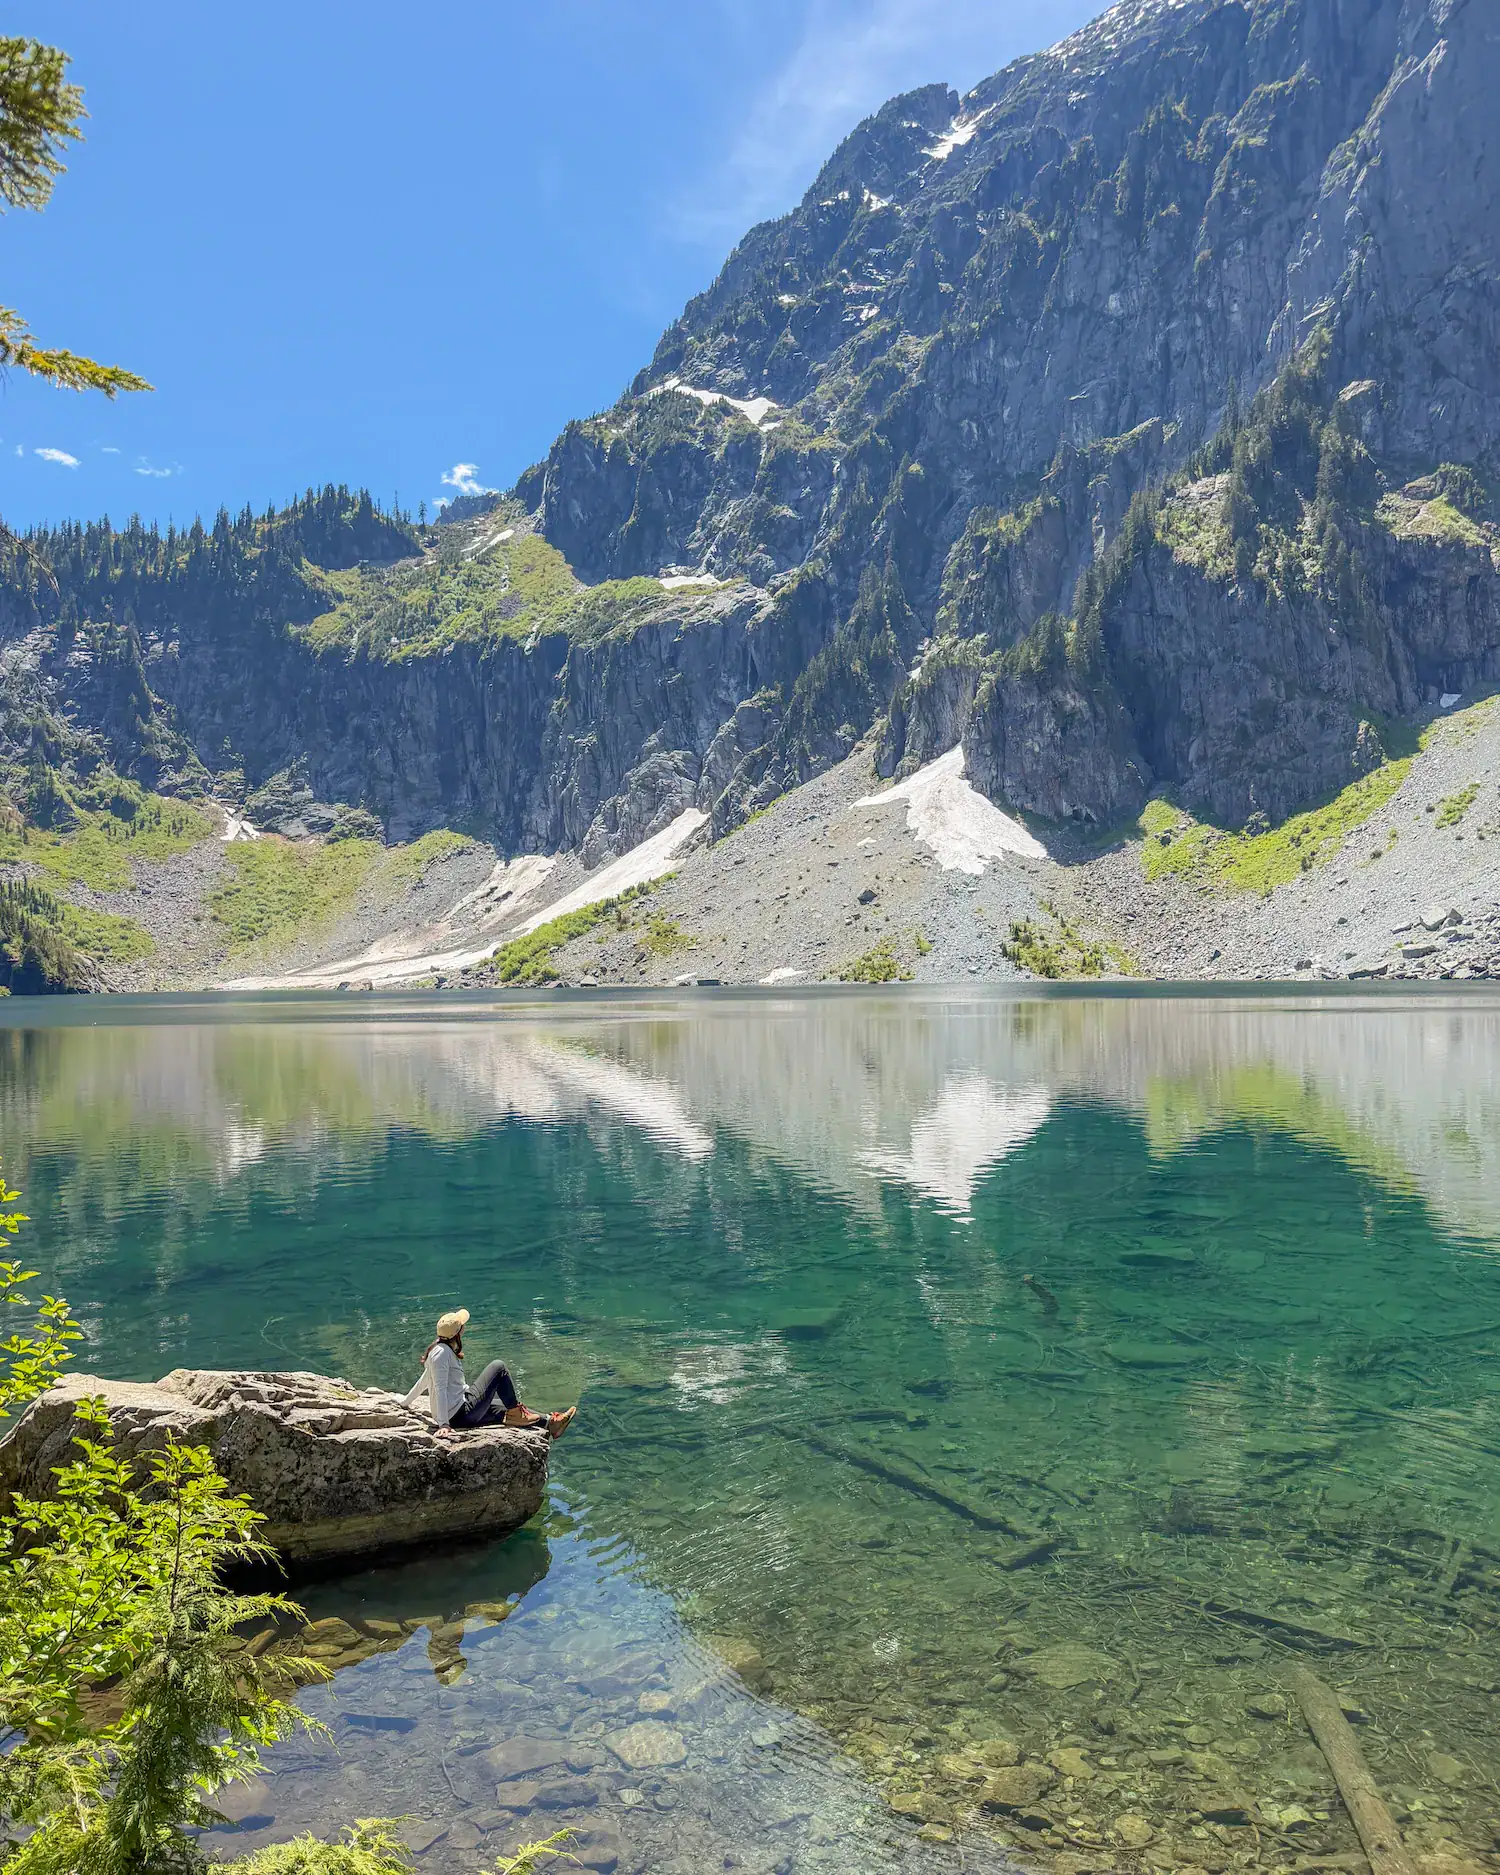
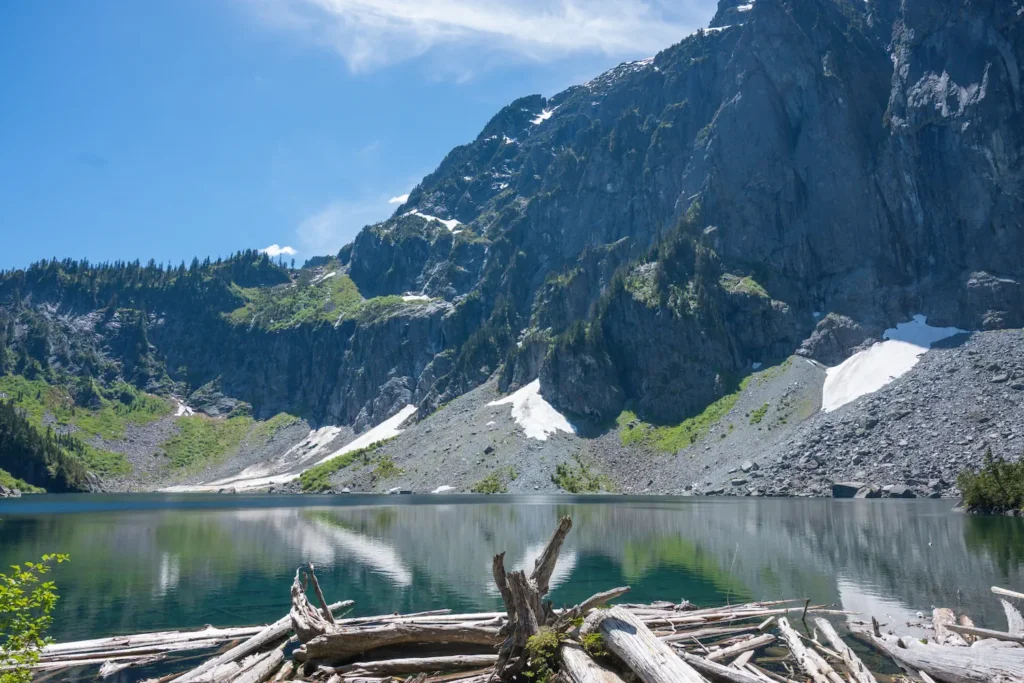
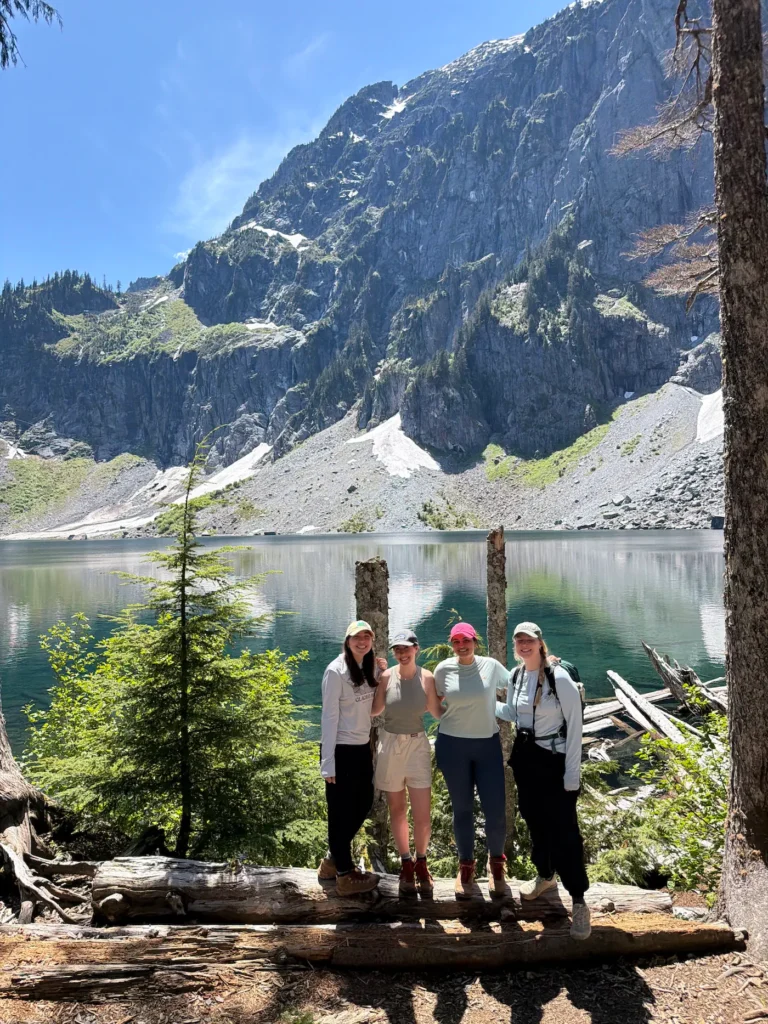
It’s evident where Lake Serene gets its name. With calm, crystal blue waters laying below a rugged mountain, it provides stunning scenery for a day hike.
I moved to Seattle recently, so I’m trying to make my way through the popular day hikes. On my birthday weekend, I decided to conquer the Lake Serene trail. At under an hour away from the city, it seemed like the perfect excursion to enjoy with friends.
I loved walking through the shade of the forest, listening to the powerful Bridal Veil Falls, munching on wild berries, and delighting in a picnic by the cool lake.
We saw plenty of hikers along the way who didn’t seem prepared for the trail. Some were wearing shoes that weren’t really suited for the rocky, steep terrain (including Crocs), while others didn’t seem to have enough water.
Now I’ve written this guide with all the details about the Lake Serene hike, so you know exactly what to expect.
Disclaimer: There are affiliate links in this blog post. I may get a small commission at no extra charge to you. As always, I recommend gear, products, and places that I have personally used or trust. Thanks for your support!
Lake Serene Trail Details
Quick Lake Serene Hike Info
Distance: 7.2 round trip to Lake Serene/ 8.2 miles with stop to Bridal Veil Falls
Elevation: 2000 feet of gain
Type: Out and Back
Length: 5-7 hours total
Difficulty: Moderate/Hard
Is Lake Serene Hard?
While this is one of those questions thats hard to answer, because everyone’s abilities is different. I’m going to do my best.
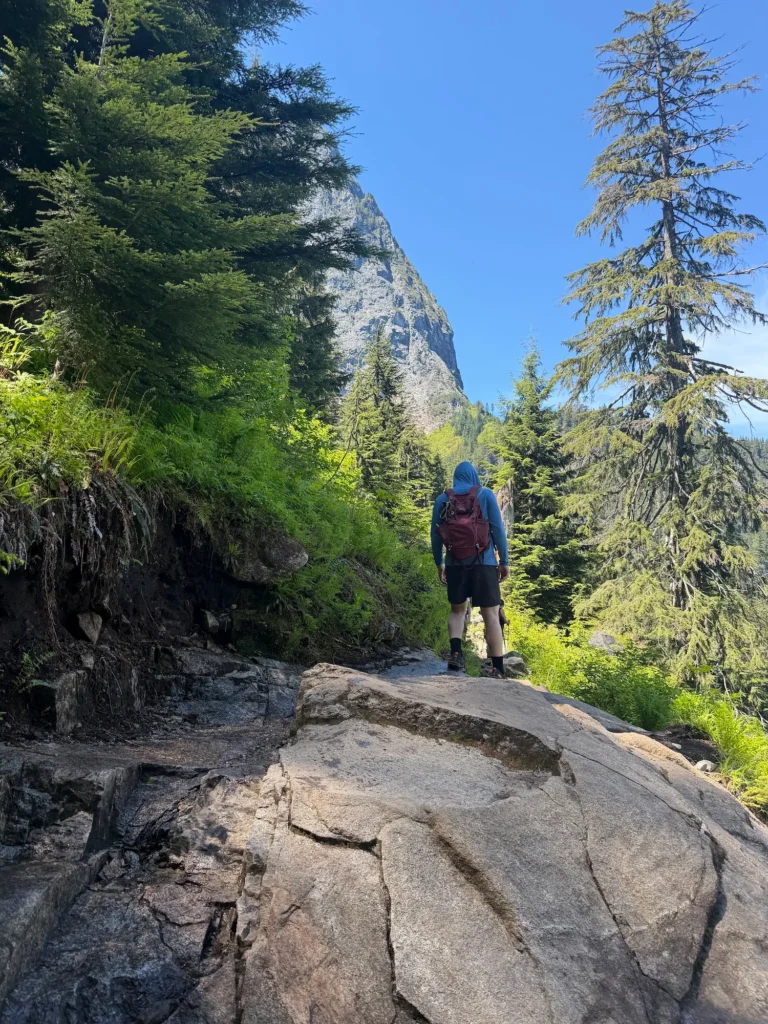
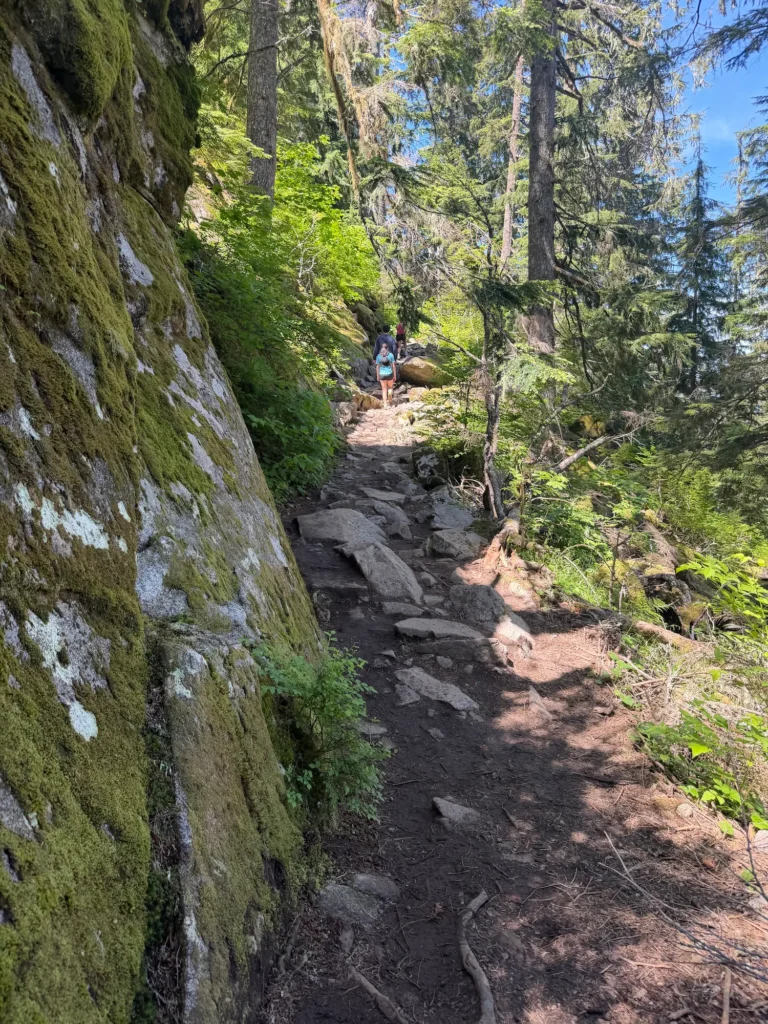
Lake Serene is challenging for most individuals. You have to climb up 2000 feet of elevation in just a few miles, which is no joke. Along the way there are roots and rocks on the trail, so you have to watch your step.
That being said, if you are in decent condition and physically fit, then I think you can make it there. I would avoid this trail and stick to easier ones if you do not work out regularly and have little experience hiking.
Best Time to Hike Lake Serene
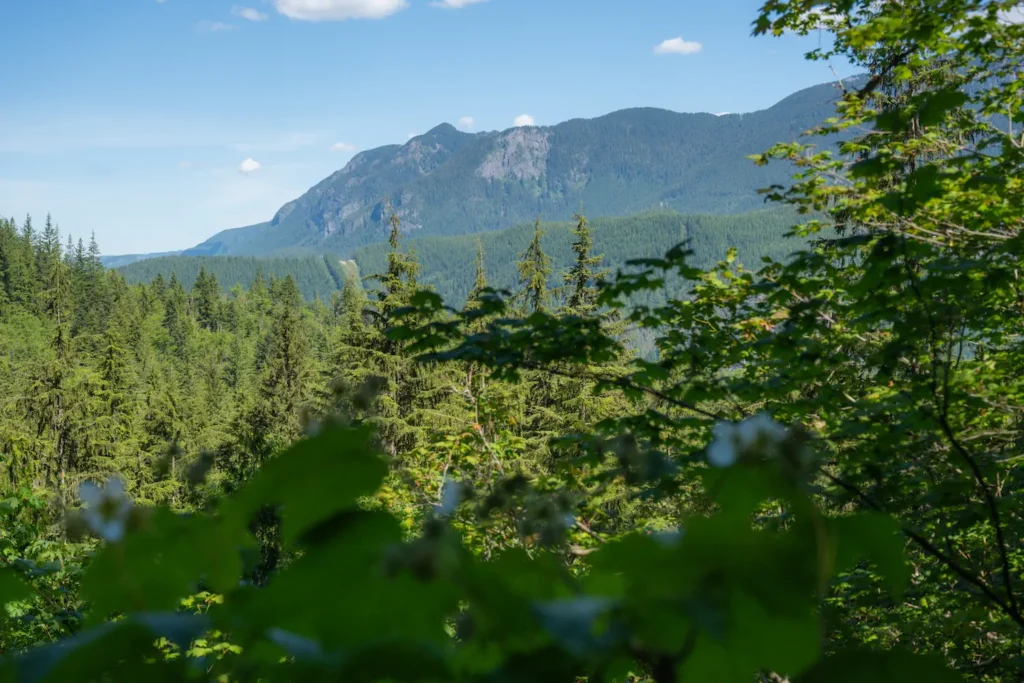
For the best conditions, I would plan your Lake Serene hike from summer through early fall. We went over my birthday weekend in mid-June and we had a completely snow free trail, but this can change from year to year.
During this time of year the trail is usually clear of snow, the lake shimmers, and the mountains are free of avalanche risks.
When we went the sun was shining, berries were ripe, and the lake looked perfect. That being said, it was a summer Saturday so there were plenty of others enjoying it as well.
Tip: This is one of the most popular day hikes in the area, so consider going on a weekday to avoid the crowds or showing up super early in the morning!
You can hike Lake Serene outside of the summer season, but conditions can be signficantly more challenging with icy trails, snow, and avalanche risks. Check current conditions before you set off on your hike and bring microspikes so that you can walk on the icy terrain.
How to Get There
If you’re coming from the West, take Highway 2 to the East. From there, travel 7 miles past the town of Gold Bar until you see a large bridge over the Skyhomish River.
Turn right onto Mount Index Road and continue down the road for a quarter of a mile. There will be a sign for the Lake Serene Trail, where you will turn right. There are a couple of large parking lots by the trailhead with a pit toilet as well.
☕️ If you have time, drive just a bit past Mount Index Road to grab a coffee at Espresso Chalet before starting your hike. It’s one of my favorite spots in the area.
Things to Know Before You Go
💵 This trail requires a Northwest Forest Pass or America the Beautiful Pass.
🚗 Lake Serene is one of the most popular trails in the area, especially since it’s less than an hour from Seattle. Despite there being two parking lots, they fill up quickly. People park along the road, but please make sure that you are not blocking the roadway. It’s important that the road is accessible for emergency vehicles and others.
⏰ Get to the trail early to get parking and avoid crowds!
🦮 Dogs are allowed on leash.
⛈️ Weather can change quickly at the summit, so check the weather before you go and choose a different hike if storms are in the forecast.
📲 I recommend downloading the trail map on either Alltrails or the WTA Trailblazer app.
🐻 This area is known to have wildlife like bears, cougars, and deer. If you see wildlife, make sure to give them plenty of space. That being said, we didn’t see any on a busy Saturday!
🌿 Remember to always follow the Leave No Trace Principles to allow everyone to enjoy the trail!
Trail Essentials
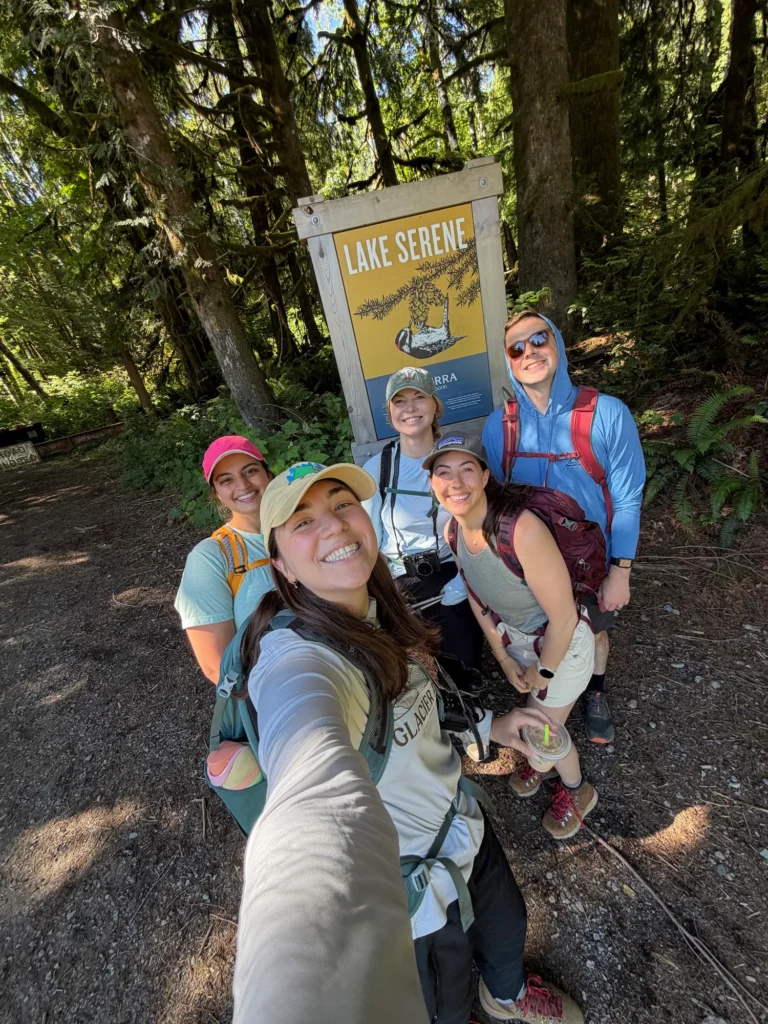
Although this trail is super popular, it’s also very challenging. It requires a steep uphill climb and can take over 6 hours.
So, the best way to prepare for this trail is to make sure that you have proper footwear, pack plenty of snacks, drink lots of water, and trekking poles. I think I stopped a couple times on the way up for a snack break and enjoyed a sandwich by the lake.
Luckily, a lot of it is shaded by the trees, but it’s still important to bring sun protection.
packing essentials
- Comfortable Hiking Boots
- Day Pack
- Hiking poles: Necessary for the steep climb down!
- Water Reservoir
- 2+ Liters of Water
- Snacks and Food
- Bathing Suit (optional)
- Quick Dry Towel (optional)
- First Aid Kit
- Sunscreen
- Sunglasses
- Bug Spray
- Rain jacket
- America the Beautiful or Northwest Forest Pass
Detailed Lake Serene Trail Description
Walk through the Forest
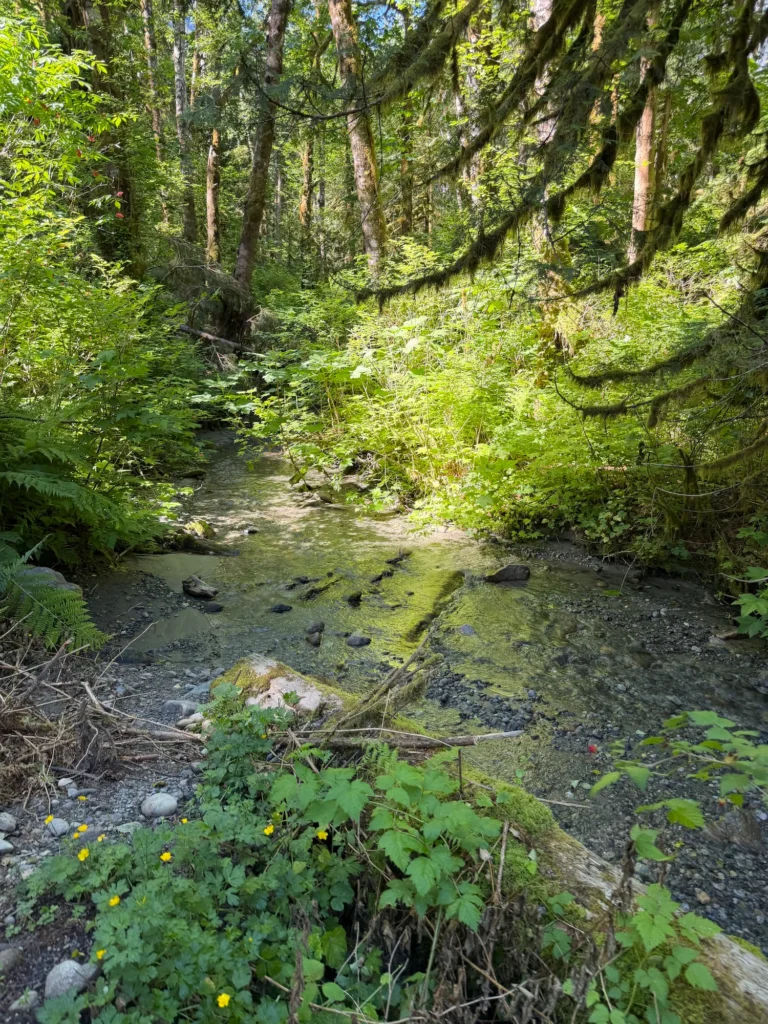
Leave the parking lot and follow the signs for the trail. It starts following an old road, before continuing into a dense forest that climbs up and is lined with bushes. Many of these bushes are covered in berries during the summer months.
We went in mid-June, which is prime salmonberry season and I’m obsessed. So, it definitely took us a little slower as I picked as many as I could.
If you’ve never tried them before, this is a great spot to do so! Ripe salmonberries can range from dark golden to red, so the best way to tell if they’re ripe is to see if they pull off easily.
Bridal Veils Turnoff
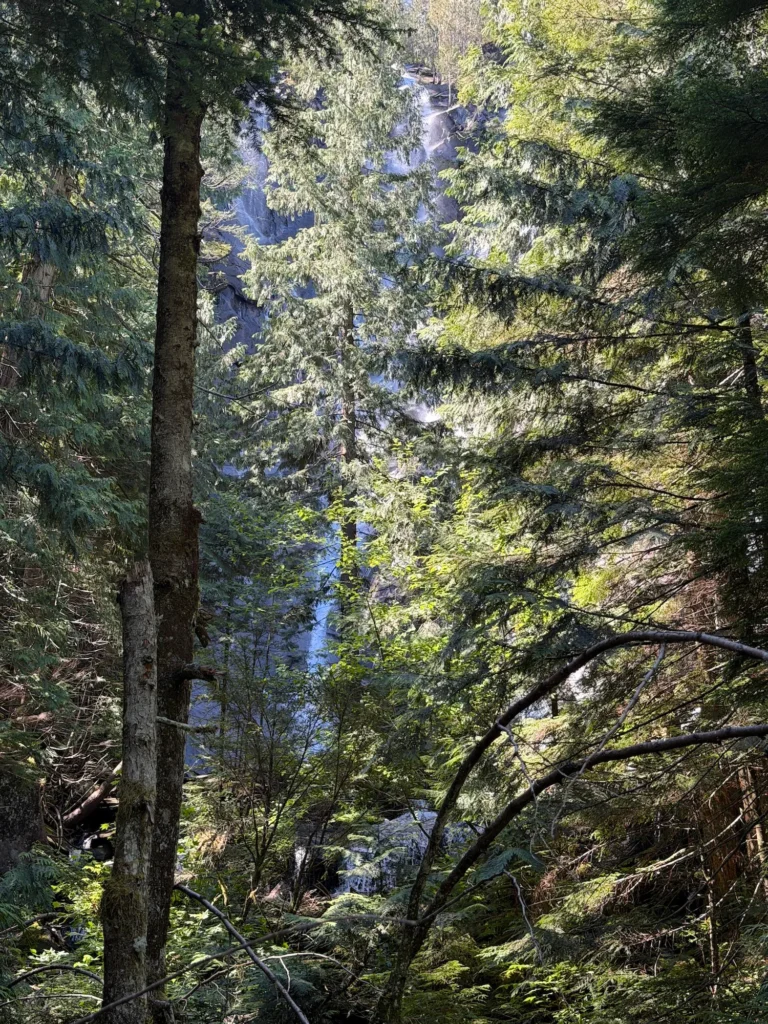
After you get about 1.7 miles in, there’s a turn off for the Bridal Veils part of the hike to the right. There’s a sign that marks this turn off well. It adds one mile total (.5 there, .5 back) to the trail.
It’s better to go to Bridal Veils on your way up, because it’s so close to the end that people tend to skip it on the way down. They just want to get back to their cars, which is definitely how I would feel. My feet were begging for a break once we made it down.
There are a series of steep steps before you make it to a loop around the falls. After large rainfalls, the waterfall can be very powerful and you may get wet. Go slow and be cautious, some people have been swept down the fast moving creek before.
Final Ascent
After getting down from Bridal Veil Falls, there’s a bridge over the creek, with a decent view of the falls, and then the trail goes up, up, up.
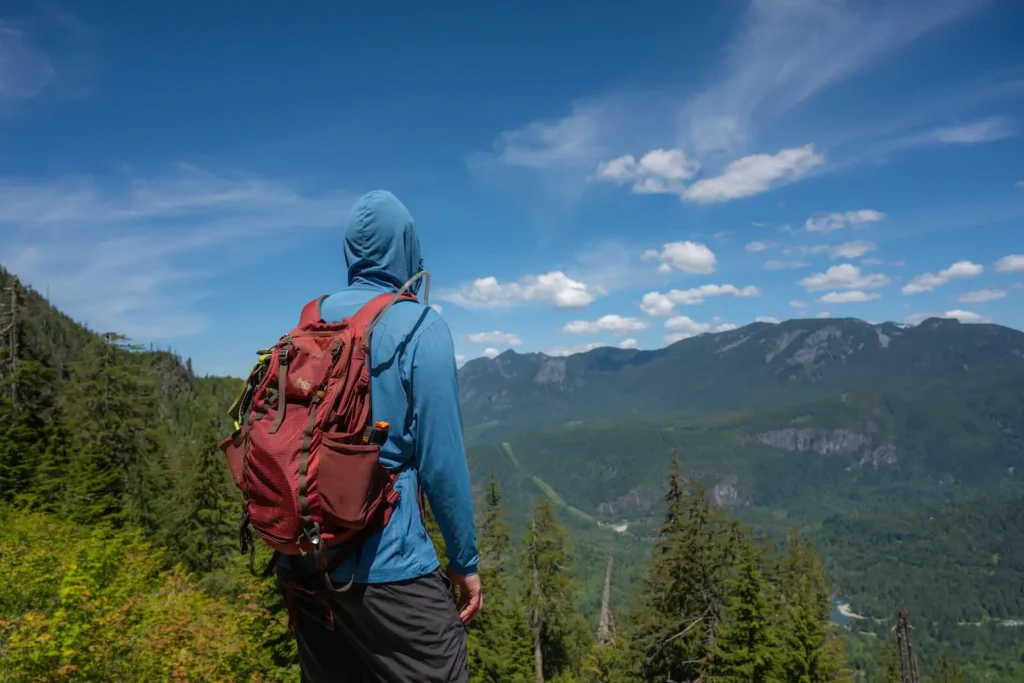
It’s a steep ascent to the end with 1,300 feet left to go! There are a series of switchbacks that are shaded by the tall trees for a good portion. I was really pleased with how shaded most of the trail was, so I didn’t have to worry about bad sunburns.
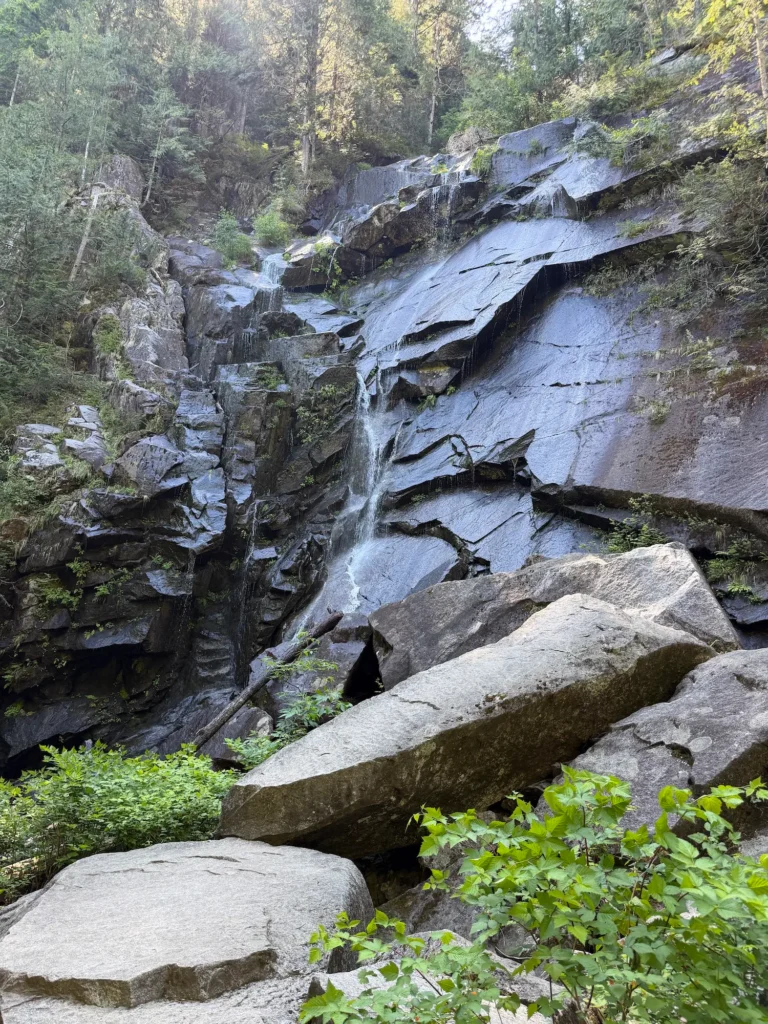
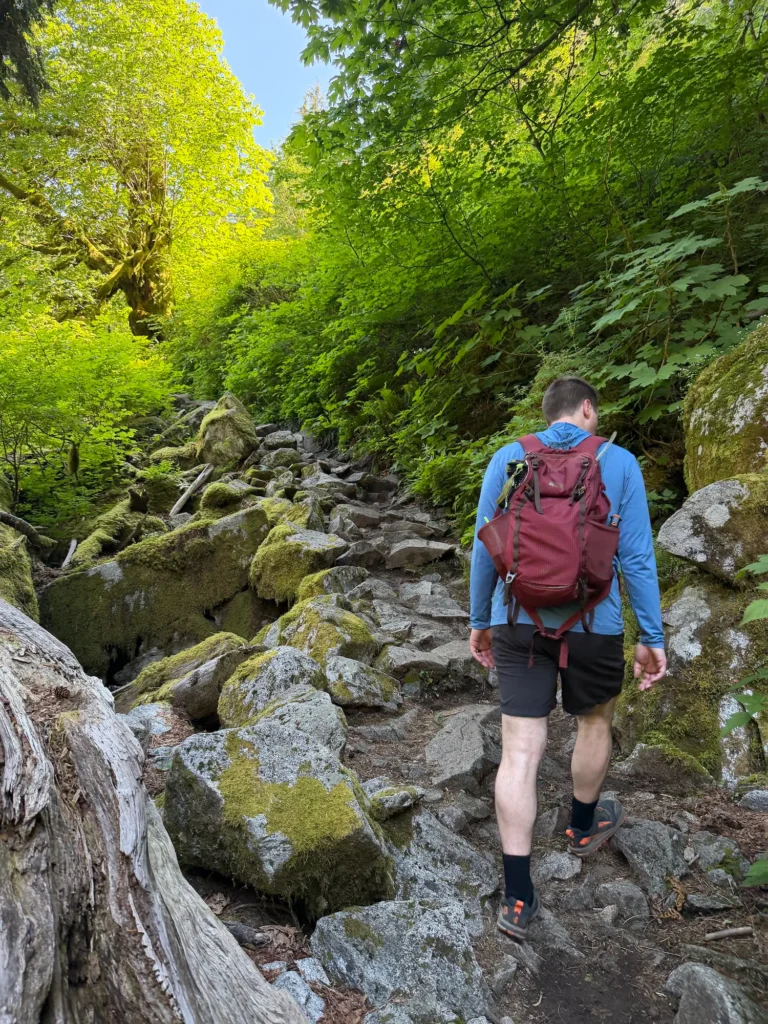
As the trail progresses, it gets to be more rocky and there’s a small area where you have to walk over boulders with a light waterfall overhead. We even saw someone relaxing in the water by the boulders to cool off after their hike.
In the last mile the trail begins to open up out of the forest. Although it’s sunnier, you also get clearer views of the mountains across the way, which I loved. You just need to go a bit further to reach the lake!
At Lake Serene
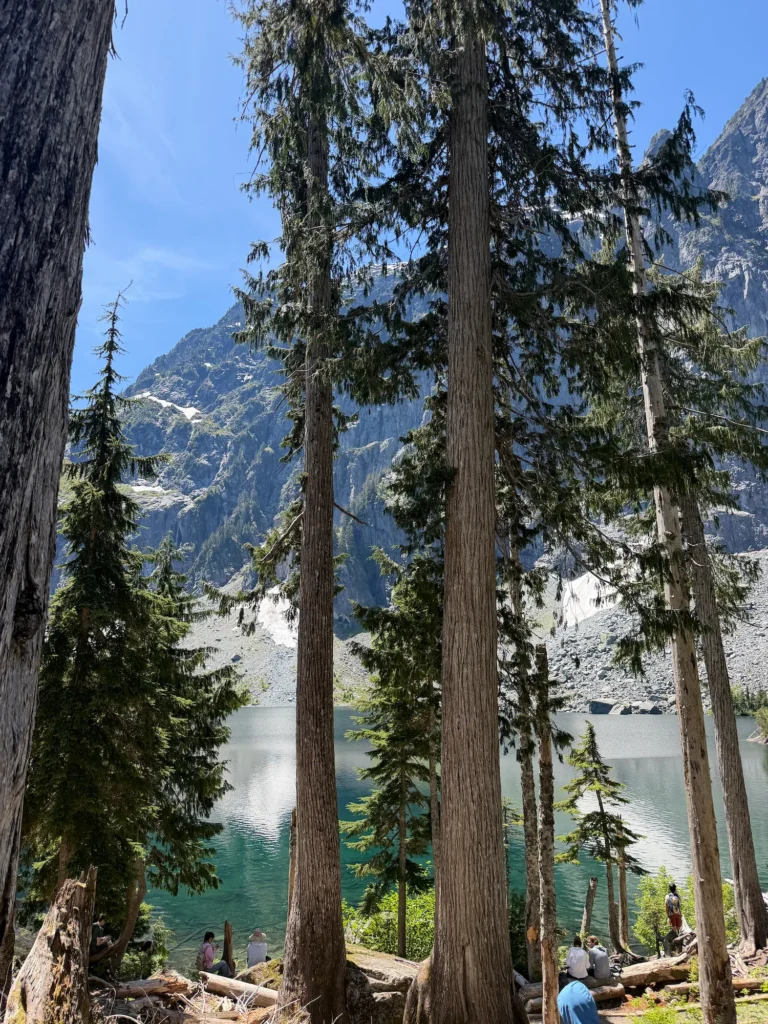
Finally, the trail starts to descend and you will notice your first peeks of the lake area. This area can get congested, so give everyone their turn to pass.
Then, finally at the base of the descent you can see the lake! Walk around the lake’s edge to find a place for a respite. There are often large logs or rocks to perch your stuff on and take a break. We found a large log where our whole group of 5 could fit and eat lunch.
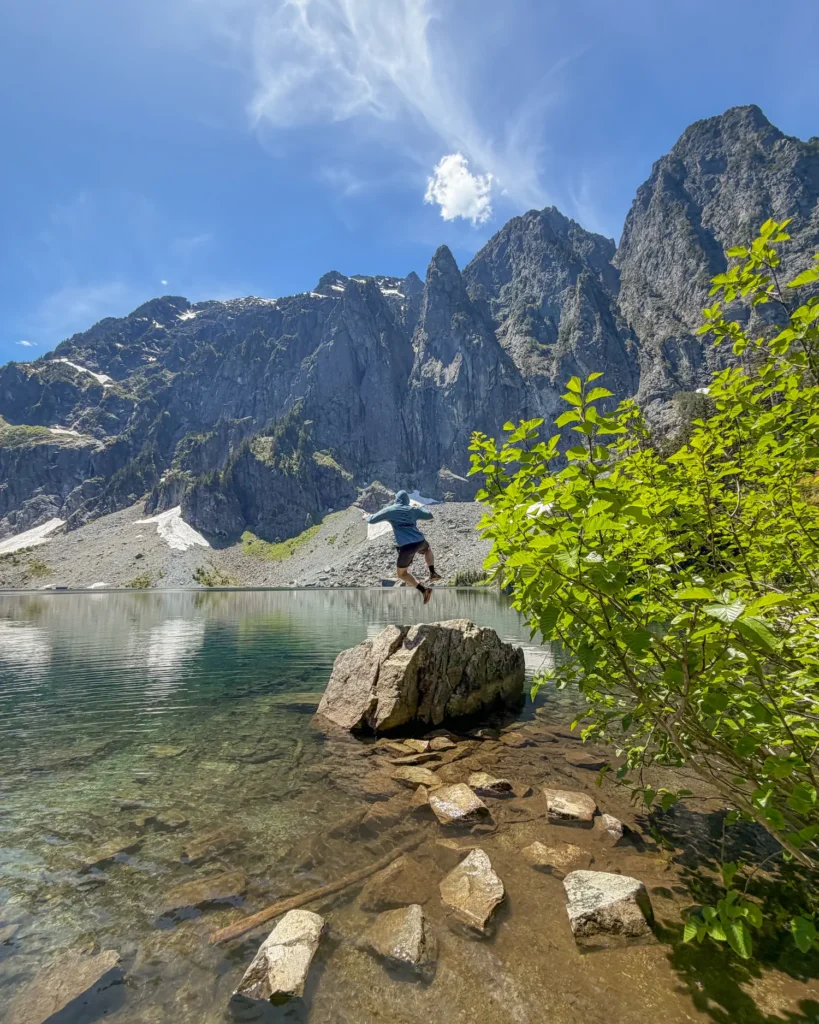
If you’re brave, you can even take a dip in the water! But, it’s very cold so acclimate before jumping right into it. Sadly, I wasn’t allowed to swim when we went for medical reasons, but I was so tempted!
Instead, I walked over some rocks to get to a large boulder in the lake. It was a wonderful perch to see through the glassy water below and take in the landscape all around.
After you’ve enjoyed your time at the Lake, it’s time to make your way back the way you came.
Final Thoughts on Hiking Lake Serene
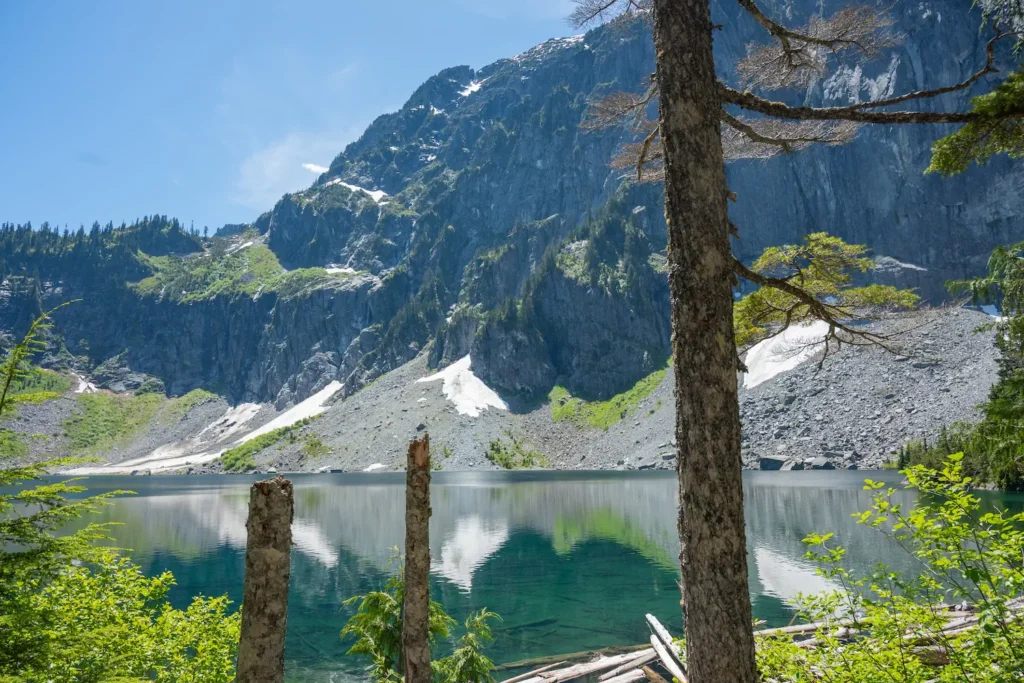
Many people may say that Lake Serene is overhyped, but I totally get why it’s so popular.
Was it crowded? Absolutely. Was I annoyed by some of the people? Also absolutely. But when I sat beside that ridiculously blue lake with Mount Index towering above me, I understood why everyone else had decided to come too.
It’s just outside of Seattle, the lake is stunning, and the trail is the perfect difficulty. That being said, please be respectful when you are heading out there.
We saw plenty of huge groups that were taking up the whole trail, blasting music, and not letting others pass. It’s important to have hiking etiquette when you are recreating in the outdoors!
All that to say, I loved this trail and I hope you get out there and love it too.
Let me know if you enjoyed this trail guide in the comments!
📍 Pin Lake Serene Guide: A Perfect Seattle Day Hike to Pinterest