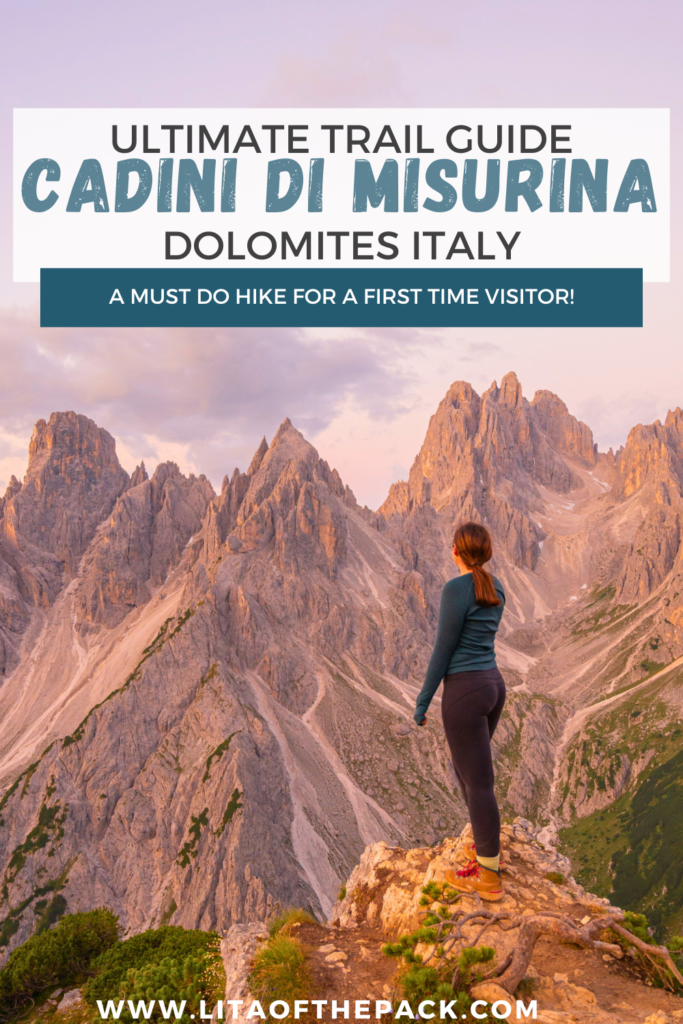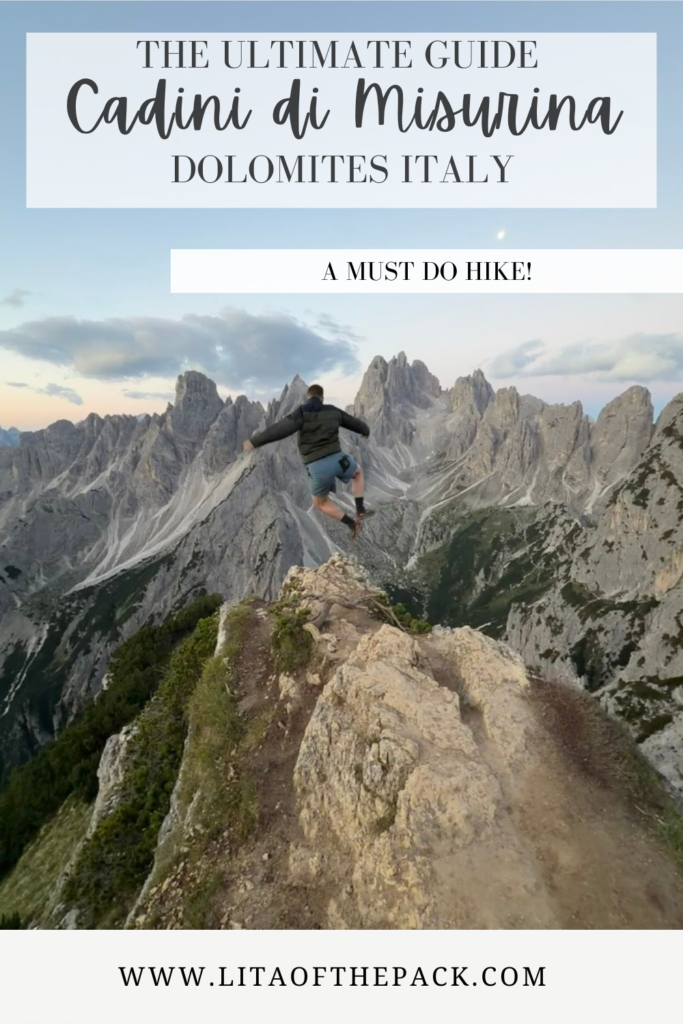
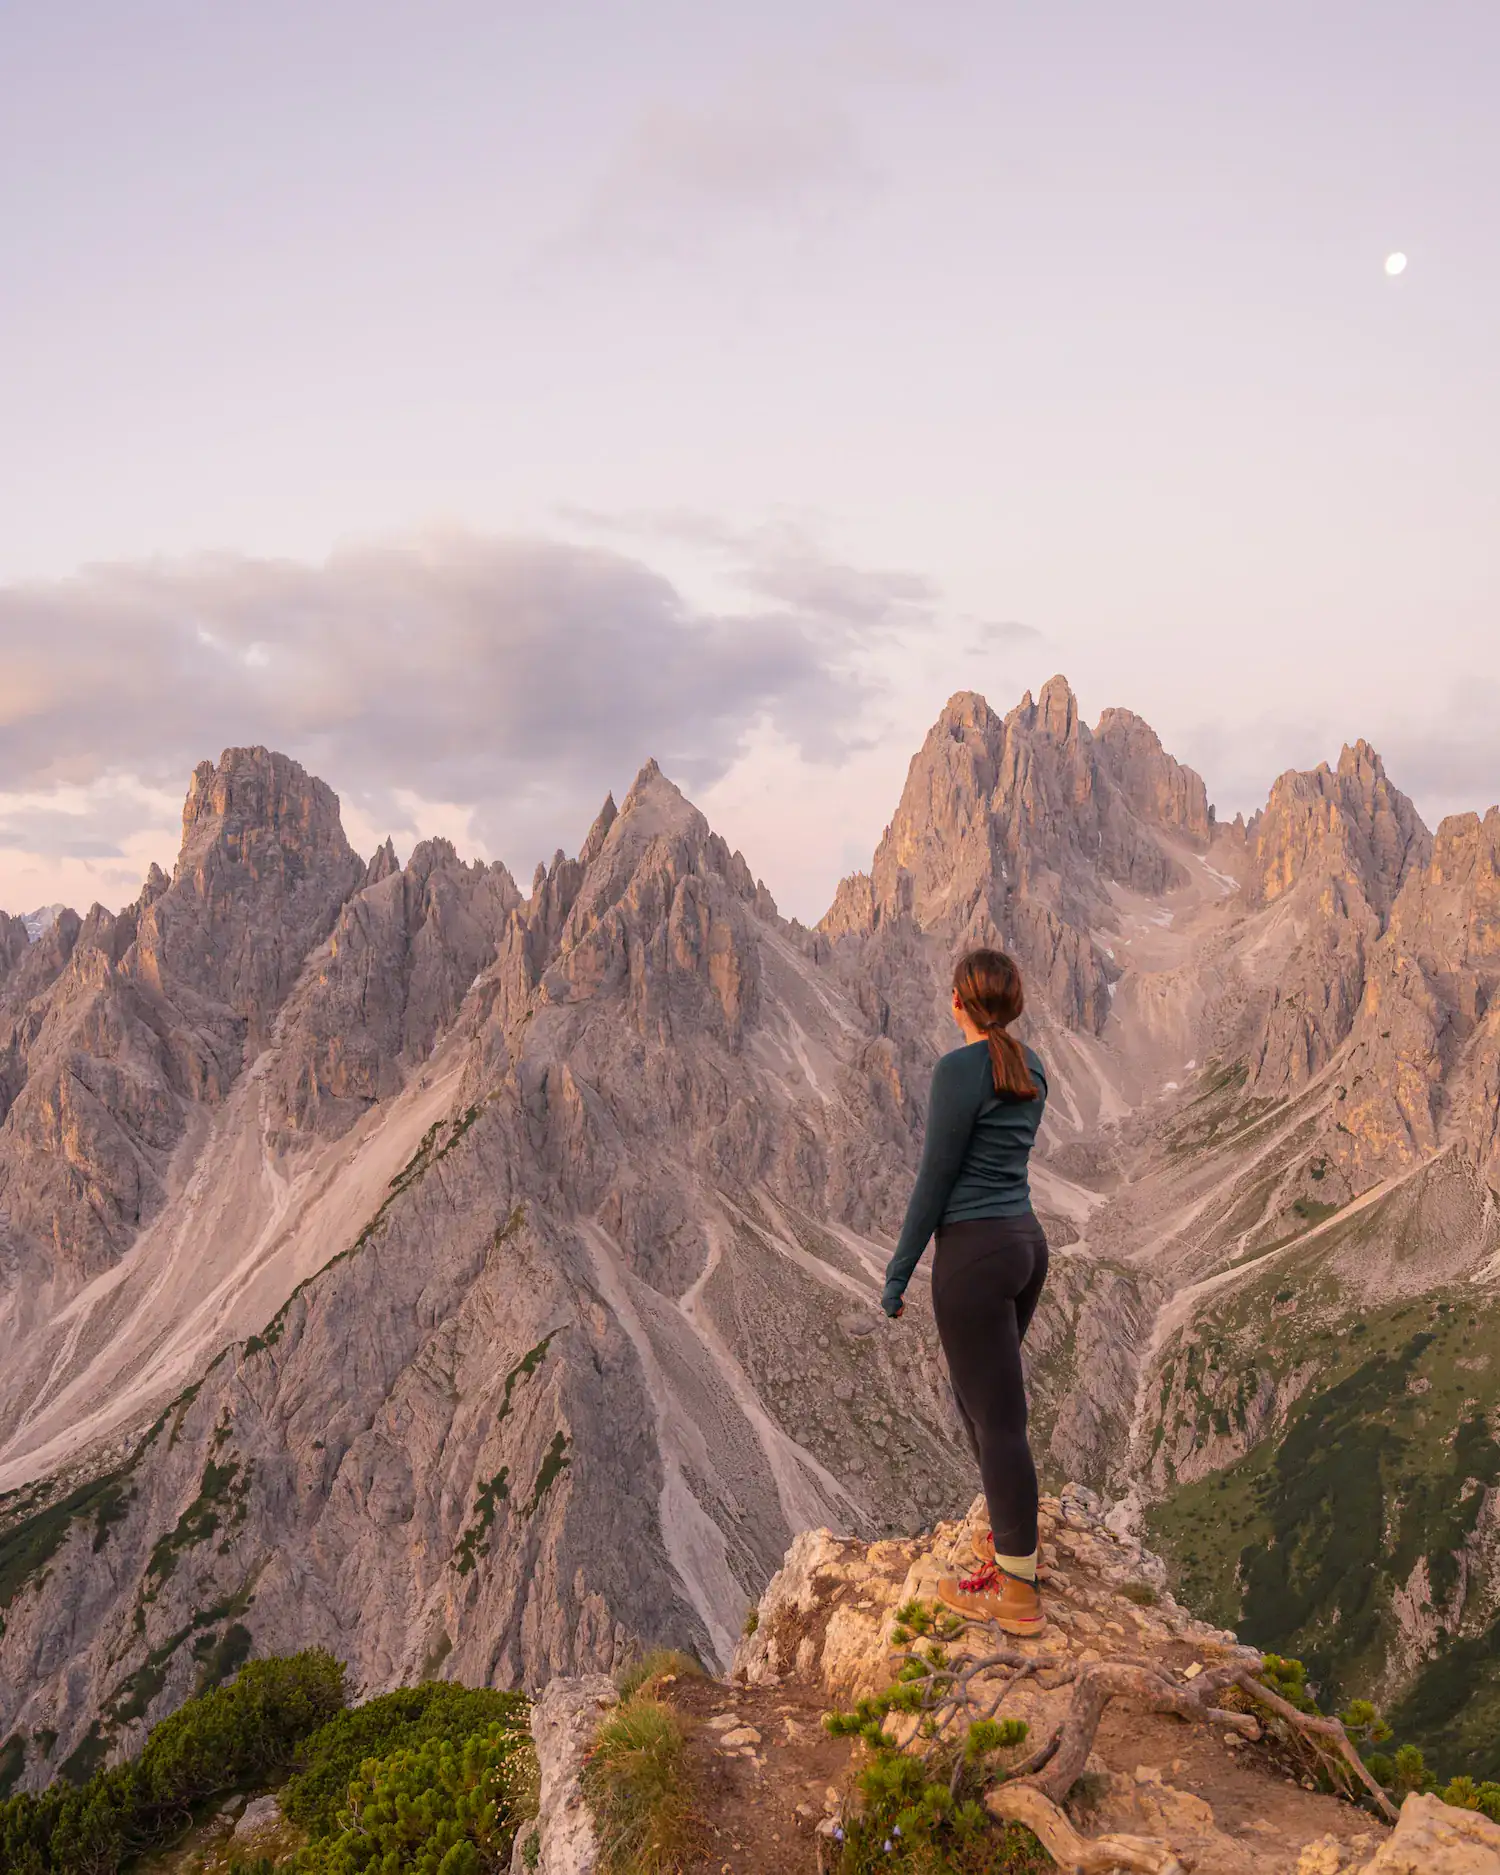
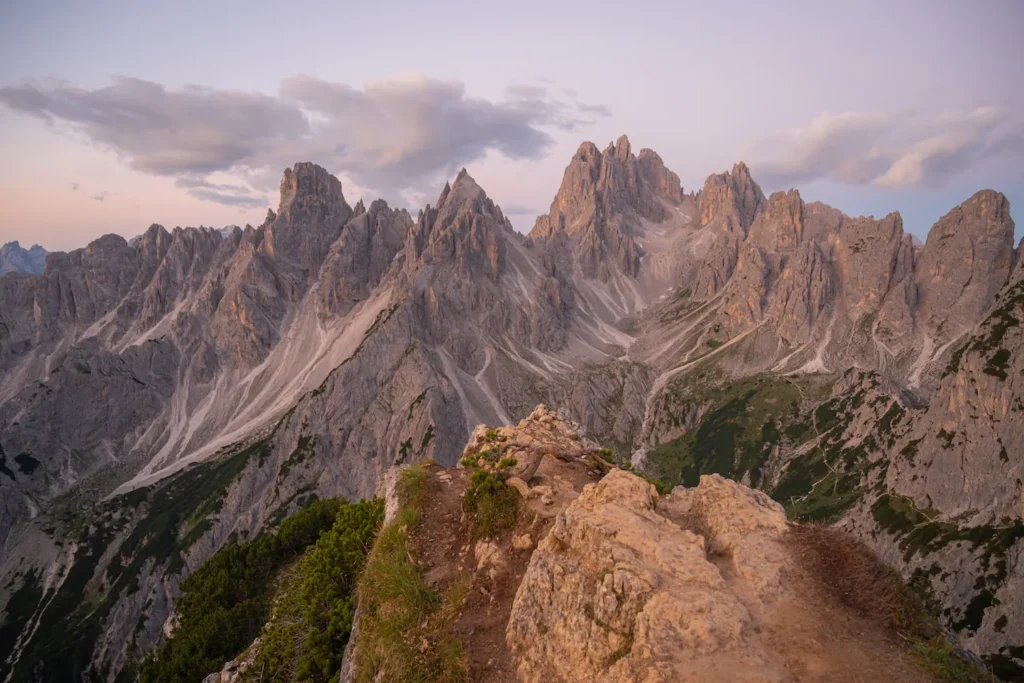
Cascading sharp peaks descend into a rugged mountainscape that will simply take your breath away. Cadini di Misurina is one of the most popular hikes in the Italian Dolomites for good reason. It’s hard to even comprehend that this spot is real.
We recently went on an amazing trip to the Dolomites and top of my bucket list was watching sunrise at Cadini di Misurina. So, I made sure to allow multiple opportunities on our itinerary to wait for the perfect conditions. Boy, did we get them.
There were a few puffy clouds in the sky, as the sun slowly ascended over the mountain tops and illuminated the tall spires overhead.
Unfortunately, after a long week of hiking through the Dolomites and tiring out my legs, I simply stood up from sitting on the ground at the peak of this trail and heard a loud POP. I ended up spraining my hamstring and straining my MCL leading to the descent taking much longer than expected.
But still, it was worth it.
So now, I’m going to let you know everything you need to plan the best hike up to Cadini di Misurina. It’s a must see!
Cadini Di Misurina Planning Guide
Quick Hike Info:
Distance: 2 miles/3.2 kilometers
Elevation: 525 feet/160 meters of gain
Type: Out and Back
Length: 1-2 hours total
Difficulty: Moderate
Things to Know Before You Go:
🅿️ Parking at the Tre Cime di Lavaredo requires reservations in advance. During the peak season, they can sell out, so it’s best to plan early.
📸 There’s one iconic photo spot that people line up for and wait for over an hour at times, which is good to know if you want that shot.
🦮 Dogs are welcome on the trail, but they must be kept on a leash.
⛈️ Weather can change quickly at the summit and trail can get very slippery when it’s wet. There are slick rocky patches and narrow ledges, so you will want to be careful as you hike!
🌿 Remember to always follow the Leave No Trace Principles to allow everyone to enjoy the trail!
How to Get a Parking Permit for the Tre Cime Area
Because of the popularity of the Tre Cime di Lavaredo area including this hike, parking reservations are now required from late May through early October, weather permitting.
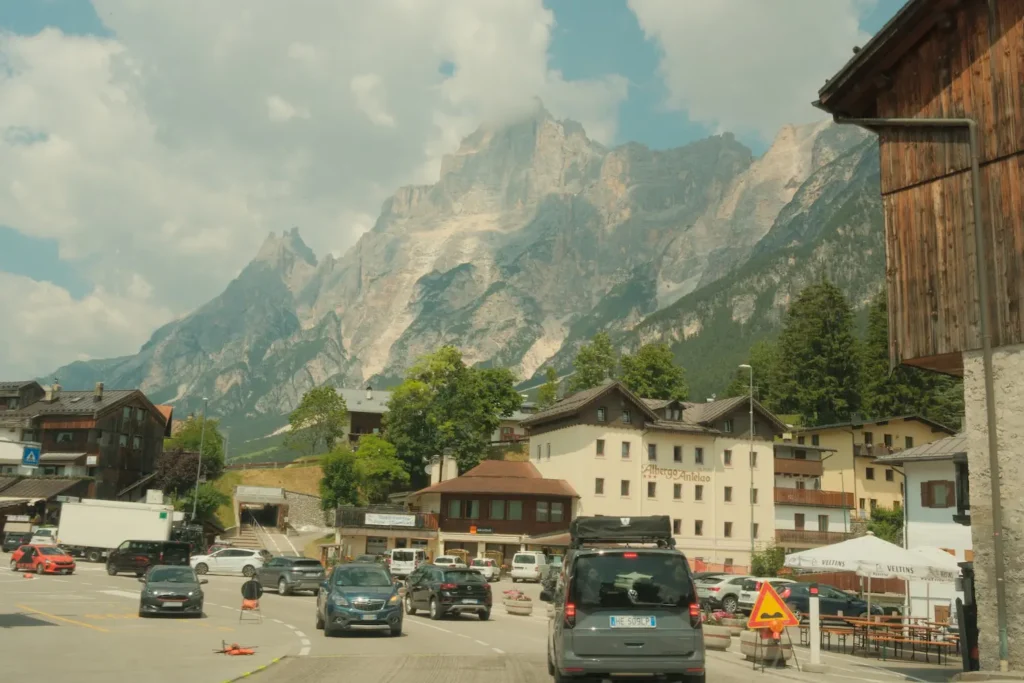
The road to Rifugio Auronzo is 6 kilometers long and suitable for RVs, cars, and motorcycles and at the top you’ll reach a large parking area.
However, in order to access this road, you will need to go through an automatic gate. This gate reads license plate numbers and gives automatic access to those who get permits.

- You can get parking permits up to 30 days in advance on this website.
- If you are renting a car, you do not need to put a license plate number, but you must update the reservation by 11:59 pm the night before with your rental car plate number. That’s how you get access.
- Permits are 40 Euros per car that you must pay when you purchase it.
- You will need to select a time for entry. The gate will not open for you before this time.
- Reservations give you access for 12 hours from the time on your booking.
We had some trouble with updating our booking to add the license plate number, but we were able to contact them by phone and they handled it very quickly!
Best Time to Hike There
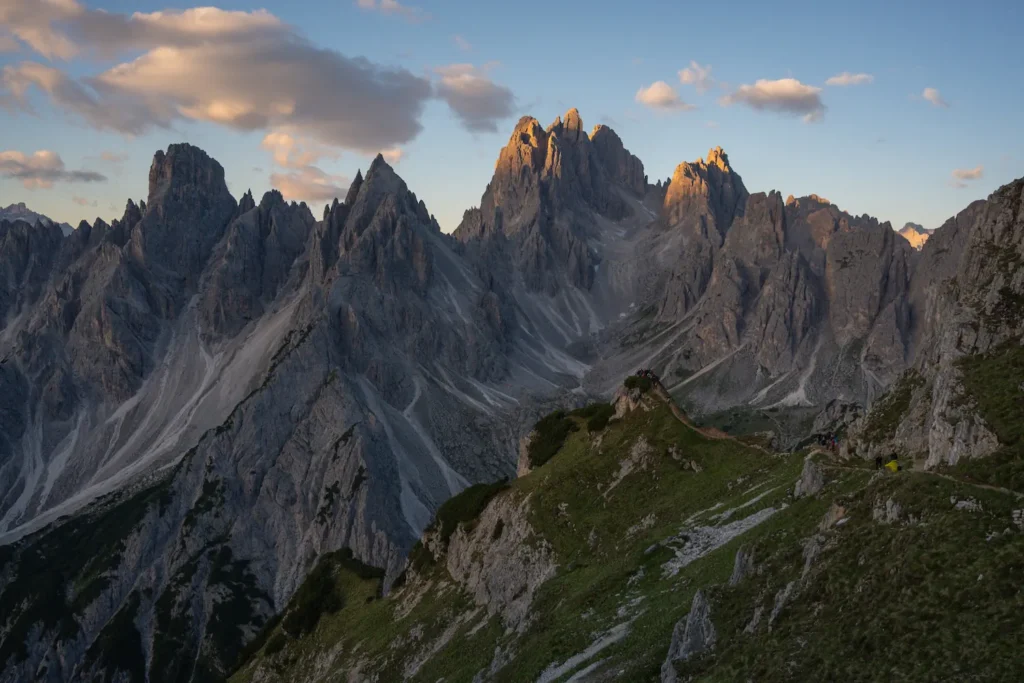
Cadini di Misurina is a vision at all times of day. But that being said, there’s something spectacular about watching the sun come up as the pinks and yellows start to light up the mountains.
And as a bonus, there are far less people at sunrise than there are throughout the rest of the day. We booked our parking permit for 4 am, so we could get there before the sun rose to start our hike.
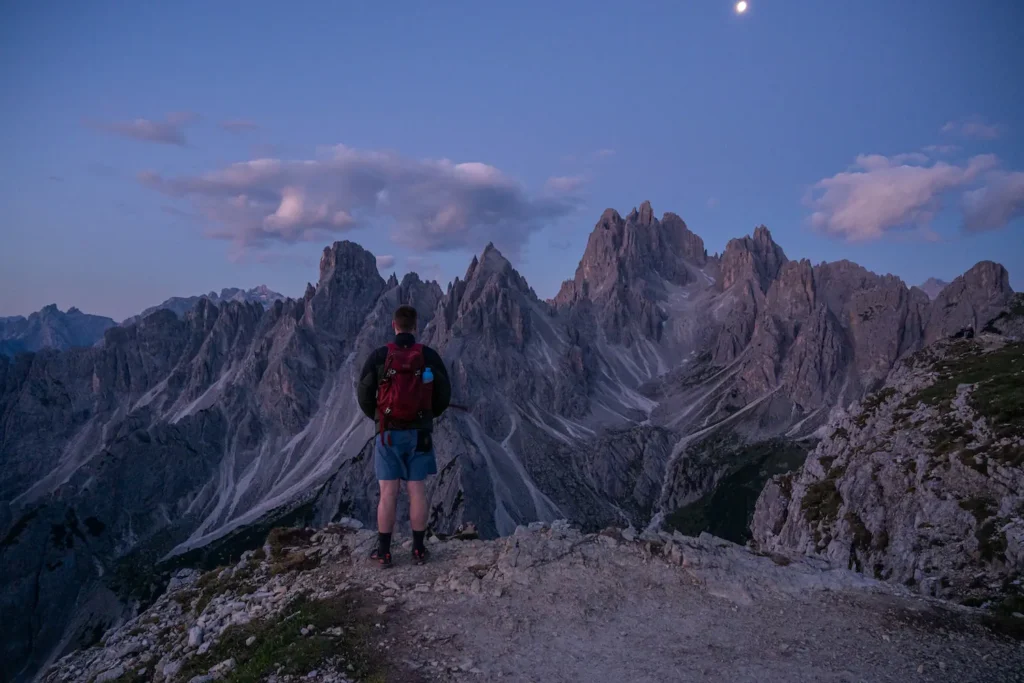
The trailhead is typically open from late May through early October if the weather permits, and it’s wonderful throughout the season. We went in late June and it was one of my favorite mornings that we had on our Dolomites trip!
Is Cadini di Misurina worth the hype?
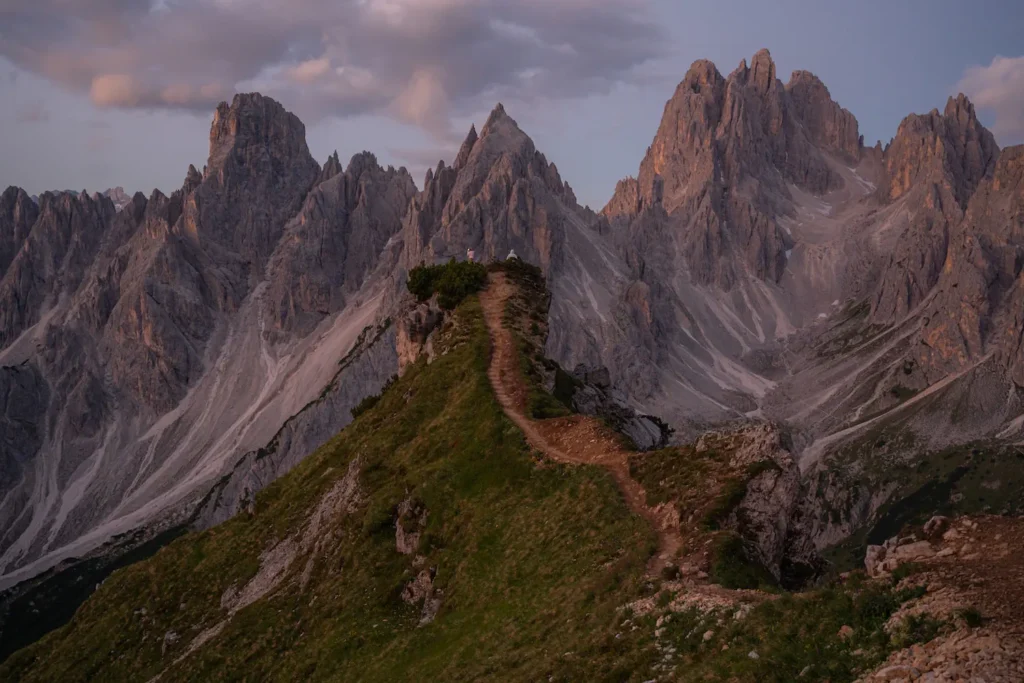
In my opinion, Cadini di Misurina is DEFINITELY worth the hype. I’ve been traveling and hiking for decades now and it’s probably one of the most insane mountain views I’ve ever seen.
That being said, people wait HOURS just to take photos in one particular spot on the trail where a lone path climbs up into the focal point of the mountain. I would never wait for one shot for that long. Plus, there are so many amazing spots and perspectives along the ridge line just above that spot.
Even though I think it’s worth the hype, I definitely recommend you get there before the sunrise. Crowds start coming by then and they don’t stop for the rest of the day!
So, you can enjoy the sunrise, with the pink colors glowing on the sharp mountain peaks and the crisp air makes you feel alive. It’s unforgettable.
What to Wear & Bring
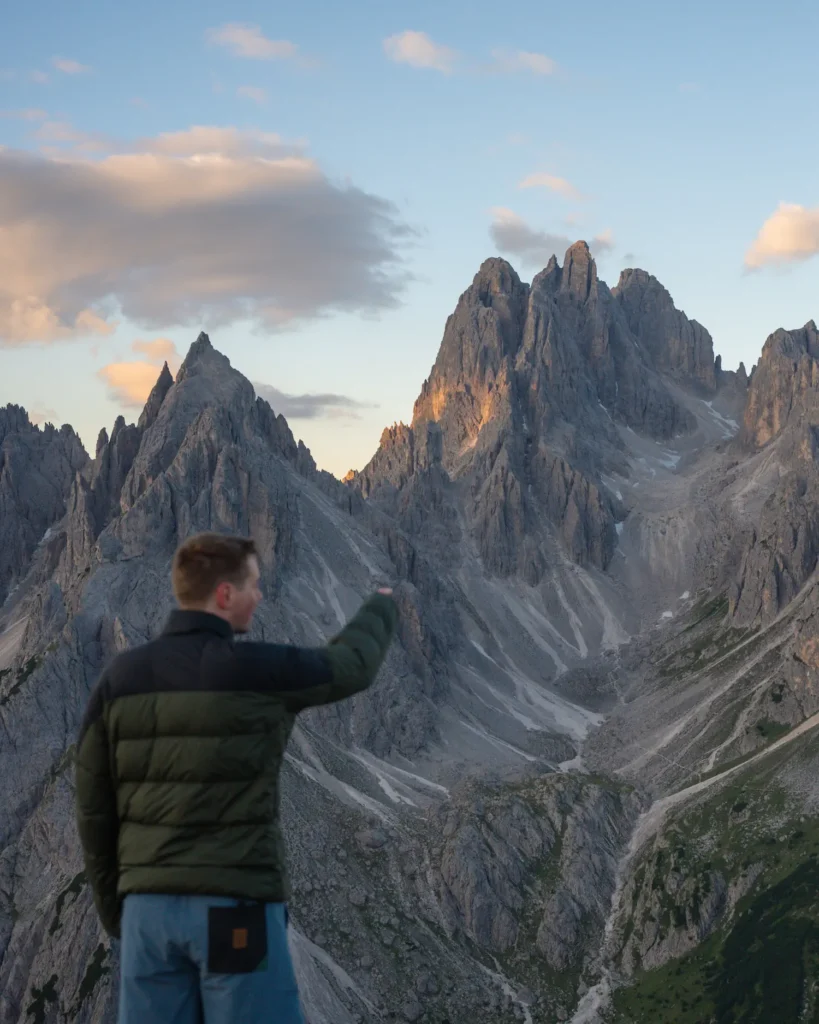
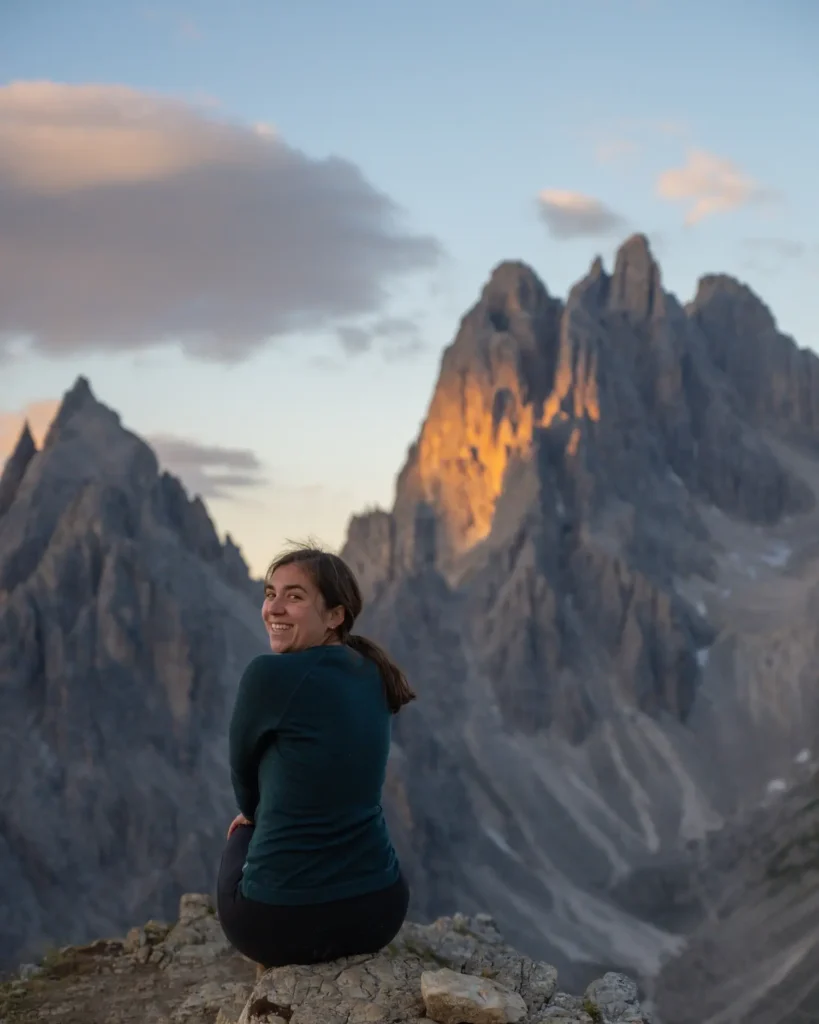
Although this hike is relatively short, it isn’t super easy. It has steep inclines with small rocks that make the trail slippery. I found myself slipping and sliding at times even in my relatively new hiking boots.
So, you will want to wear shoes that have good traction and if you have hiking poles, I’d bring them. They’ll help you feel more secure, especially on the way back down from the summit.
I had to hold onto my husband as I limped down the trail after my unfortunate injury and I definitely could have used poles for stability.
And don’t forget warm layers for sunrise or sunset, as the temperature drops when the sun isn’t out.
- Comfortable Hiking Boots
- Day Pack
- Hiking poles: Helpful for the loose rocks and steep inclines!
- Water Reservoir with 1 liter of water
- Headlamp: Good for sunrise or sunset!
- Snacks and Food
- First Aid Kit
- Sunscreen
- Sunglasses
- Warm Jacket
- Gloves
- Beanie
- Parking Permit Email
Cadini Di Misurina Trail Description
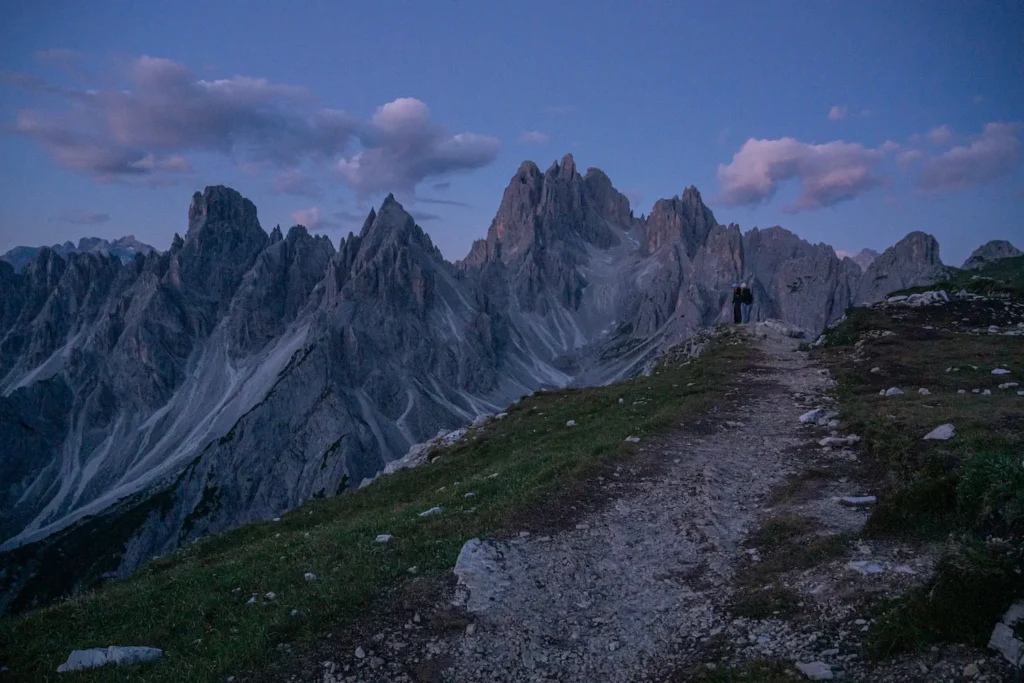
After parking at the Rifugio, you’ll make your way past the building and immediately down the hill towards the trail. There’s a flat path to the left, which leads to the Tre Cime di Lavaredo trail, that’s not the one you want.
As soon as you descend, you’ll notice that the path weaves and is not always clearly marked, but keep going in a straight direction you’ll make it.
There’s an initial descent, before you climb up a steep portion of the trail. We did this part in almost full darkness and used our headlamps to navigate the way, which made it tough.
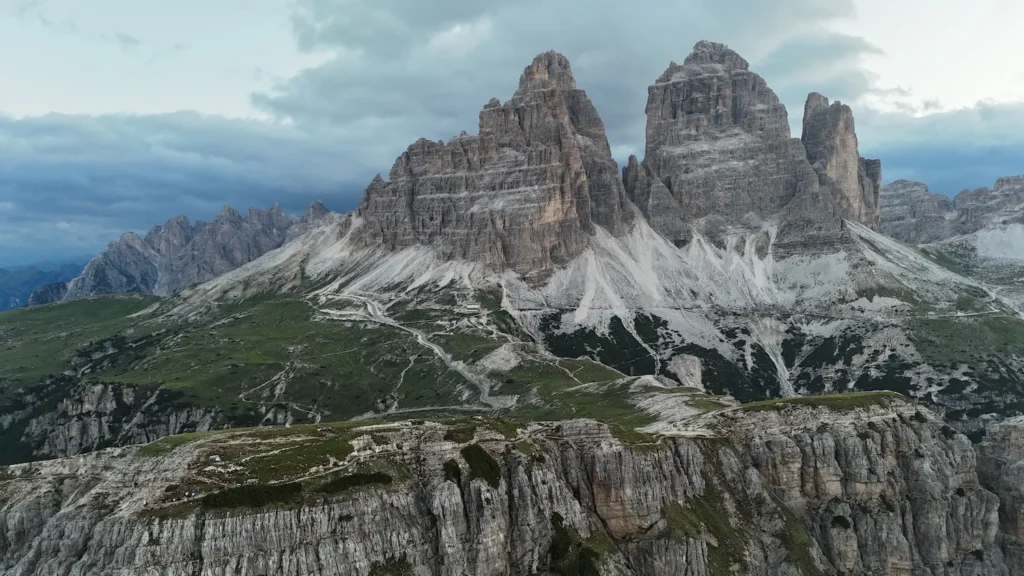
The three iconic slabs of Tre Cime sit above and behind you as you climb up this trail.
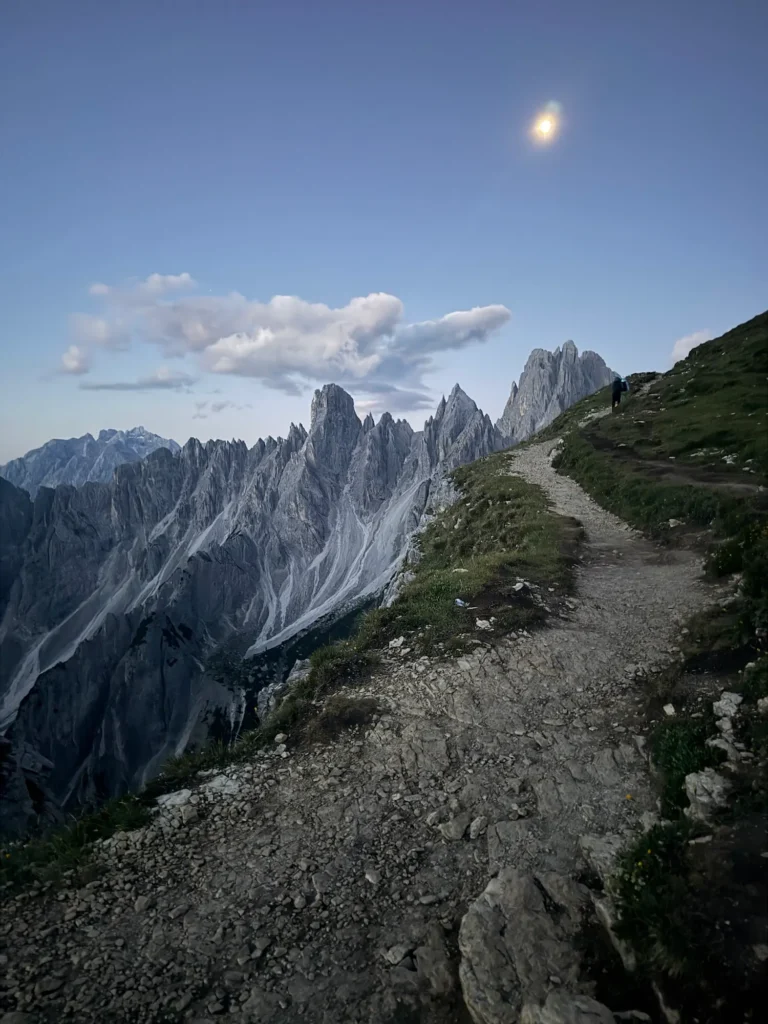
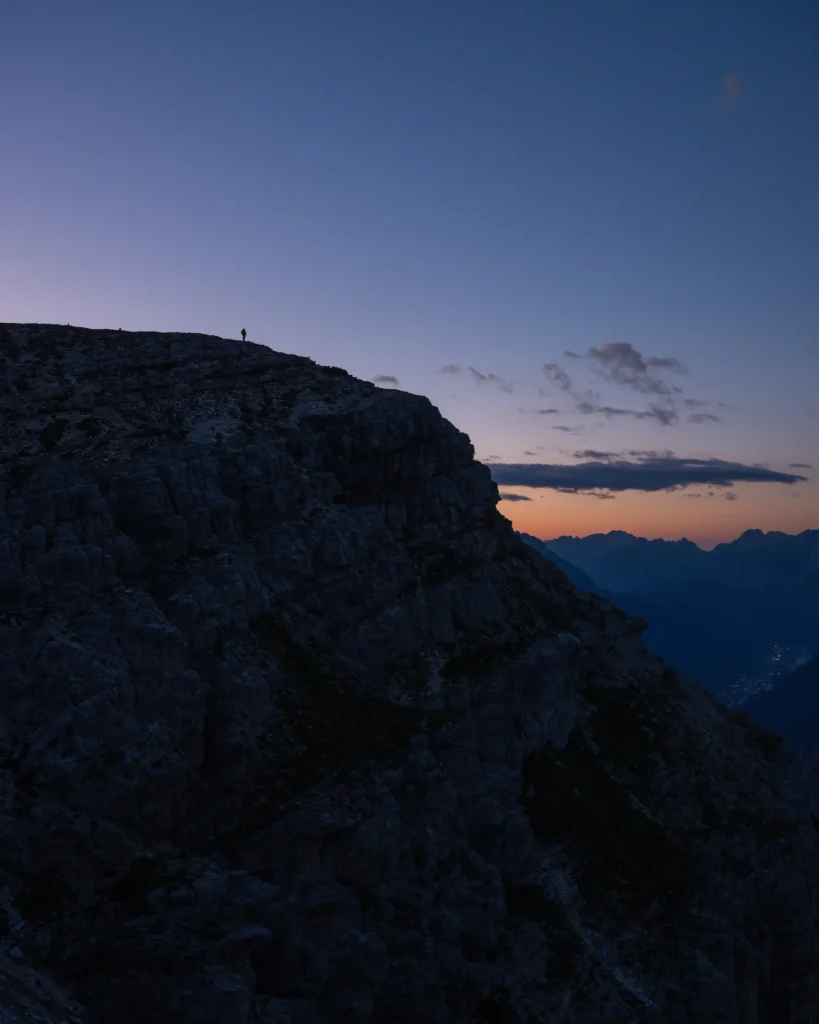
From there, you’ll get up over the hill and walk around the corner. Blue hour had just began as the first steep pinnacles came into view, I took out my camera immediately. I simply couldn’t believe my eyes. There were peaks in all directions.
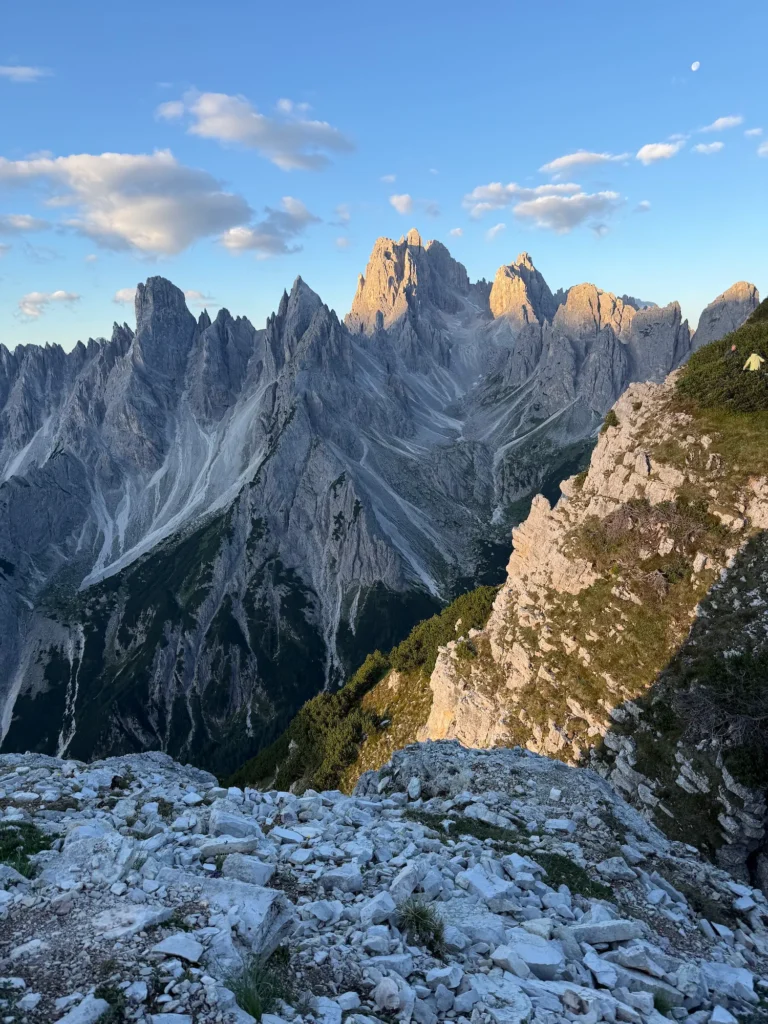
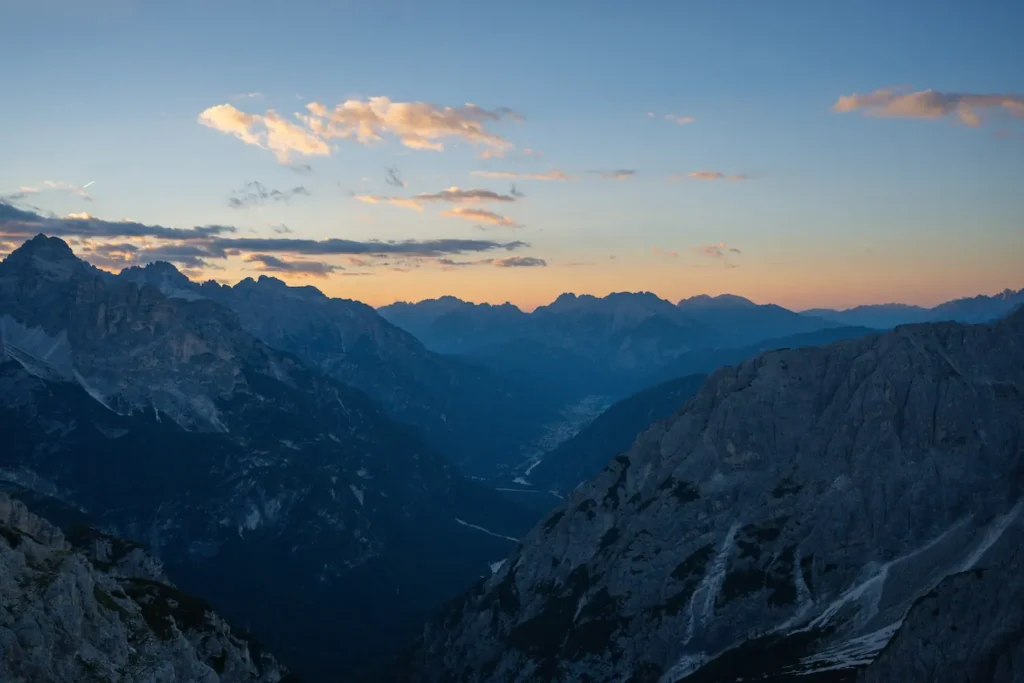
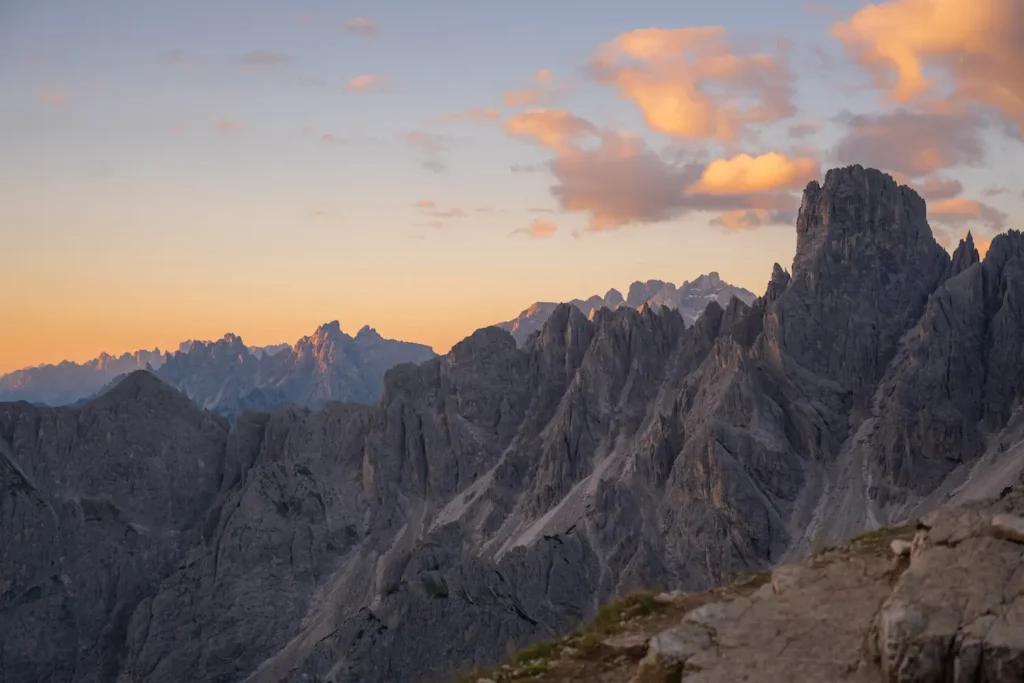
Then, you continue following the mountain side along a narrow path that falls off to one side. Be careful and go slow over this section. You’ll know you’ve made it to the end when you see the singular photogenic path climbing up towards the mountain.
So, stop, enjoy the view, and take plenty of photos of this resplendent landscape.
Final Tips for Hiking Cadini di Misurina
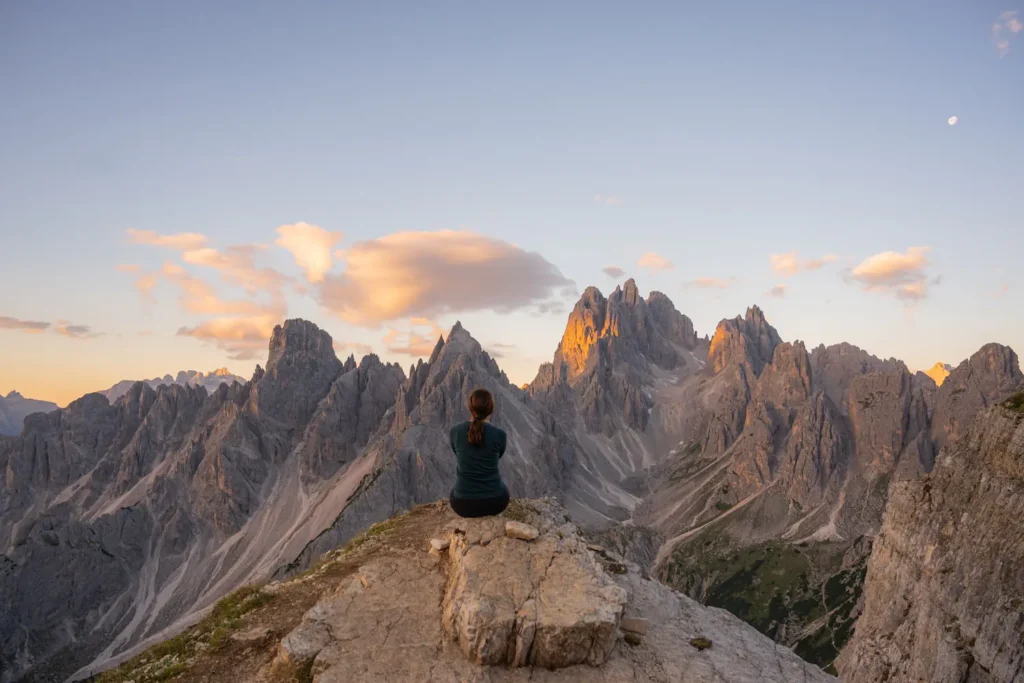
Despite my injury on this hike, it was still one of my favorite memories on the trip. And, let’s be honest that means I really won’t forget it.
My final tips for you are to walk around the entire summit area, because there are so many different vantage points to see. And, don’t forget to turn around to take in the iconic Tre Cime peaks as well. If you have more time or energy, you can combine the two hikes during your day!
I hope you fall in love with this area and happy trails. 🥾
Let me know if you enjoyed this blog post in the comments!
📍 Pin Everything You Need to Know to Hike Cadini Di Misurina to Pinterest