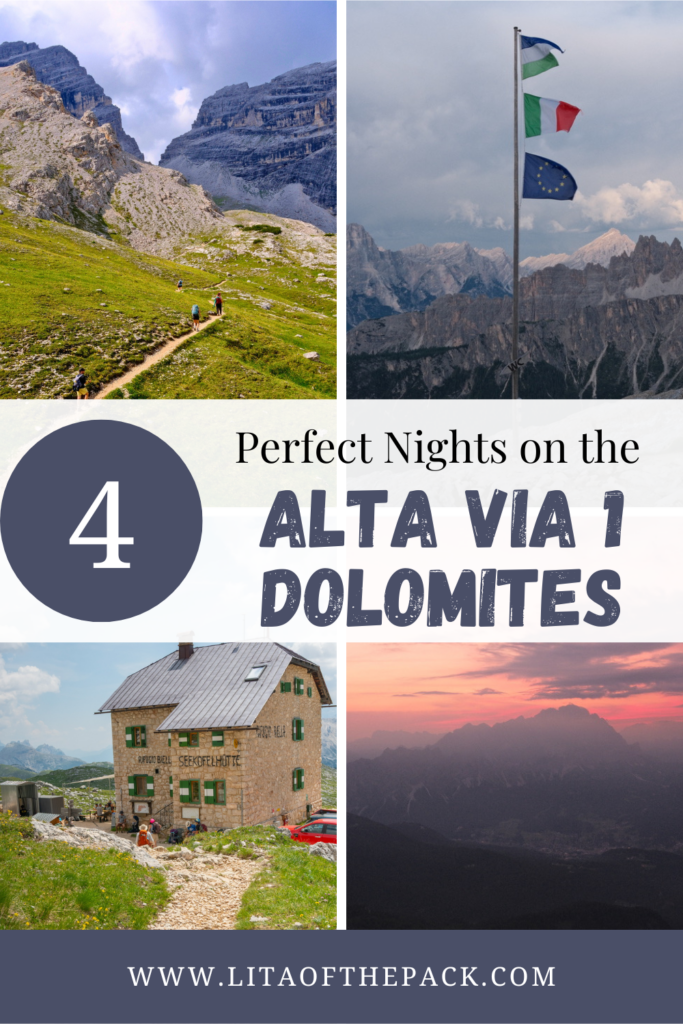
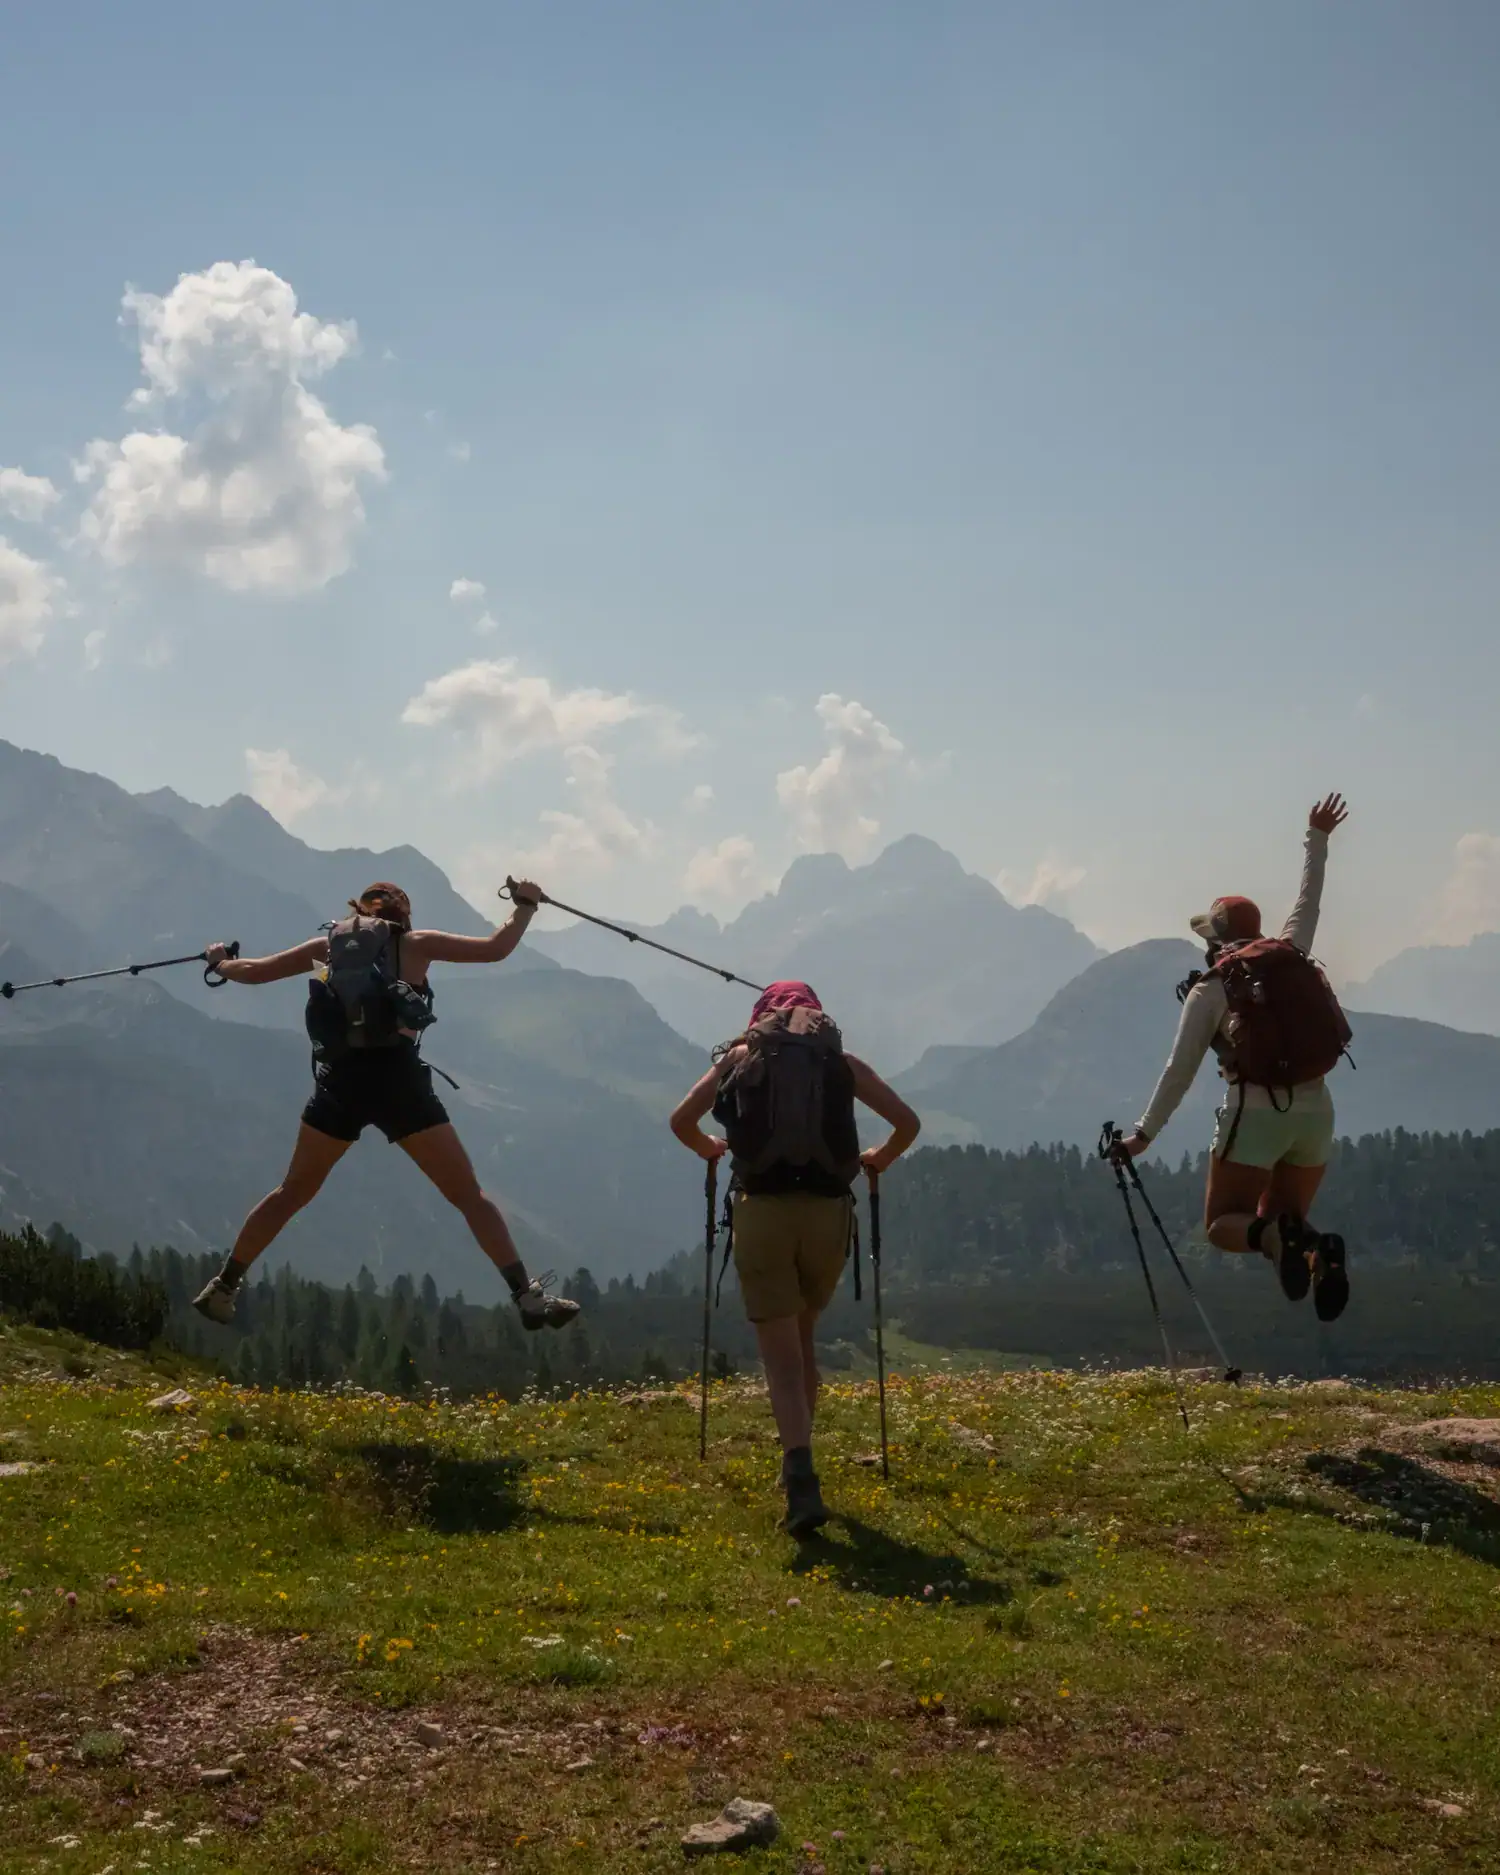
Jagged mountain peaks, flowering meadows, foamy cappucinos, warm beds… all while hiking? That’s what to expect on the stunning Alta Via 1 in the Italian Dolomites.
Trying to plan our shortened Alta Via 1 trek, was one of the most difficult trips I’ve planned. And I’ve planned countless vacations. There were so many logistics that we had to figure out and sort through and I couldn’t find a good resource for it all.
So, that’s why I wrote this blog detailing exactly what you need to know to plan a shortened route on the Alta Via 1. It will hit some of the most scenic parts of the trail, give you a taste of hut to hut hiking, and then allow you to get back to staying in hotels or continuing your travels elsewhere.
This shorter Alta Via 1 route takes four nights and it’s perfect for people that want a taste of hut to hut hiking without the longer commitment. Either this is your first time doing one, you only have a short amount of time, or there are other things you want to do after the trek. If you fall into one of those categories, then this is for you!
Let’s get hiking! 🥾
Disclaimer: There are affiliate links in this blog post. I may get a small commission at no extra charge to you. As always, I recommend gear, products, and places that I have personally used or trust. Thanks for your support!
Alta Via 1 Logistics Planning
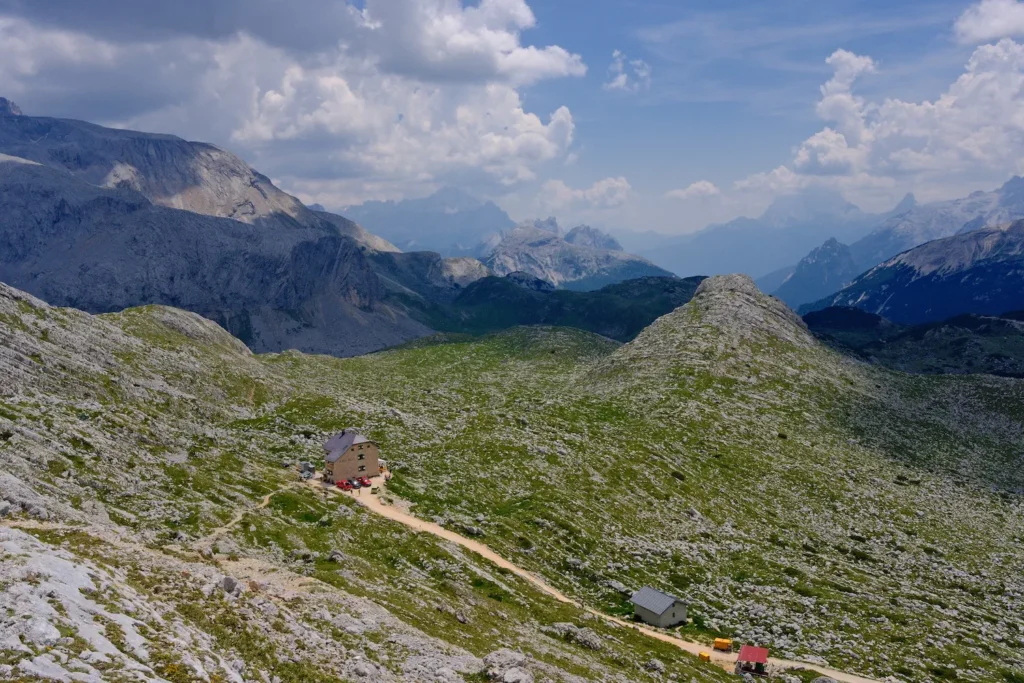
Best Time to Do the Trek
The Alta Via 1 is best traveled from mid-June to mid-September. Otherwise, the high peaks may still have snow lingering on them.
During the summer, wildflowers cover the meadows and sunshine fills the morning, but afternoon thunderstorms can be harsh and sudden. This is also a popular time, so more people will be trying to get hut reservations. We went in late June and honestly, it felt like the perfect time.
We had some difficulty booking the most popular huts, but otherwise we got everything we wanted and had beautiful weather!
While in the late summer and early Fall, it will definitely be a bit chillier. So, you will need to pack some extra layers for your trek.
When to Book Rifugios
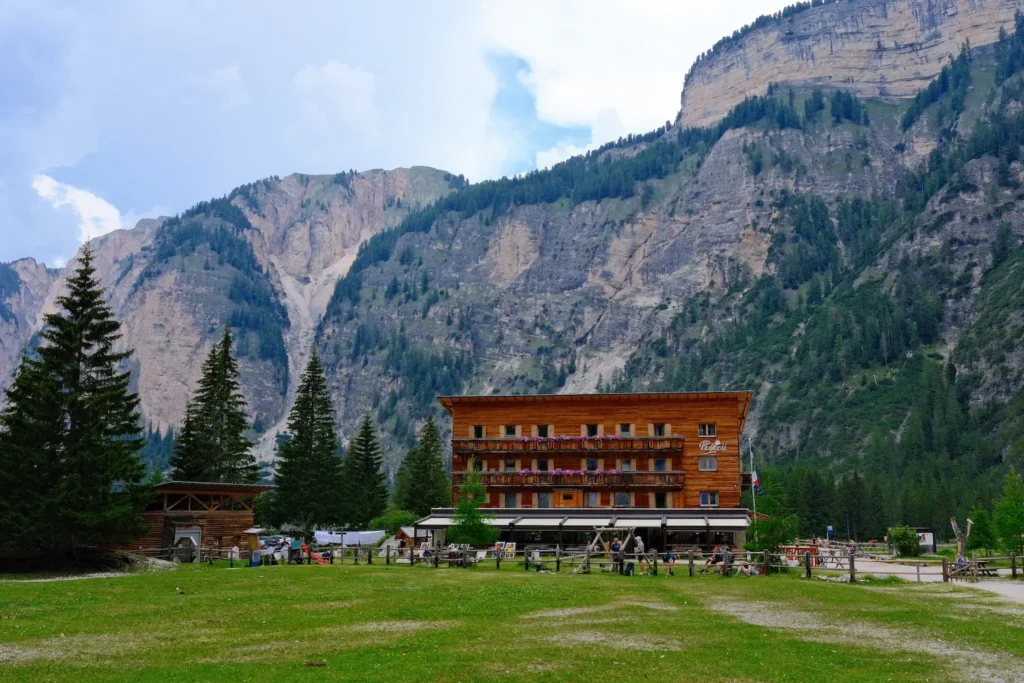
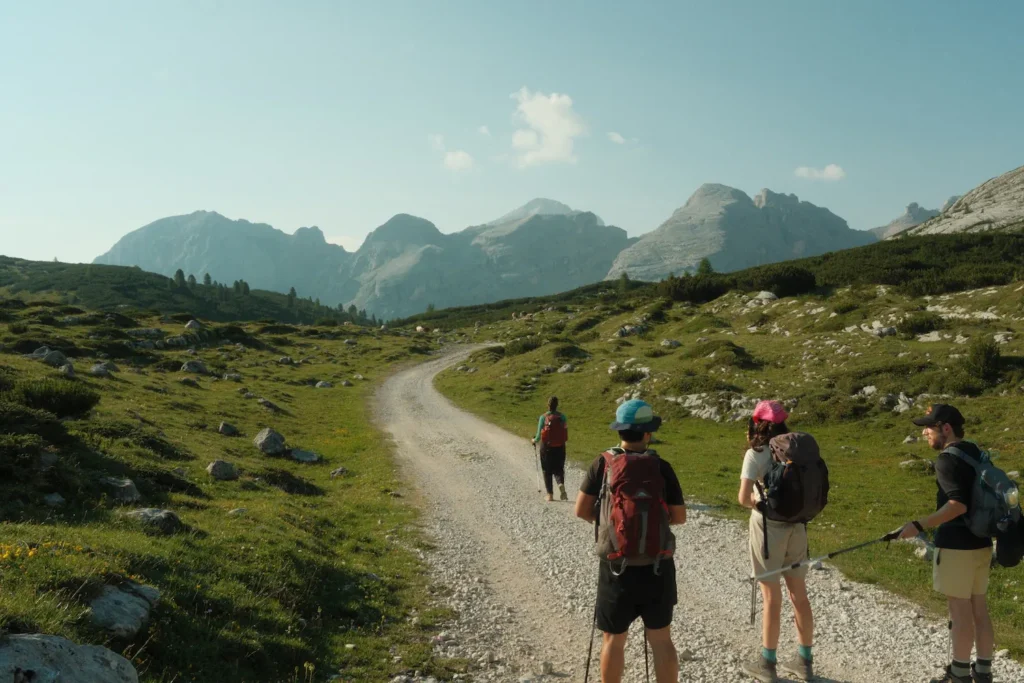
Honestly, this is the hardest logistical part of the Alta Via 1 and the most frustrating pain point.
Rifugios open for reservations at various times. Some of them open for summer reservations as early as October of the previous year, while others don’t open until February of the same year. Then, many of them sell out right away.
My friends and I started planning our trip in early December and we had already missed getting reservations at many of the rifugios we wanted. They were completely sold out of beds. 🥺
So, my biggest tip is to PLAN EARLY!! Figure out the exact huts that you want, go on their websites, and see when reservations open. Once you know, put those dates in your calendar and get ready to book as soon as they open.
💵 Most of the rifugios require a deposit of 50% that is generally not cancellable, so you should be committed if you’re booking them.
What to Expect at Rifugios
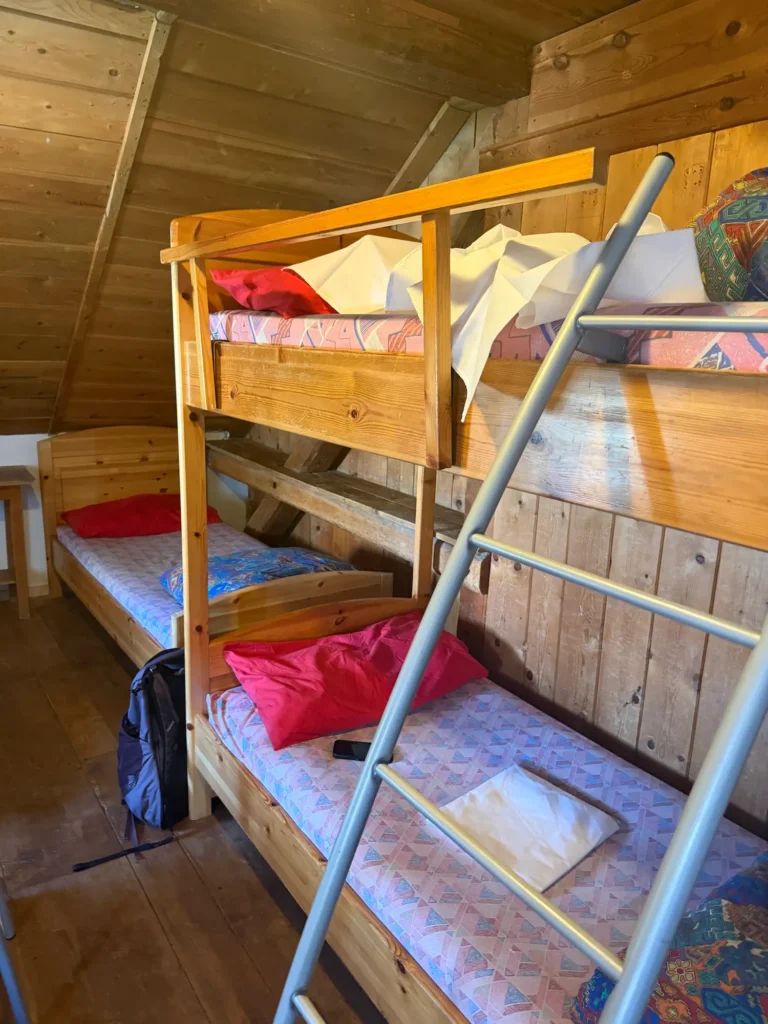
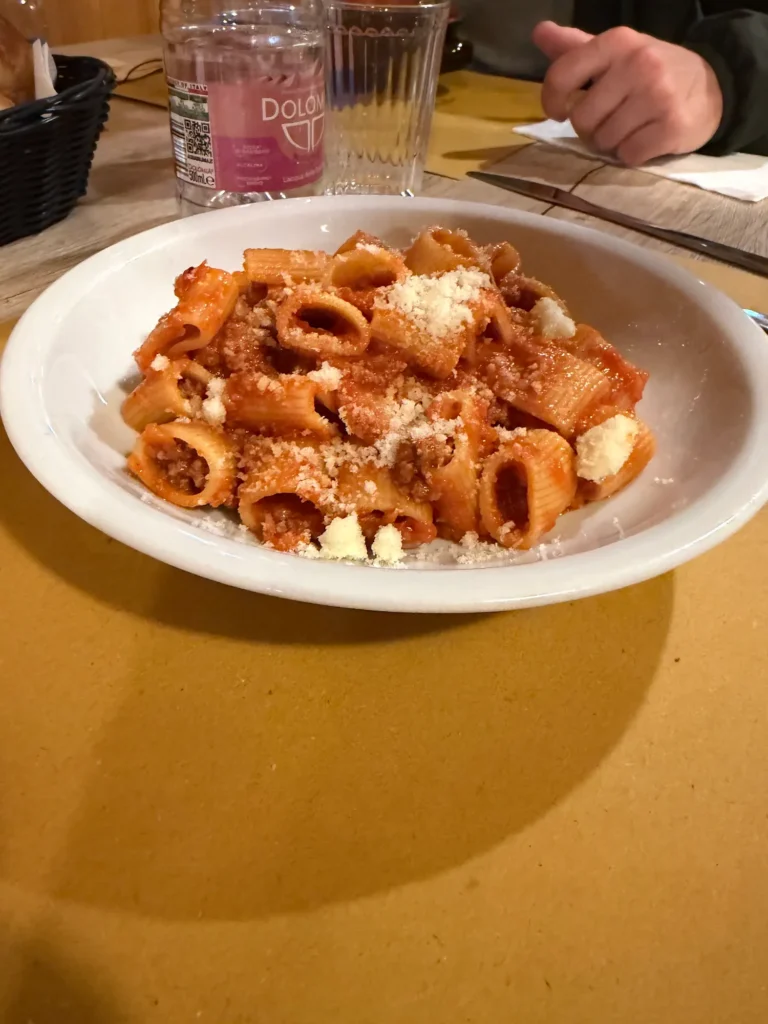
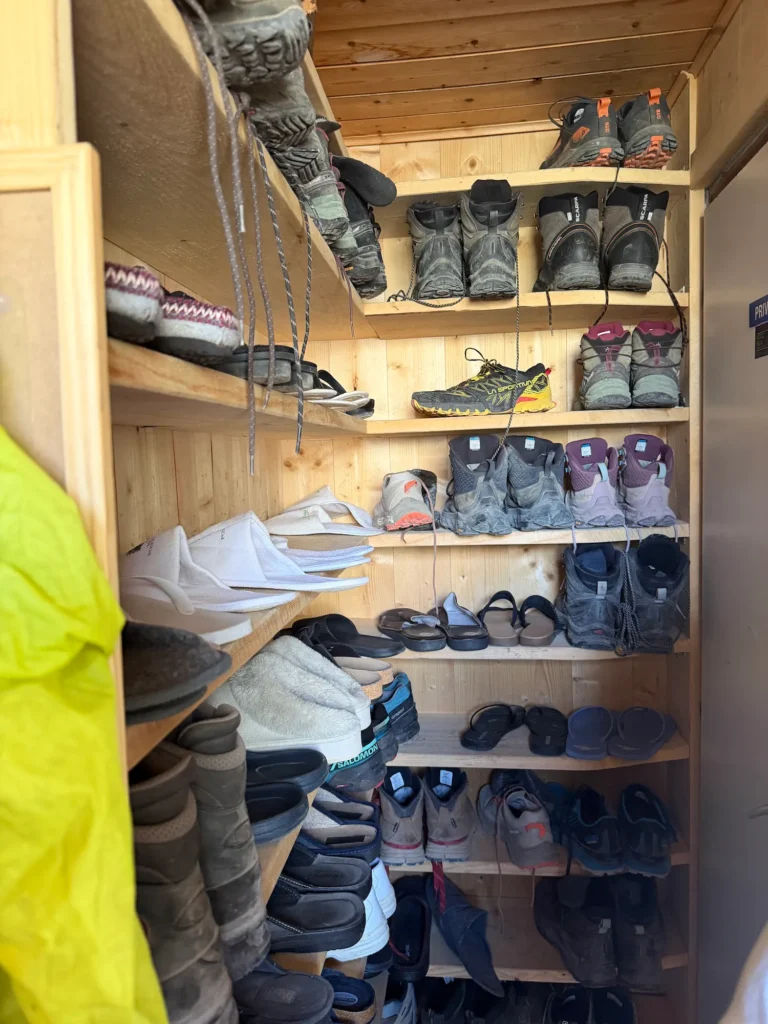
Most rifugios are quaint and charming, while also being bare bones. Because they are located up in the mountains, they often don’t have service.
- Half board. When you book a rifugio it usually comes with half board, which means that dinner and breakfast are included. Dinner is typically a first and second course, while breakfast consists of pastries and yogurts.
- Limited Showers. Because you’re up in the mountains some rifugios have no showers, and others have time limits. Expect short camp showers during your stay.
- Shared rooms. While you can book private rooms at some huts, most of them consist of shared rooms with bunk beds. Get used to meeting strangers, wearing an eye mask and putting in ear plugs.
Where to Leave Your Suitcase
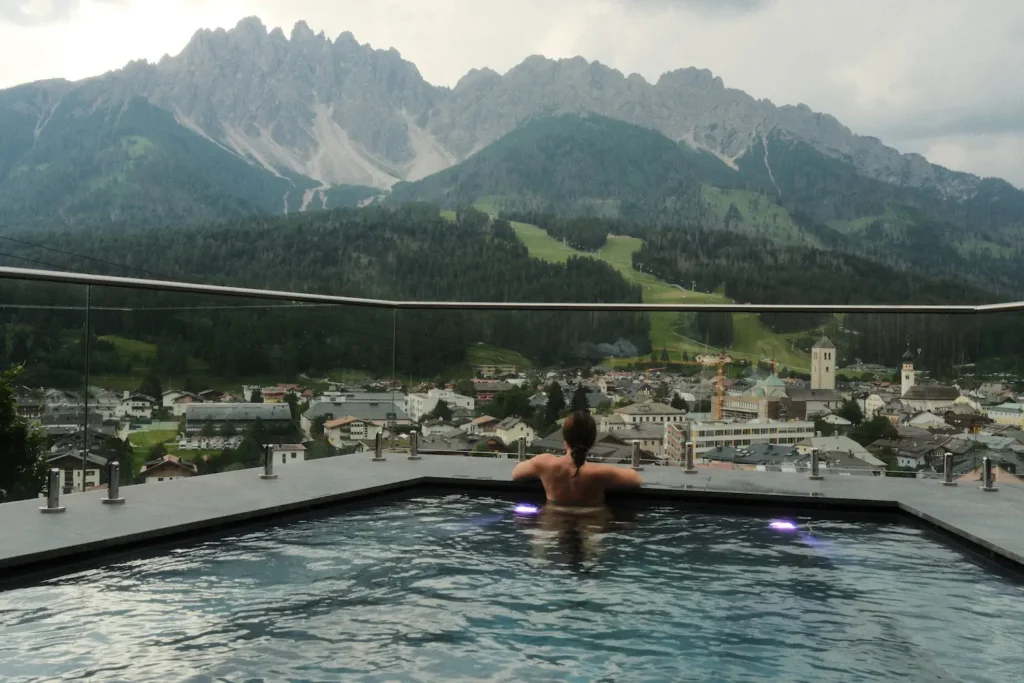
One of the things that I was most worried about when planning our trip, was what we would do with the rest of our stuff. The Alta Via 1 was just part of the vacation, so we had other stuff we wanted to store.
There are three main options for storage:
- At a hotel
- Using Bounce or other storage service
- In your car
We were very lucky that our accommodation after the trek, Naturhotel Leitlhof, agreed to hold our bags the entire time. It was just a 10 minute drive from the train station, so it was the perfect spot. I recommend this if your hotel allows it.
The next option is to use Bounce or a similar service. It’s a service that allows you to choose a place to store your luggage and it’s usually a few euros a day. We met a couple of other hikers who used this service and said it was very convenient!
Finally, if you’re really in a pinch, you can leave it in the trunk of your rental car. However, I would only do this if you have no valuables in your things and the trunk is completely secured or covered.
What to Pack
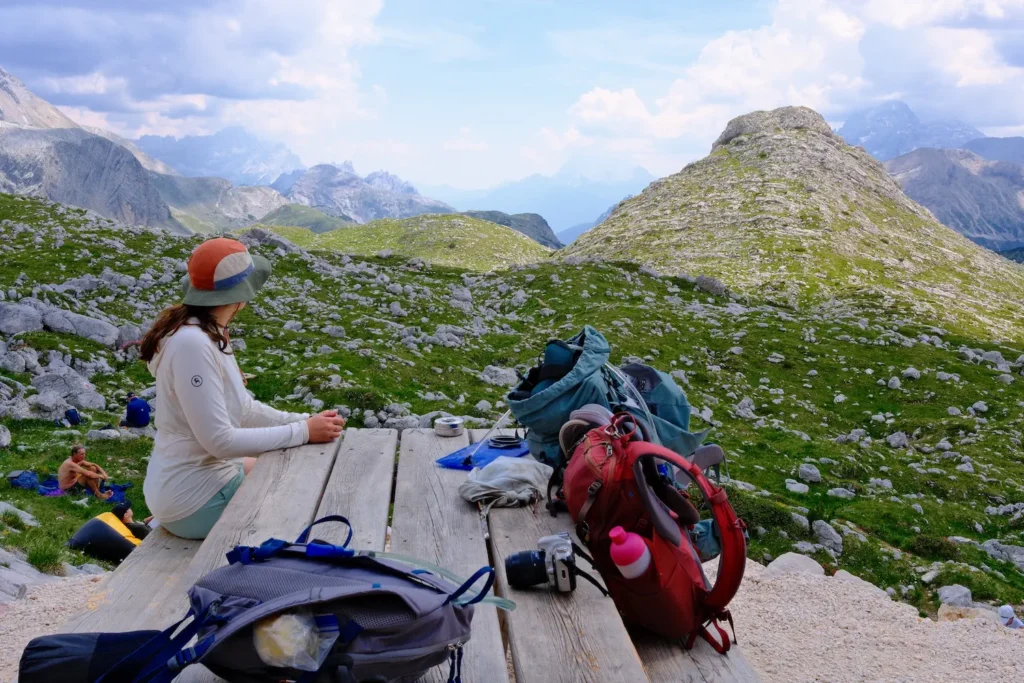
I wrote a detailed packing guide for the Alta Via 1. But, below are some of the essentials that you absolutely need to bring on your trek!
slippers
Rifugios require that you bring a pair of inside shoes to change into. Most of them have a room where you will put your dirty hiking shoes. And let me tell you… it smells. 🤢
Slippers can be anything that slip on like crocs, actual slippers, tevas, or birkenstocks. They aren’t very strict as long as you aren’t walking around in your outdoor shoes.
cash
While many of the rifugios accept credit cards, some of them high up in the mountains do not.
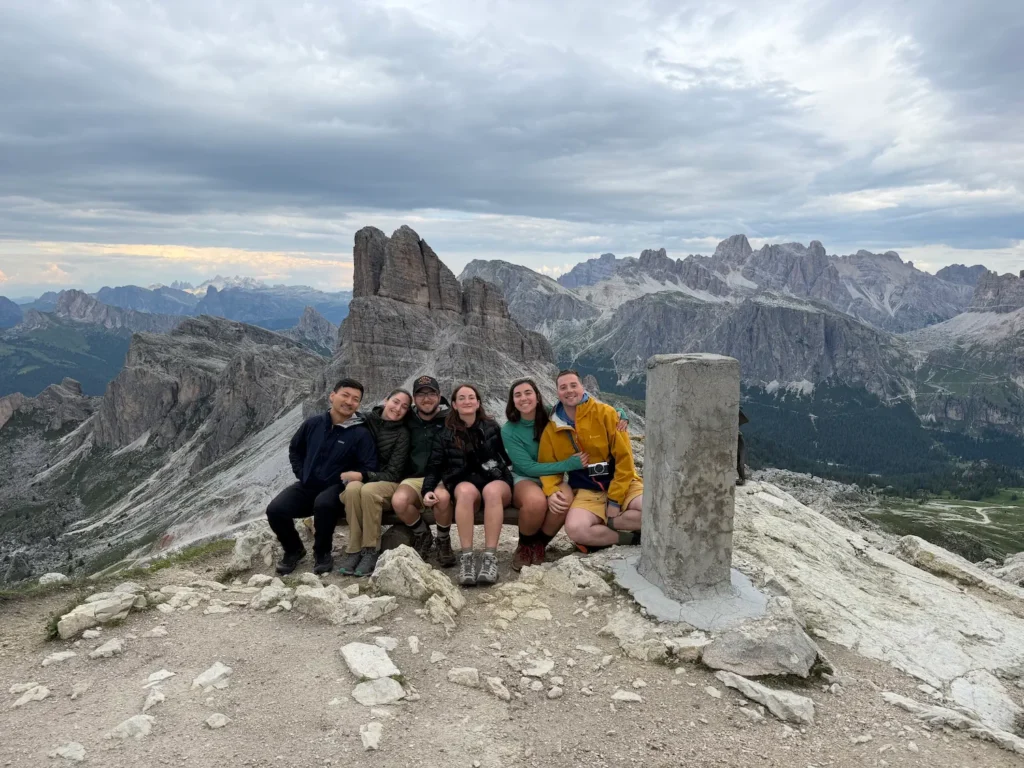
When you arrive to the rifugios, they usually require that you pay them the second half of the room in cash. So, each of us carried around 50 to 75 Euros per person per day. We ended up having some extra at the end, but it’s better to have more than less.
water & Snacks
Although there are plenty of huts that you can stop along the way at to grab some fuel, it’s important to arrive prepared.
We all brought tons of electrolyte packets, bars, and sweet treats to keep us going on the trails. I recommend planning out your water storage before you go and being able to hold at least 1.5 liters per person.
In terms of refilling water, there are springs along the way to refill, you can use the water at the rifugios, or you can buy water bottles from them.
Sleeping bag/liner
Again, most rifugios require that you use a liner or sleeping bag on their beds. They provide pillows and blankets, but they want an added layer of protection.
Some rifugios require disposable liners and others will sell you liners if you need them for a few euros.
However, I liked having my sleeping bag liner with me. It’s super light, comfortable, and easily fit in my day pack. I used it at two of the huts we stayed in on our trek.
waterproof layers
Like most high mountain peaks, the Dolomites are known for quick and violent storms. They can roll through without much warning.
One day we had to find shelter while it hailed violently for 90 minutes straight. ⛈️
So, you will want to bring waterproof layers for both yourself and your pack. I like using a waterproof cover for my backpack and then lining the inside with a garbage bag to keep things extra dry. It’s necessary at times!
Read all the details about what to bring and leave behind here!
How to Get to the Start of the Alta Via 1
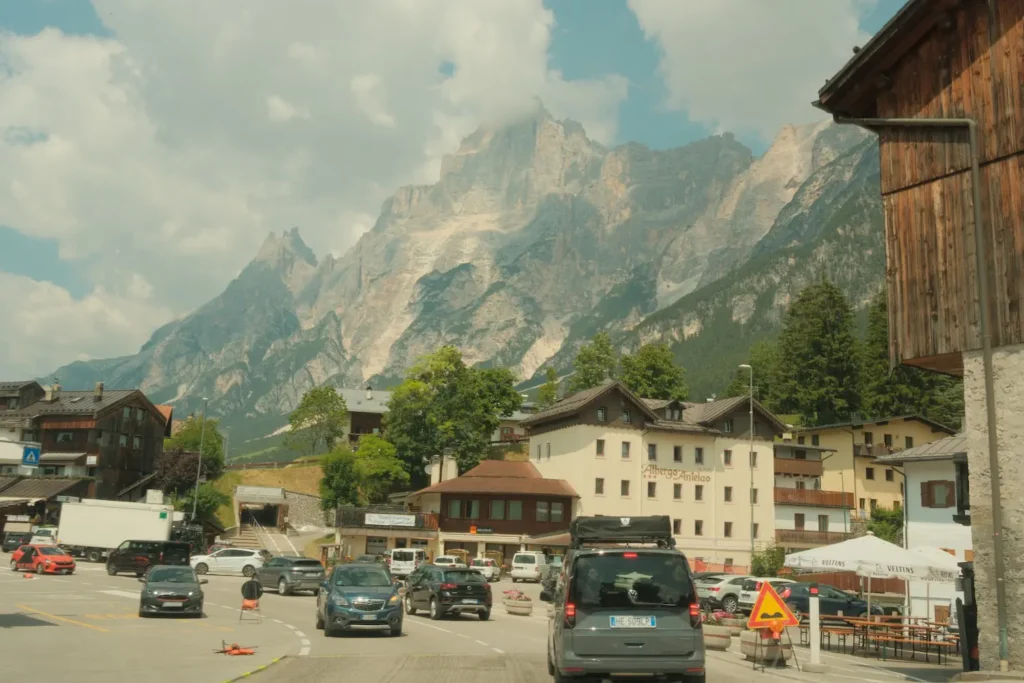
If you’re doing the typical shortened route, then the Alta Via 1 will start from Lago di Braes or Pragser Wildsee in Fanes-Sennes-Prags Nature Park. So, you will need to figure out how to get to this point, which I’ll go through below.
flying in
If you are flying to the Dolomites, then you can either fly into Venice Marco Polo Airport or Innsbruck in Austria. I recommend flying into Venice, so you don’t have to add extra logistics with crossing borders.
From Venice, you will need to either rent a car and drive 2.5 hours or take one of the many buses into the Dolomites. There are direct bus lines that will take you from Venice to Cortina d’Ampezzo. We got a rental car, so that we had more flexibility when traveling around the Dolomites.
Getting to Lago di Braes
I recommend spending a night in the area, before you start your trek on the Alta Via 1. So that you can get a bright and early start on the trail. We stayed at an adorable VRBO in Sesto, which was really conveniently located for the trek.
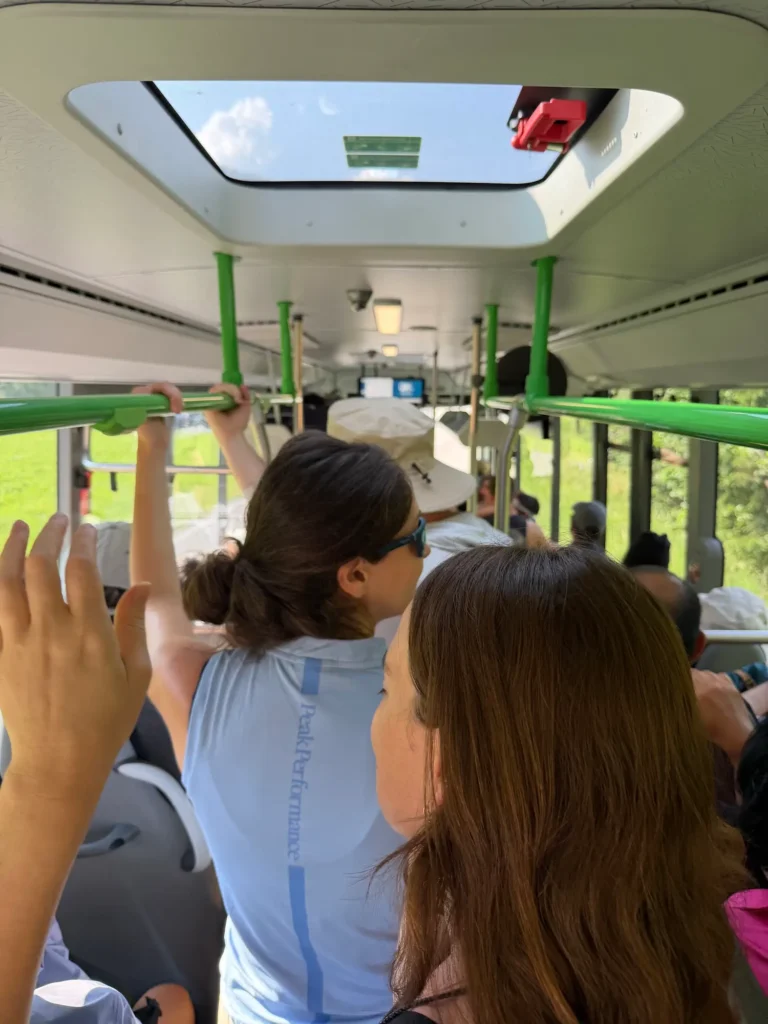
From there, you will need to take a public bus to Lago di Braes. There are two lines that you can take: 442 from Dobbiaco & Villabassa or 439 from the Welsburg train station.
🎟️ Online reservations are required for the buses to Lago di Braes from July 1st to September 15th. Tickets are 13 Euros a Person.
We took the 442 from Villabassa, because we could leave our car there for free!
Where to Leave Your Car During the Trek
Another thing that stressed us out before heading out on the trek was where to leave our car. We though that we could park for free at the Dobiacco train station, but when we showed up they only had paid parking!
Luckily, we did some quick googling and figured out there was free parking at Villabassa, just 8 mins down the road and also directly on the 442 bus line.
All that being said, you can park your car for free at the Villabassa Train Station or the Montguelfo Train station without a time limit. So, you can easily leave your car and take one of the two buses directly to Lago di Braes.
Where to Stay Before or After the Alta Via 1
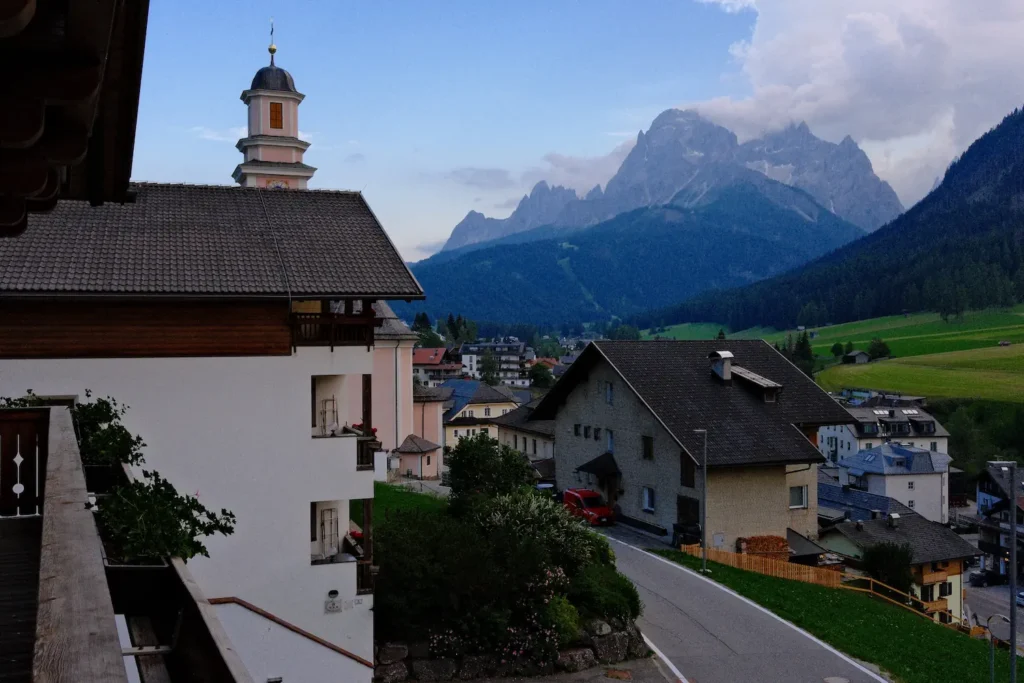
There are a few popular mountain towns to stay in before and after the Alta Via 1. We stayed in Sesto on the night before our trek and again after our trek. But, I’ll outline the best options below.
Cortina d’ampezzo
Cortina d’Ampezzo is the most popular town in the Dolomites right now. It hosted the 2026 winter Olympics and is a charming place to stay with plenty of hotel options.
It’s also situated right in between the start and end of the Alta Via 1. That being said, if you’re doing the shortened version, it’s about an hour to Lago di Braes. So, it would not be my first choice of places to stay.
dobiacco
This is a busy town that is home to a large train station and convenient bus stop in the Northeast part of the Dolomites. It’s the perfect place to stay for a night before the Alta Via 1 because you can take bus 442 right from there. Or, it’s just a 8 minute drive from Villabassa if you have a car to drop off.
sesto
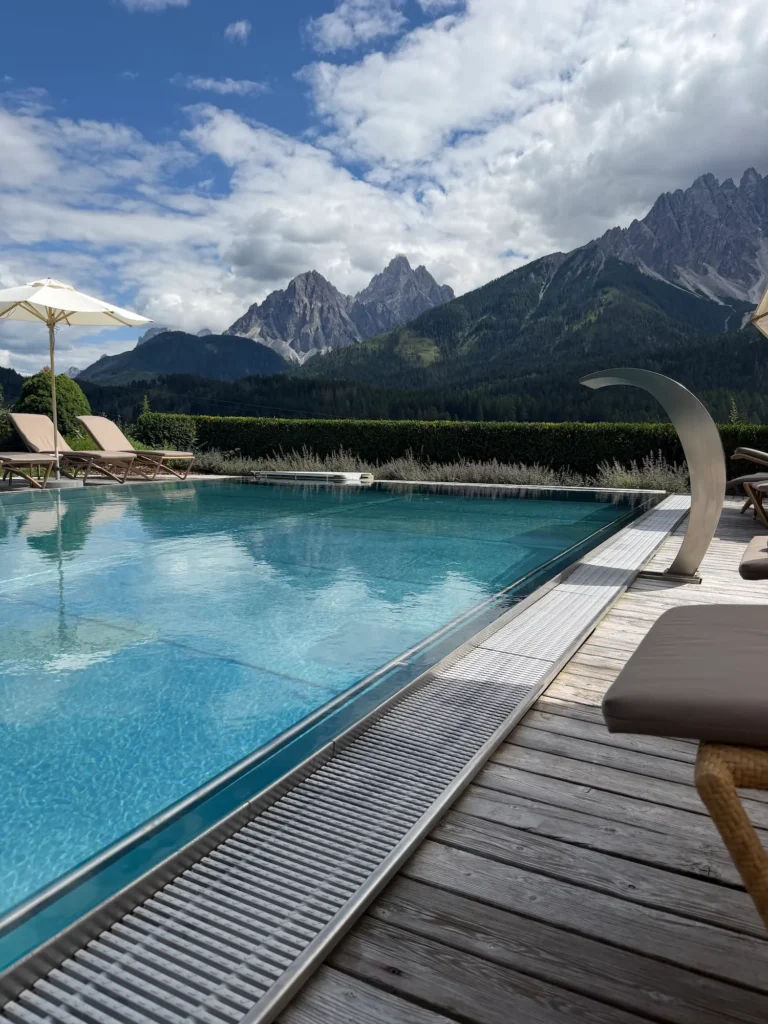
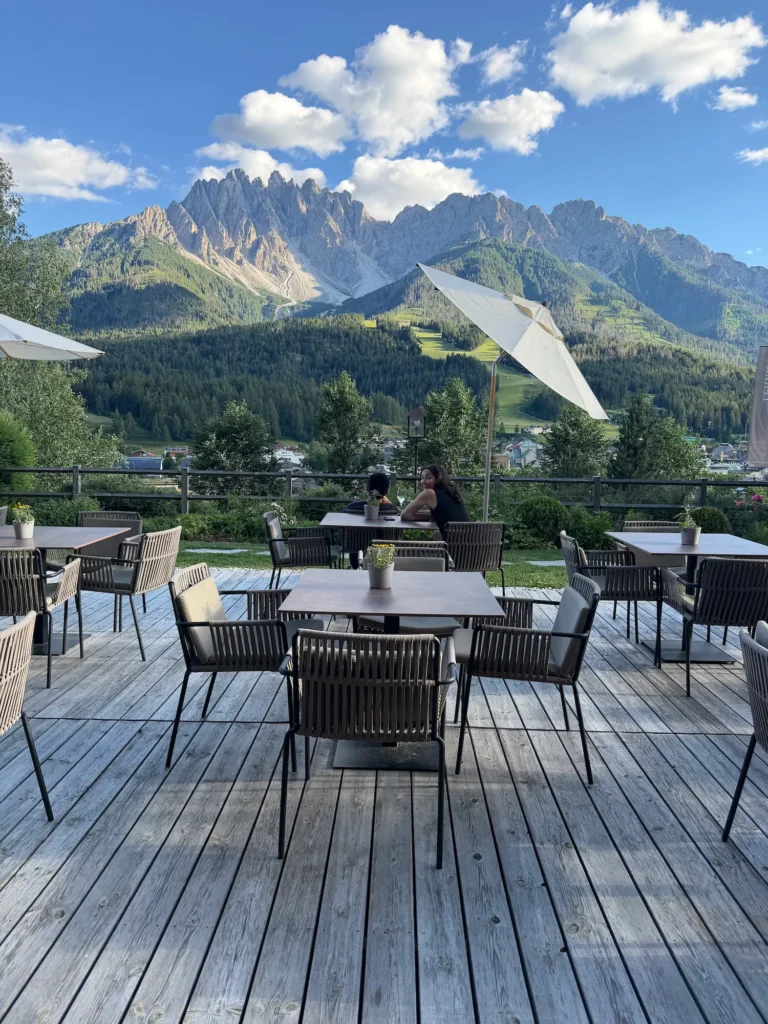
We chose to stay in Sesto and I’m very happy with that choice. The town itself is quiet with idyllic scenery and it’s conveniently located just 15 minutes from Villabassa.
On the night before our trek we stayed in this adorable VRBO. Then, we stayed at the Naturhotel Leitlhof afterwards to rest and relax. With a huge spa and great outdoor pool, this was the perfect spot to indulge in.
Shortened Alta Via 1 Route
Like I said above, this shortened Alta Via 1 route is great for people who want to experience hut to hut hiking without the larger commitment.
It only takes a few nights and yet it takes you through some of the most spectacular scenery in the Dolomites, to memorable rifugios, and through historical areas. This was one of my favorite things that I’ve ever done and I’ll be thinking about it for years to come.
Read below for a detailed guide on the huts and trails along the way. If you have time to explore after, check out my Dolomites week itinerary!
Total Distance: 30 miles/48 km
Elevation: 10,900 feet/3300 meters of gain
Nights: 4 Nights
Day 1: Lago di Braes to Rifugio Biella
Distance: 4 miles/6.4 km
Elevation: 3150 feet/960 meters of gain
Alternative Huts: Rifugio Sennes (add 1 mile) or Rifugio Pederu (add 5 miles)
Today is a short but challenging day!
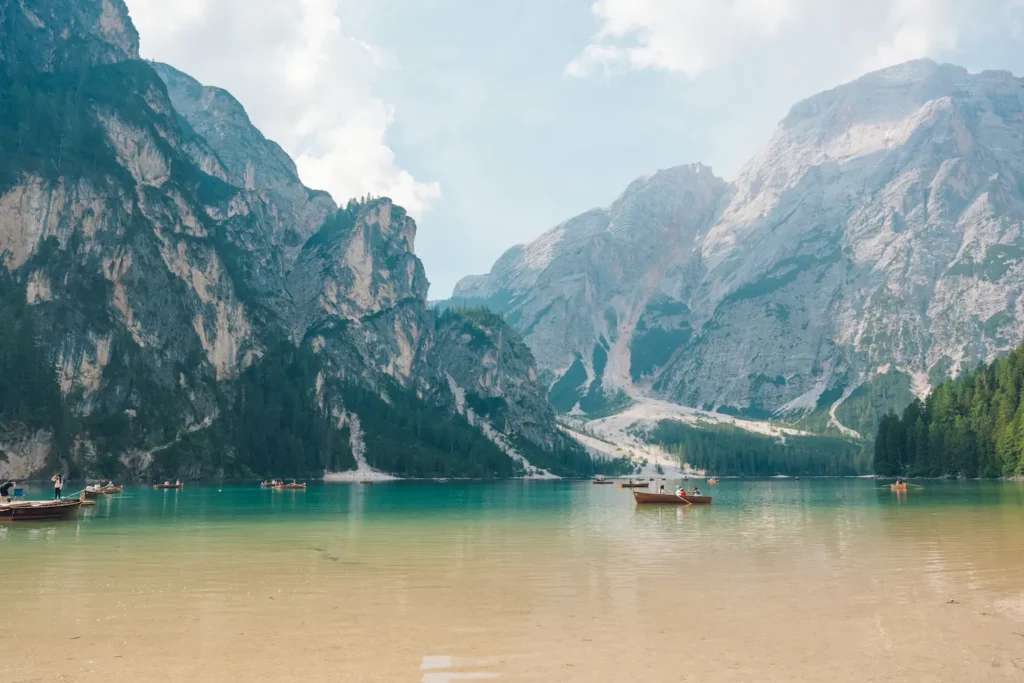
Luckily, it starts off perfectly as you make your way to Lago di Braes. I’ve seen so many photos of this iconic lake, but nothing prepares you for seeing it in person. The dark green of the water contrasts with the limestone mountains overhead.
The trail follows the path around the lake to the right, before climbing up the mountains directly behind it. It’s nice to get a flat warm up for a mile before the steep ascent begins.
We even went for a cool dip in Lago di Braes, before continuing on.
The Hike
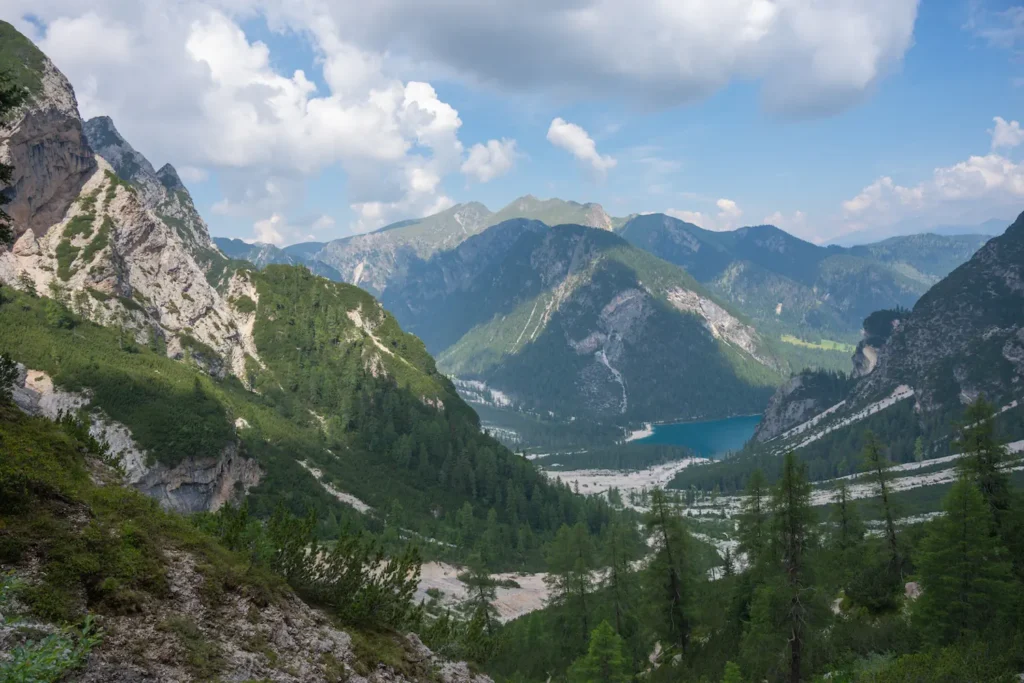
From there the path is relatively steep and at times you have to climb over loose rock, which feels similar to walking up sand. It’s not the most pleasant experience. It was really hot on the day we went, and we ended up taking breaks every few feet.
At just 2 miles in we even took our lunch break, before regaining our strength to continue up. Along the way, turn around and see the dark turquoise lake below. It provides a backdrop for most of the day!
At about 3 miles in, arrive at a meadow with plenty of wildflowers in summer and rocks. It’s another good spot for one last break before the final push to the top. We were mesmerized by the views here!
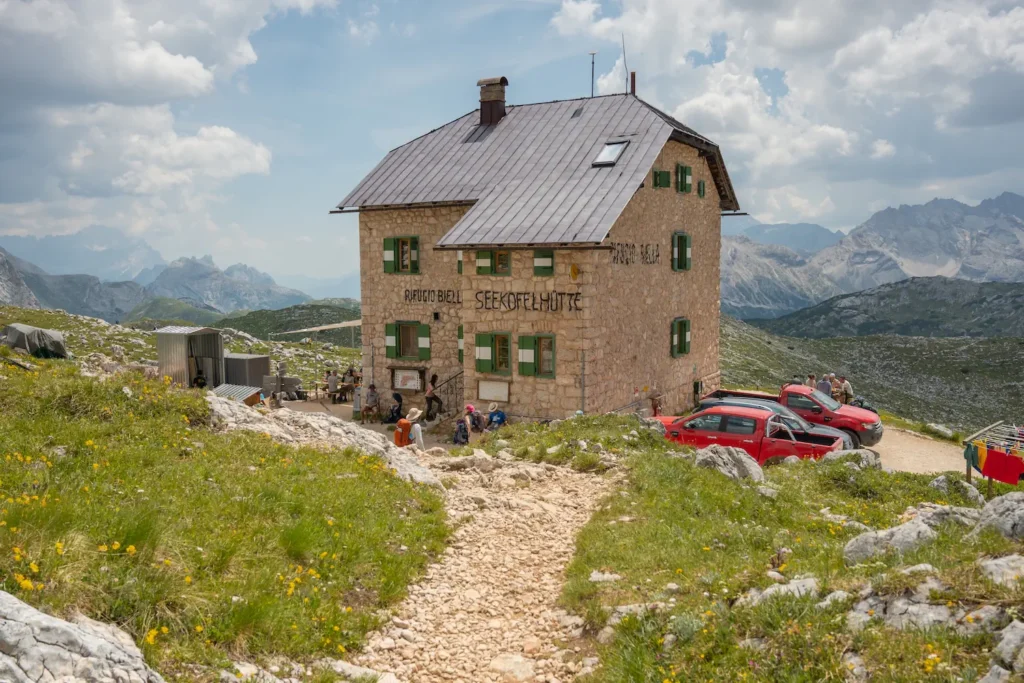
Then, finally push up one last steep ascent to the very tippy top of this portion of the trek. As you crest over the mountain, where you’re greeted with even more mountains rising up in all directions with the quaint looking Rifugio Biella down to the left.
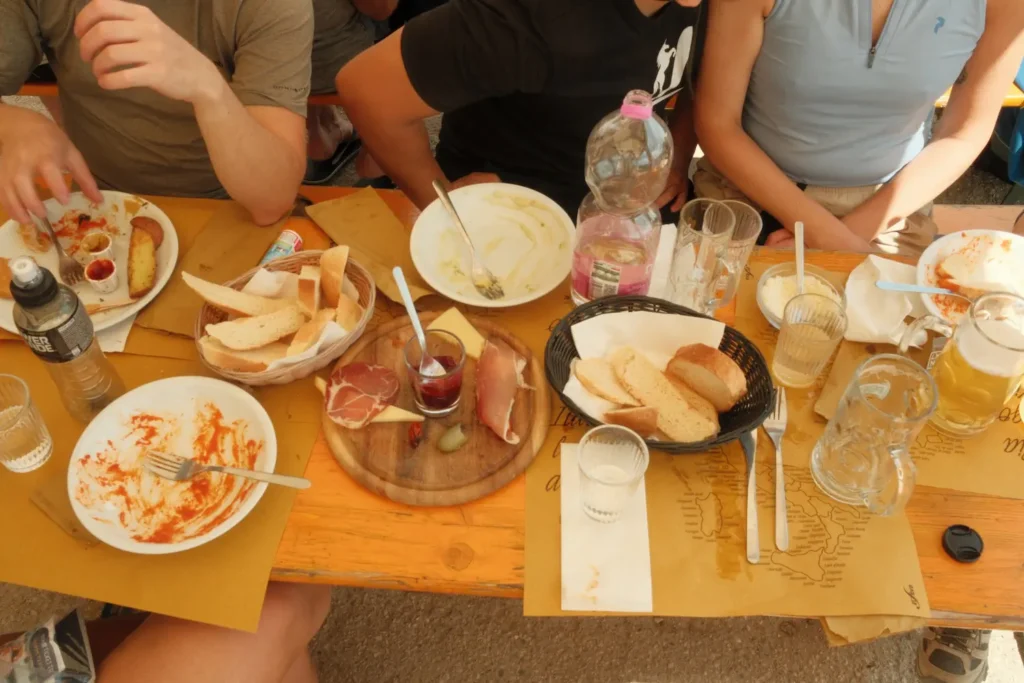
As soon as I saw the Rifugio, I fell in love with it. We got delicious beers, food, and played cards for the rest of the day.
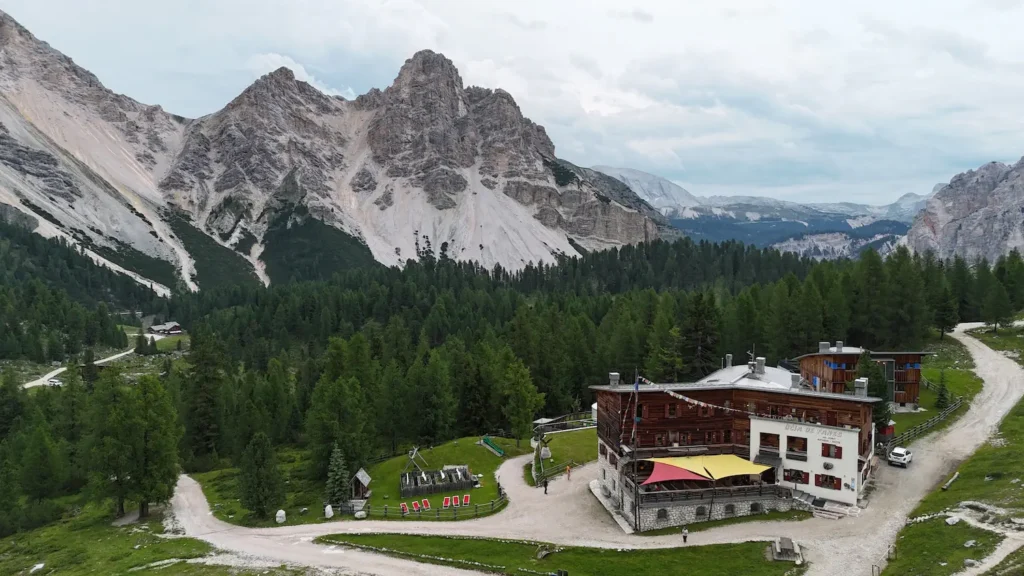
Day 2: Rifugio Biella to Rifugio Fanes
Distance: 8.3 miles/13.3 km
Elevation: 2190 feet/667 meters of gain
Alternative Huts: Rifugio Lavarella (similar mileage) or Ücia Pices Fanes (closer by .5 miles)
The Hike
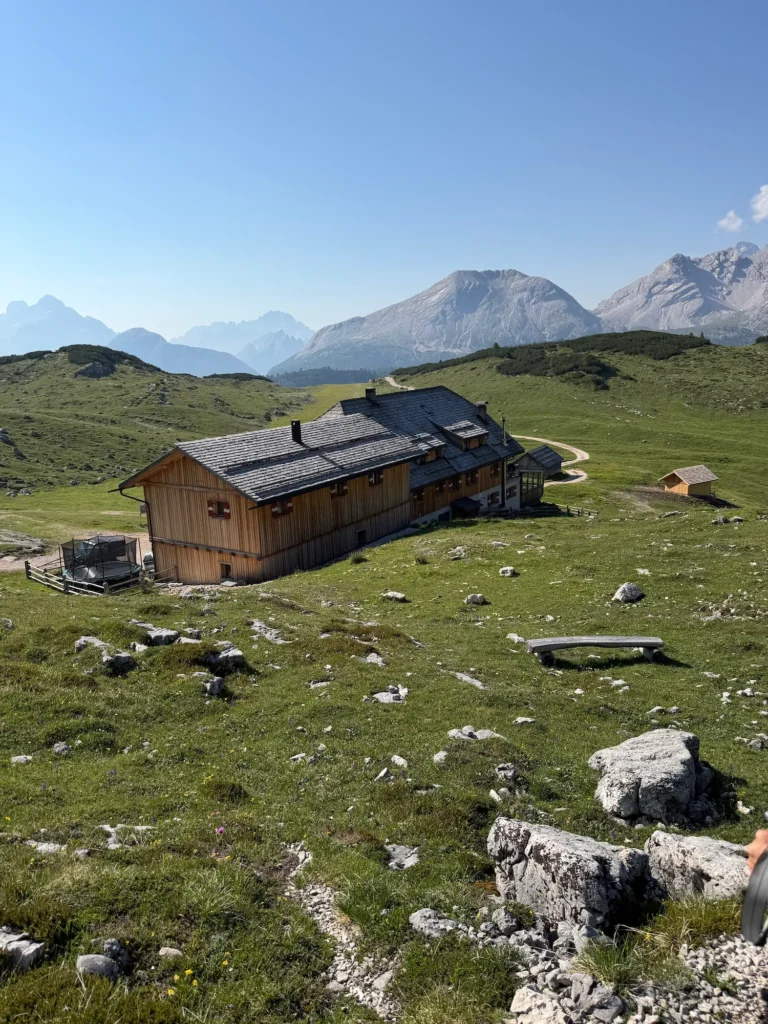
After leaving Biella, it’s a peaceful flat walk for a mile, then you will arrive at Sennes. One of my favorite huts along the way, it reminded me of the Sound of Music as it sat perched in a flat meadow.
So, we all stopped for a coffee before continuing. I could have stayed there all day, drinking hot cappuccinos while staring out at the bright blue sky. But, we had places to go!
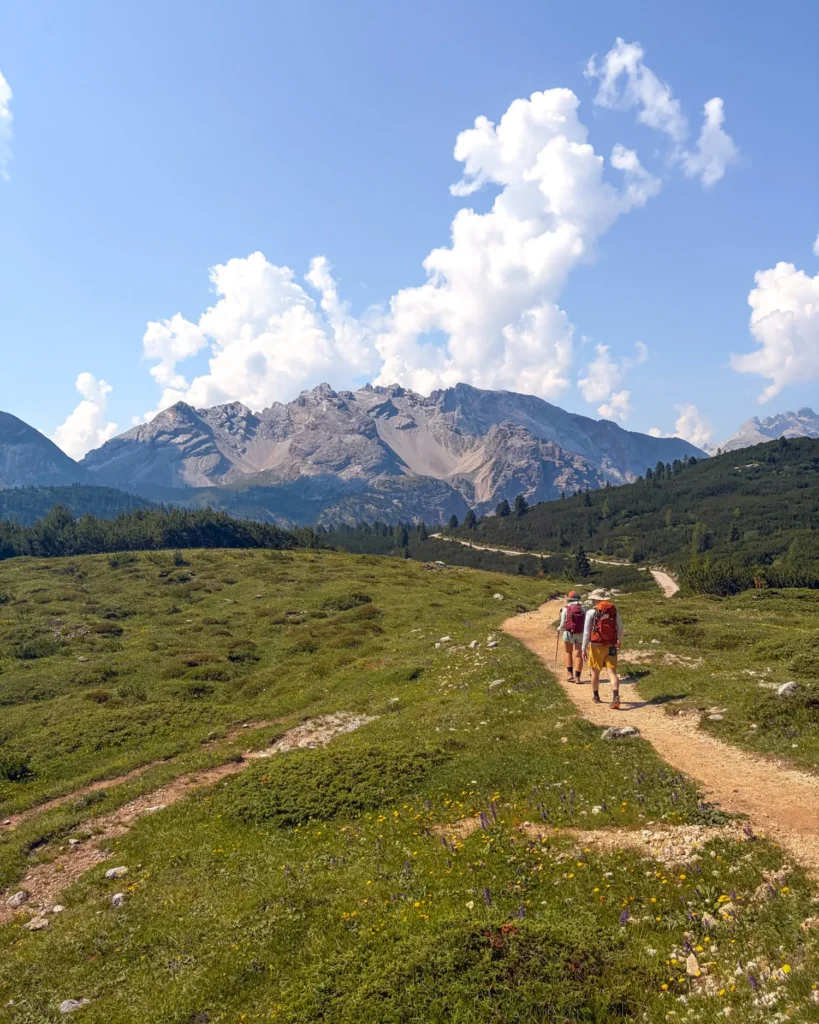
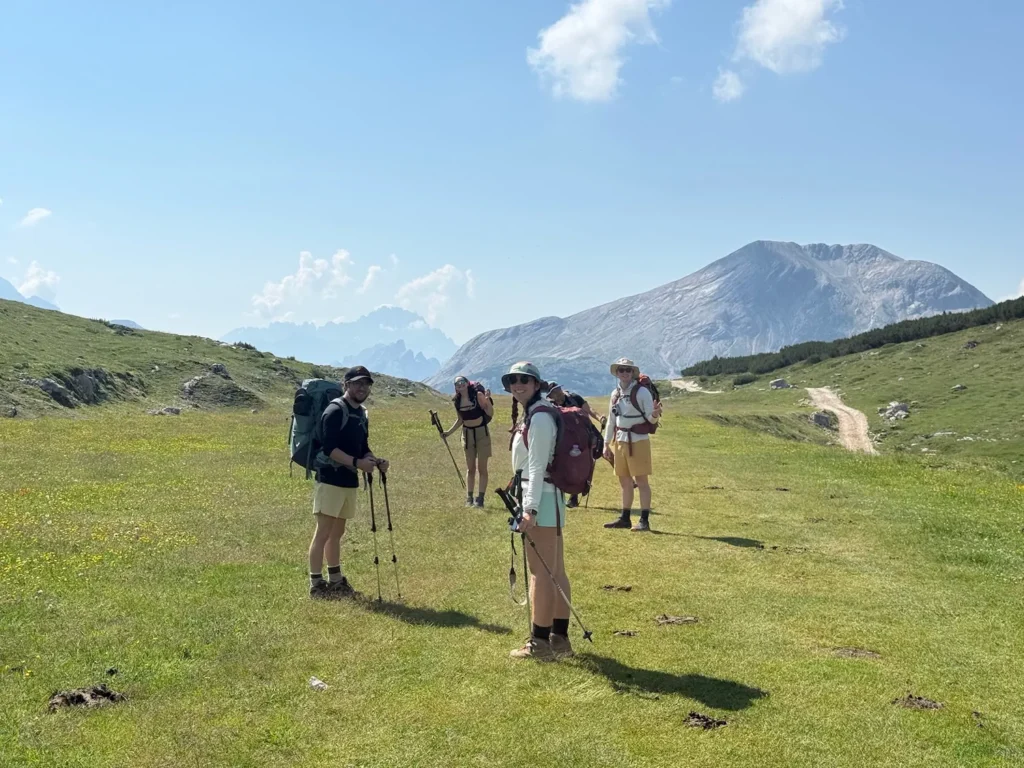
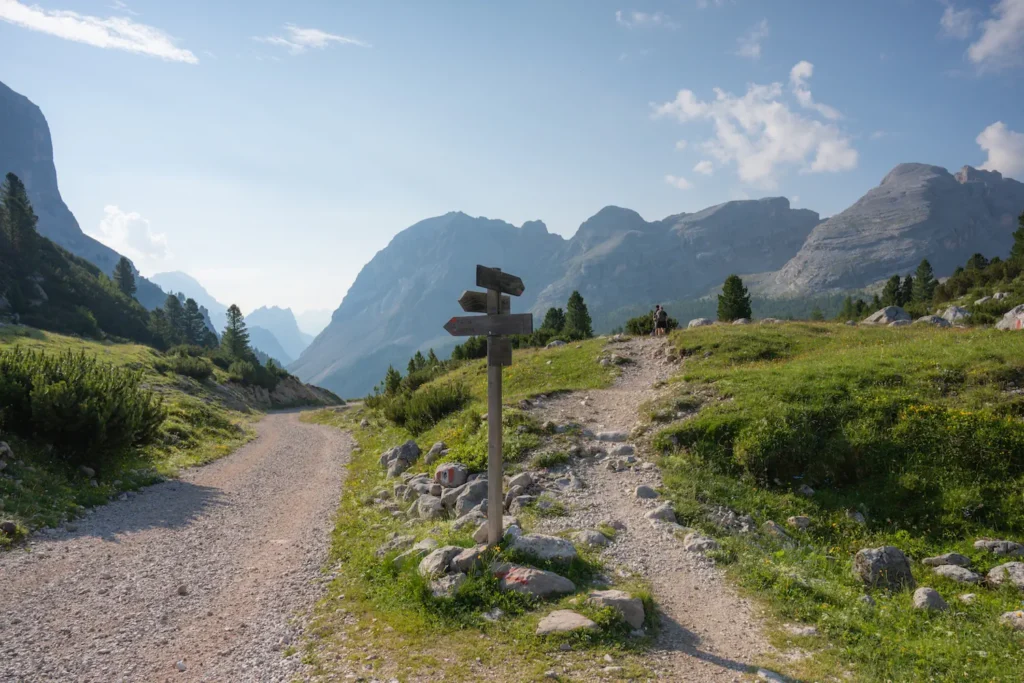
From there, continue downhill for a few miles, before you get to steep switchbacks along a road to a deep valley. Down at the bottom, you can see Rifugio Pederu, which is a great stop for lunch! This rifugio is easily accessible by car, so it is typically a bit more crowded as well.
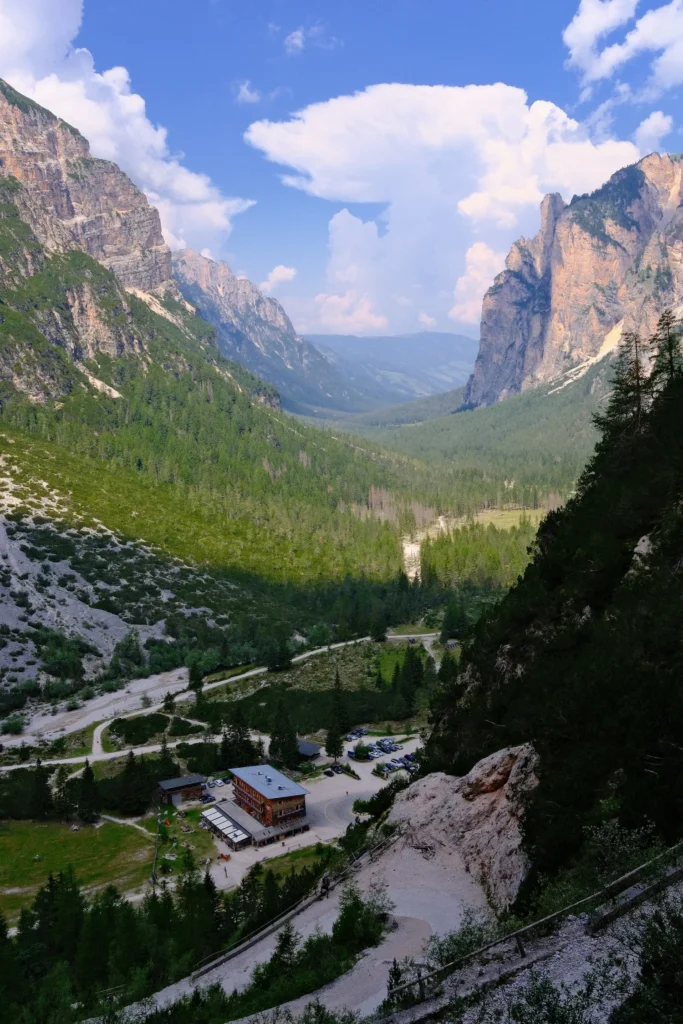
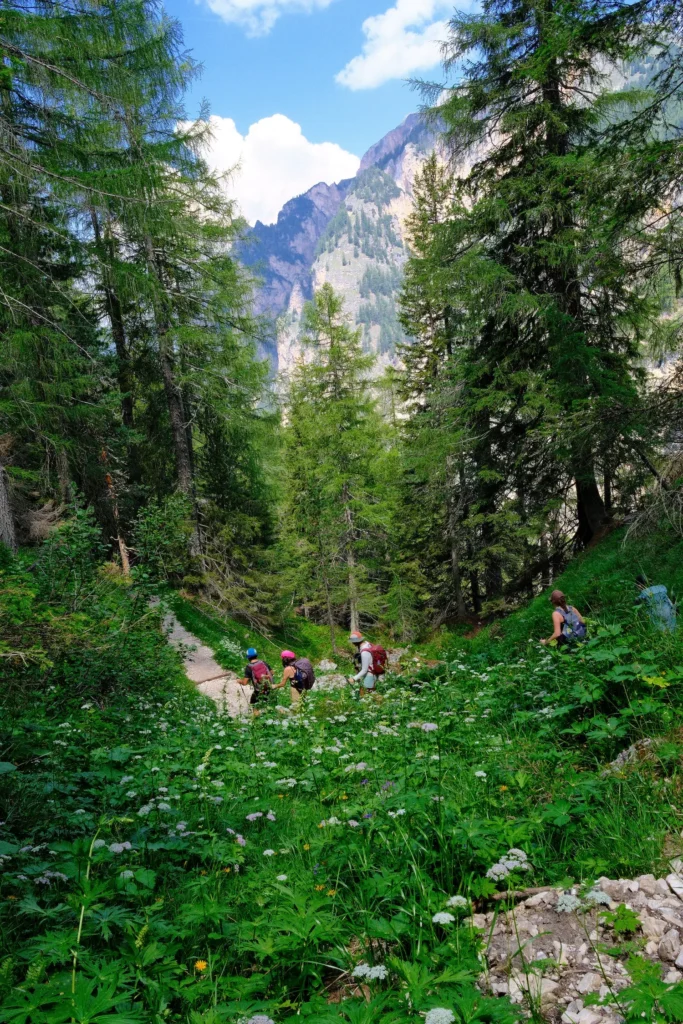
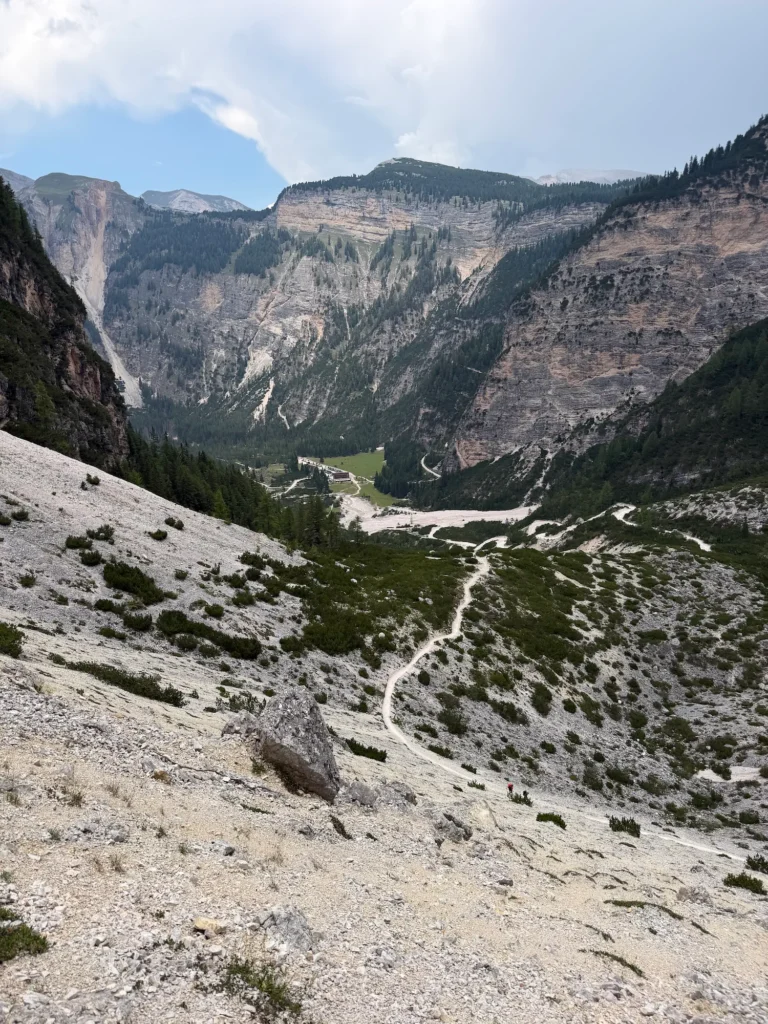
After you’re fueled up, it’s time to head back up another 1500 feet to get to Rifugio Fanes. Climb up from the valley with views of it behind you. Continue walking uphill for a bit, where a lovely river runs by a charming hut. From there, it’s just a bit further to Fanes!
We had decided to splurge at Rifugio Fanes and got private rooms with their own bathrooms, which was so exciting. The rooms were wonderful and it felt bougie. We took nice long showers after a hard day.
Day 3: Rifugio Fanes to Rifugio Lagazuoi
Distance: 7.7 miles/12.4 km
Elevation: 3750 feet/1140 meters of gain
Alternative Huts: Rifugio Col Gallina (add 2 miles) or Rifugio Scotoni (.8 miles closer)
Honestly, we couldn’t secure lodging at Lagazuoi or the other rifugios nearby, so we had to combine this day with the next one. It made for a very difficult trek!
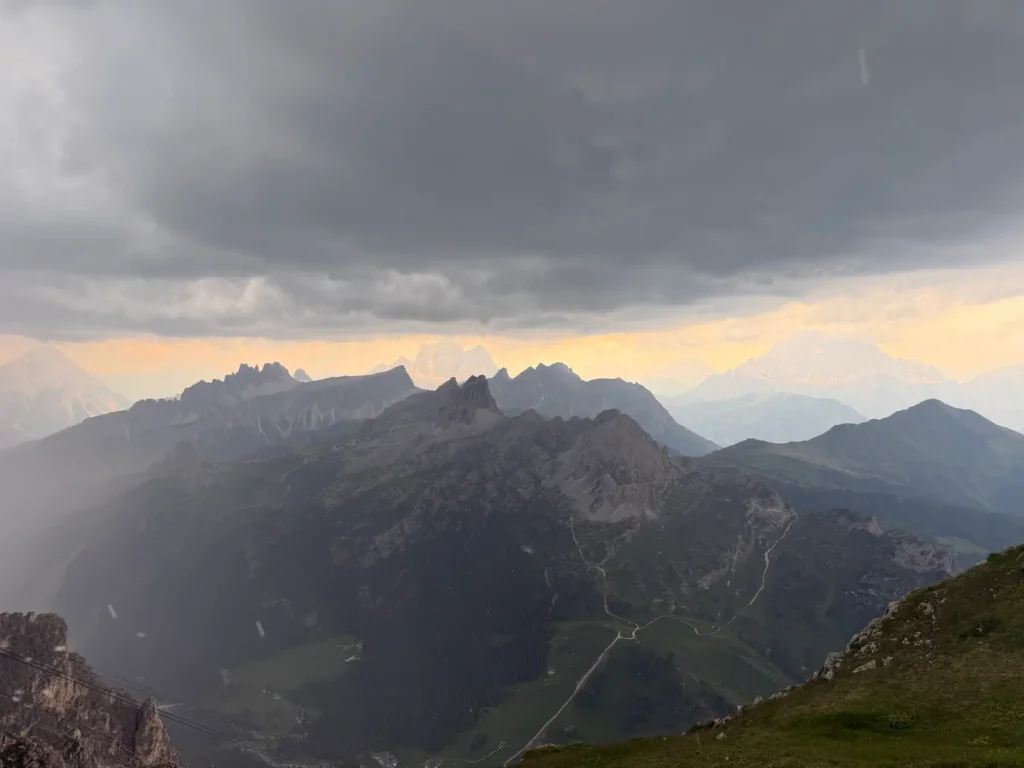
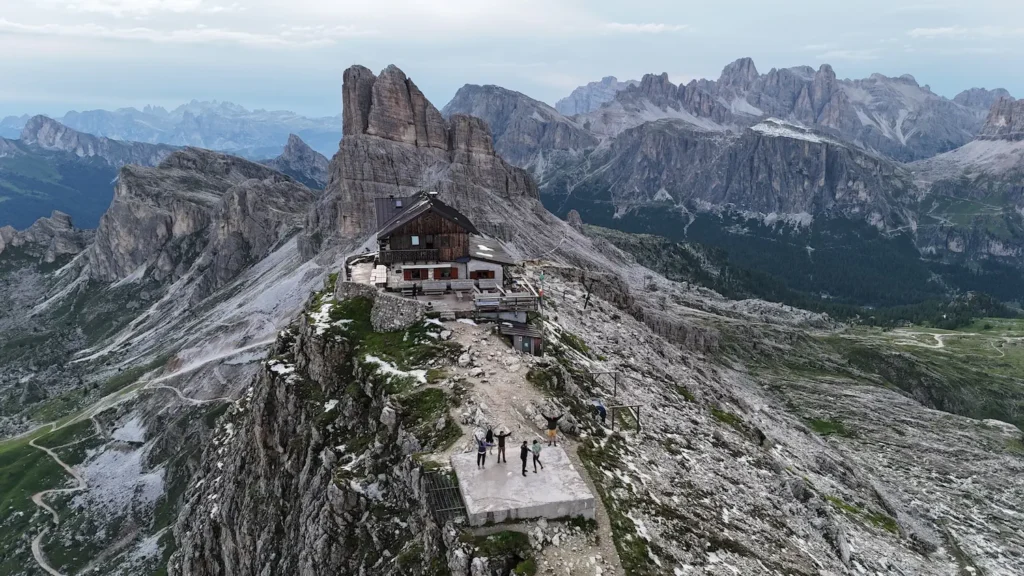
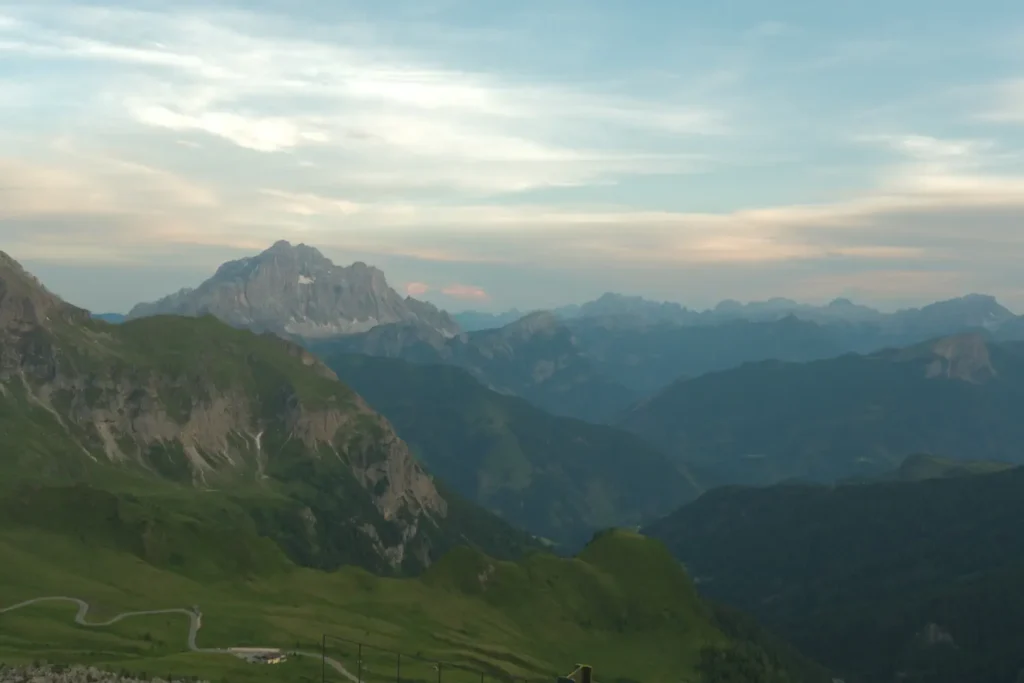
That being said, if you can secure a spot at Lagazuoi, then you definitely should! Perched on the top of Passo Falzarego with 360 degree views of jagged peaks all around and WWI tunnels situated below, it’s an epic stay.
The hike
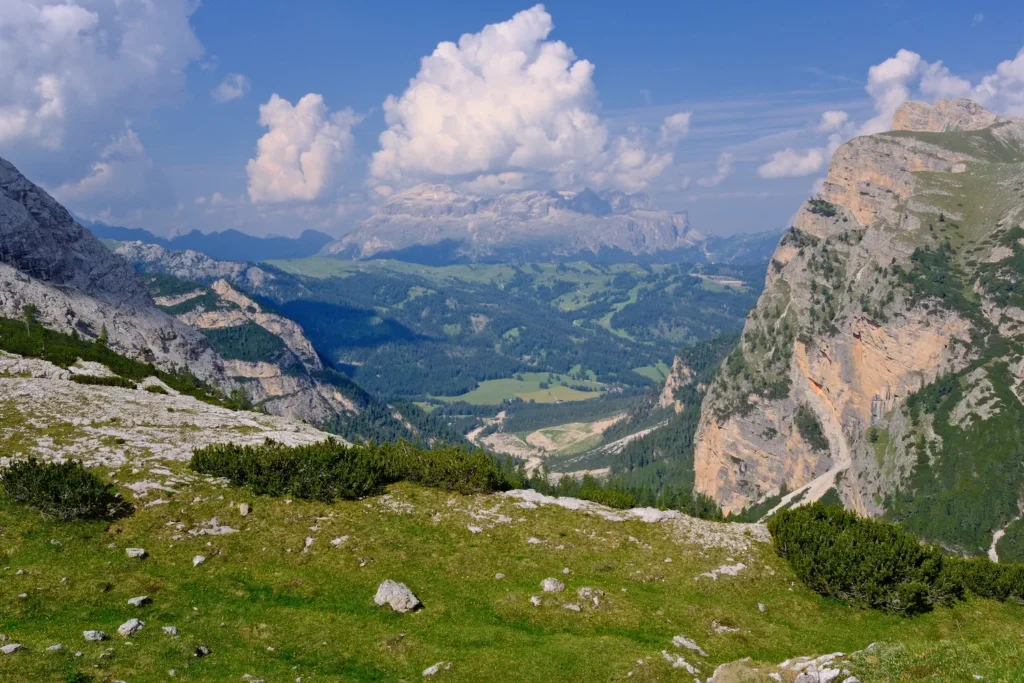
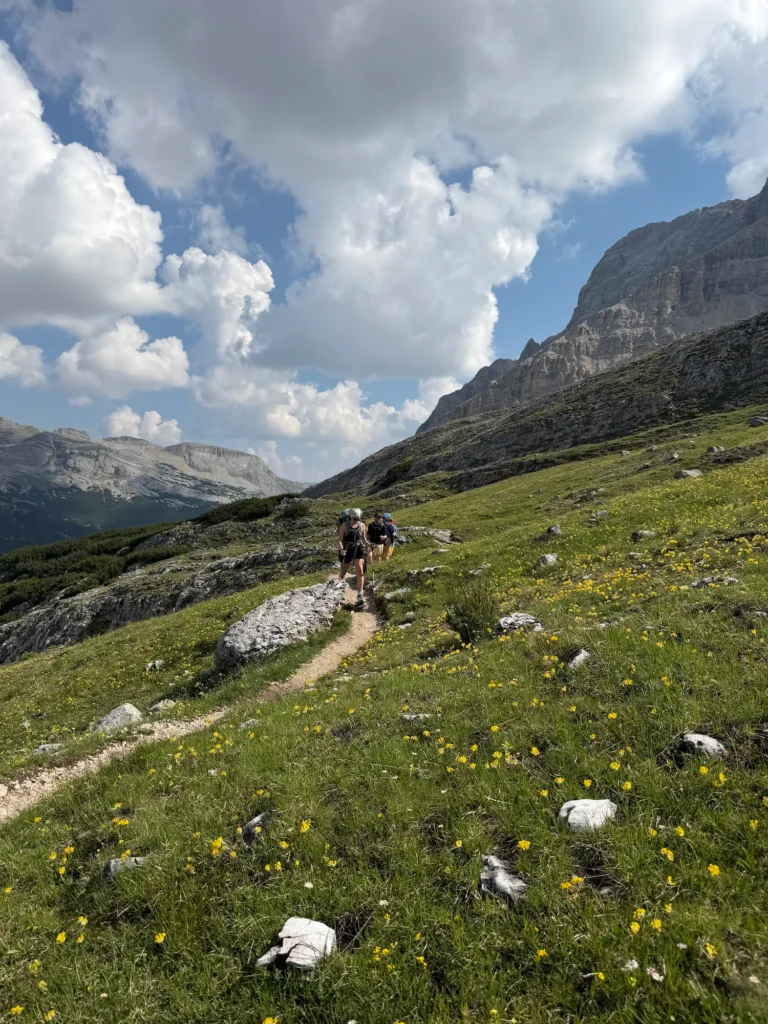
From Rifugio Fanes, trek up a steep hill until you get to a sprawling meadow. There are often cows roaming with their cow bells creating a soundtrack for your walk. It’s about a mile until the first uphill climb, so enjoy the views!
At the end of the flat meadow, it’s time to trek up to the top of the first pass of the day. Although it’s challenging, plenty of mountains sit below which makes for gorgeous views. This first push is about 1100 feet.
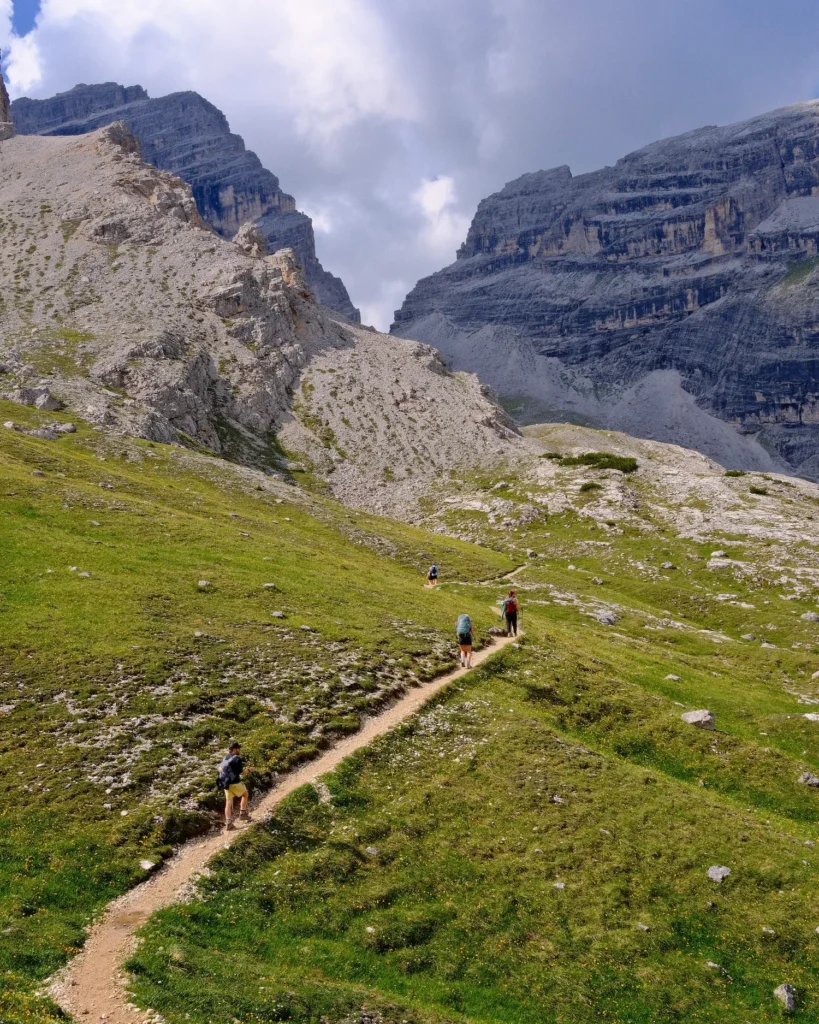
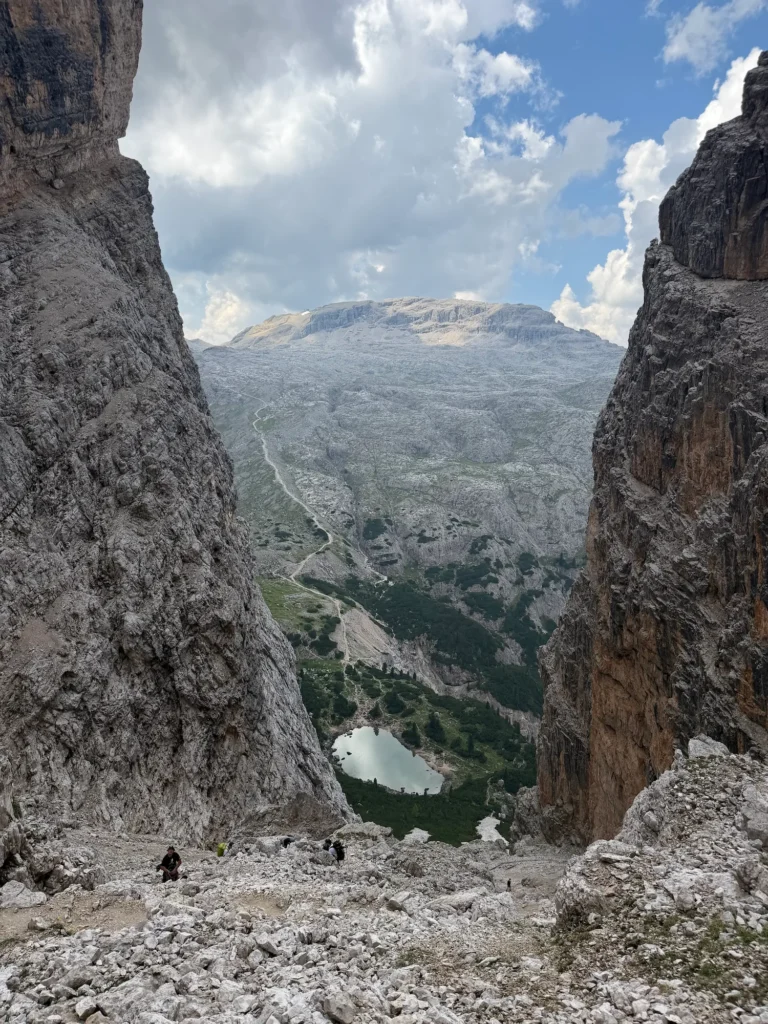
Once you arrive at the top, you can see across to Lagazuoi. Unfortunately, it’s a bit of a tease as you have to go down a steep 1000 foot descent and then back up 1800 feet. Take your time as you descend, because it can be tough on the knees.
At the bottom, there’s a beautiful lake which is the perfect spot for a respite.
Now, comes the challenging part, where you have to force yourself to get back up the mountain. My friends and I took this part really slowly with plenty of breaks along the way.
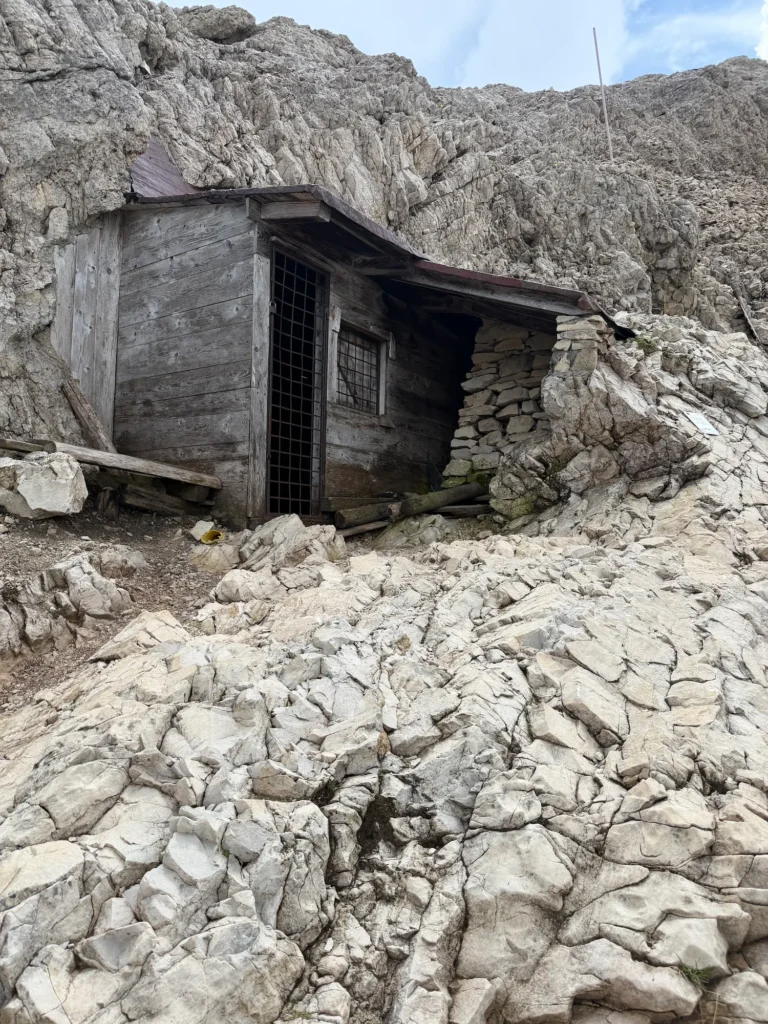
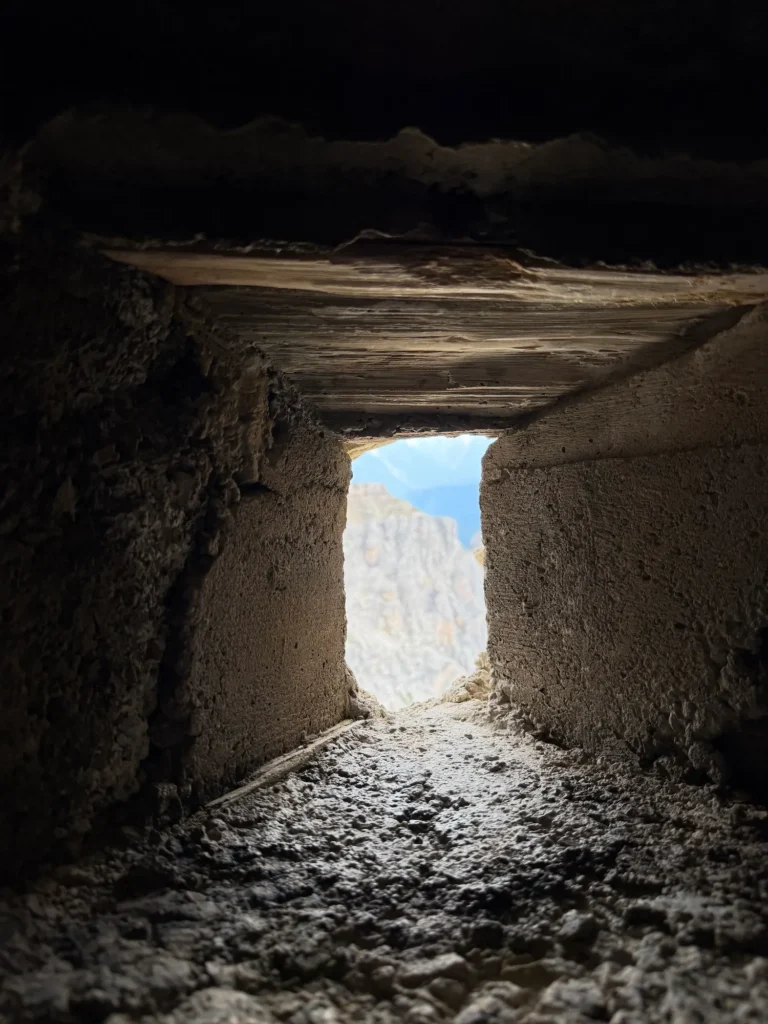
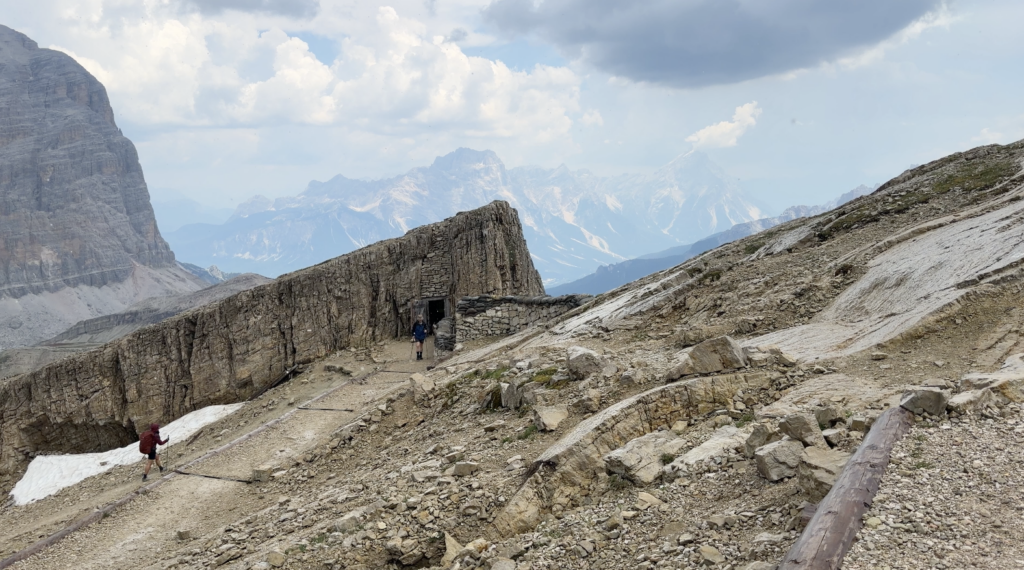
Towards the last few hundred feet there are WWI tunnels nestled into the mountainside. Many people keep pushing ahead, but these are worth exploring. Walk through the tunnels and imagine what it felt like to be a soldier back in the day.
It’s just a few hundred feet more and then you can reward yourselves with apple strudel and a cappuccino or hot chocolate.
After that long hike, it may have been the best tasting hot chocolate of my life.
Unfortunately, after a hot lunch at Lagazuoi, we all got stuck in a 90 minute hail storm. It was one of the craziest experiences of my life! But, hopefully you can stay here for the night.
Day 4: Rifugio Lagazuoi to Rifugio Nuvolau
Distance: 6.3 miles/10 km
Elevation: 1800 feet/550 meters of gain
Alternative Huts: Rifugio Averau (2 miles closer) or Rifugio Cinque Torri (1 mile further
Because we hiked up to Lagazuoi and then over to Nuvolau in one day, we ended up taking the cable car down the mountain (19 Euros a person) to save our knees, which takes you a different route.
But, the section from Passo Falzarego up to Nuvolau was definitely my favorite of the entire Alta Via 1! So, you may want to consider the cable car route.
cable car route
So, if you take the cable car, then you walk through the parking lot and across the street.
From there, follow signs for route 441 to Averau. First, ascend over a peaceful path until you get to Lago di Limides, where you can often see reflections on the still water.
From there, find a steep climb up a hill, before getting to a chute covered in boulders. I loved making my way up the chute and deciding which boulder to use as leverage. It was a fun way to switch things up.
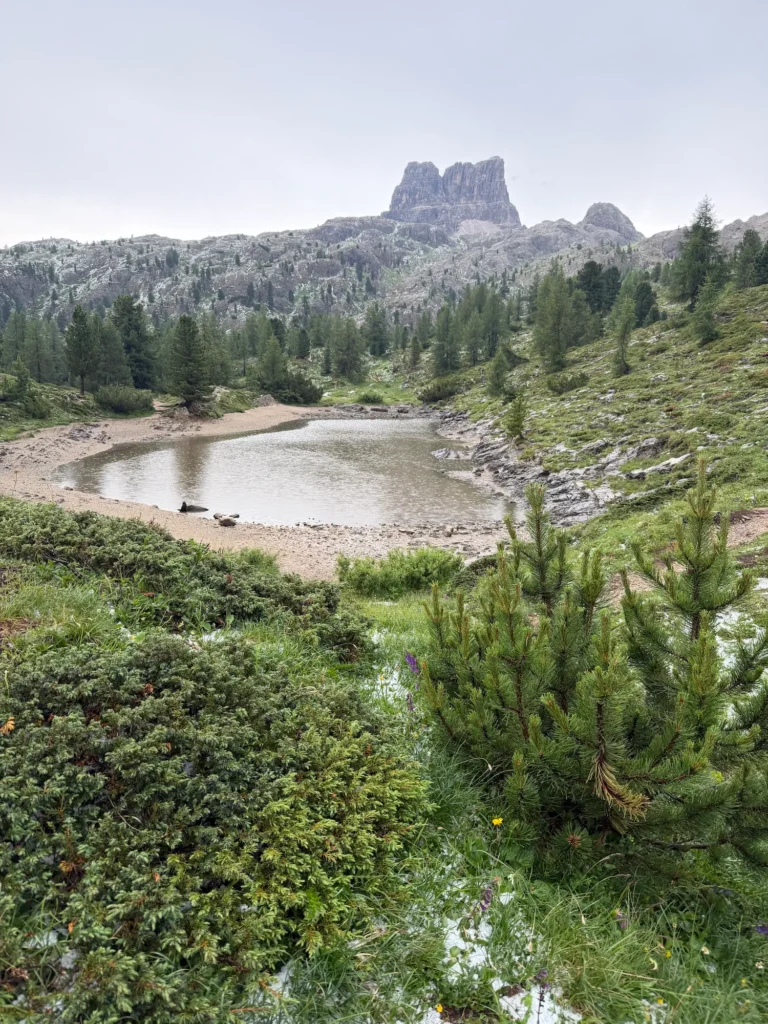
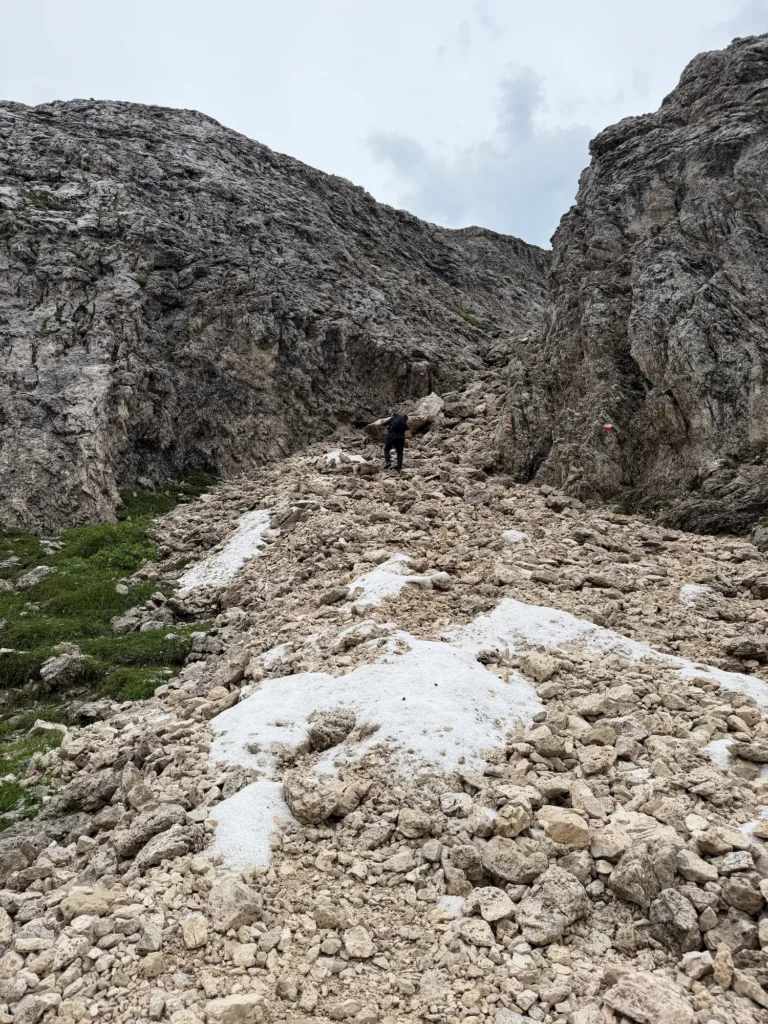
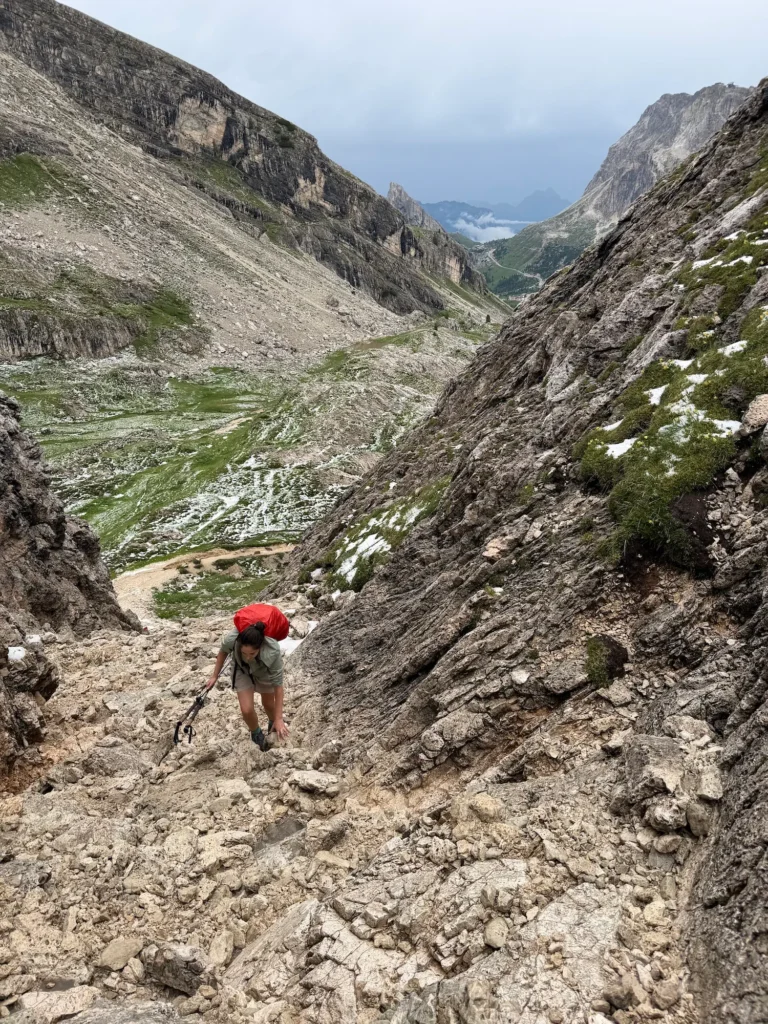
Then, walk around a narrow path along an open side of the mountain. Although it can be freaky if you’re afraid of heights, there are mountains as far as the eye can see. At the end of this path, you can see Rifugio Averau.
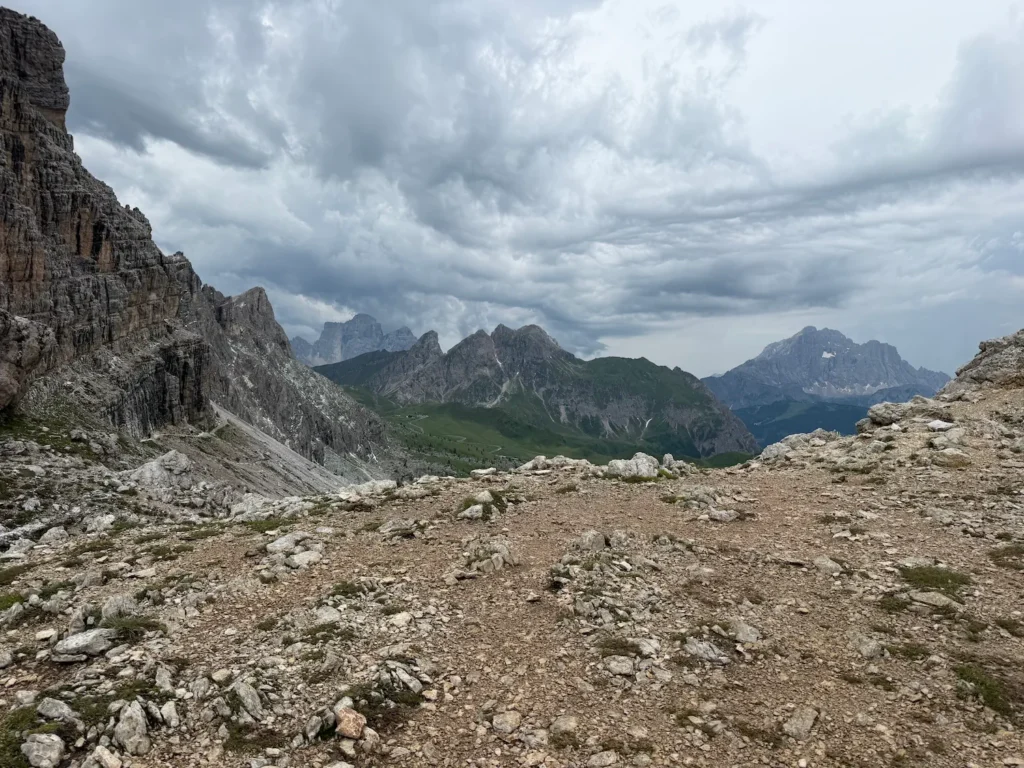
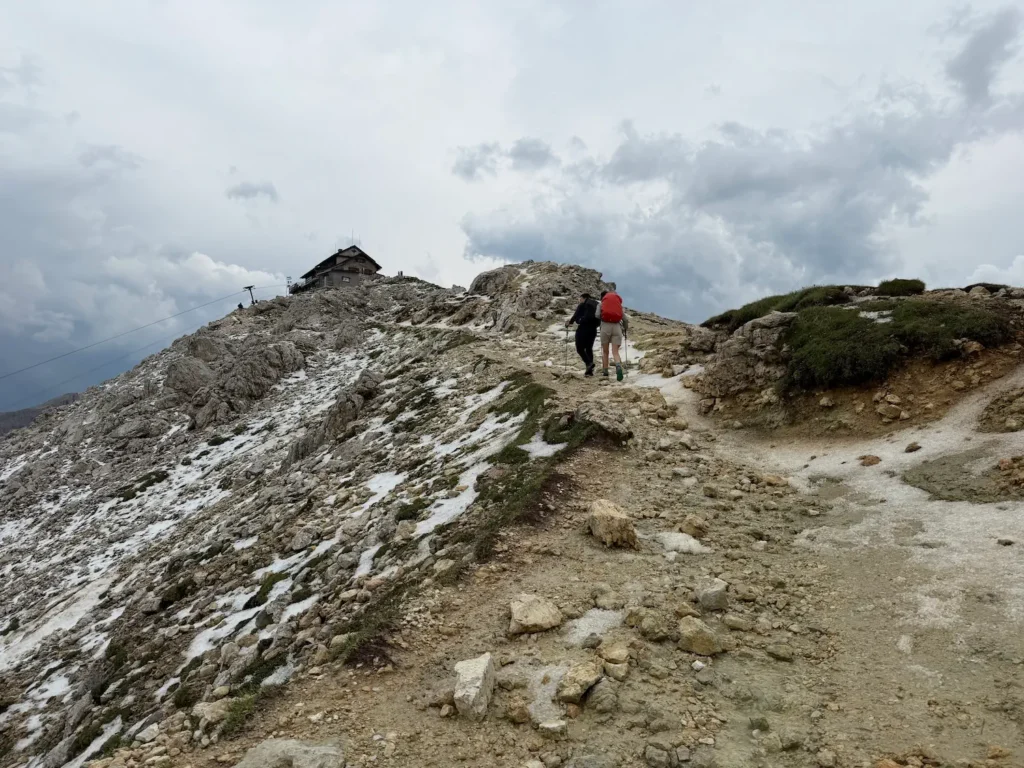
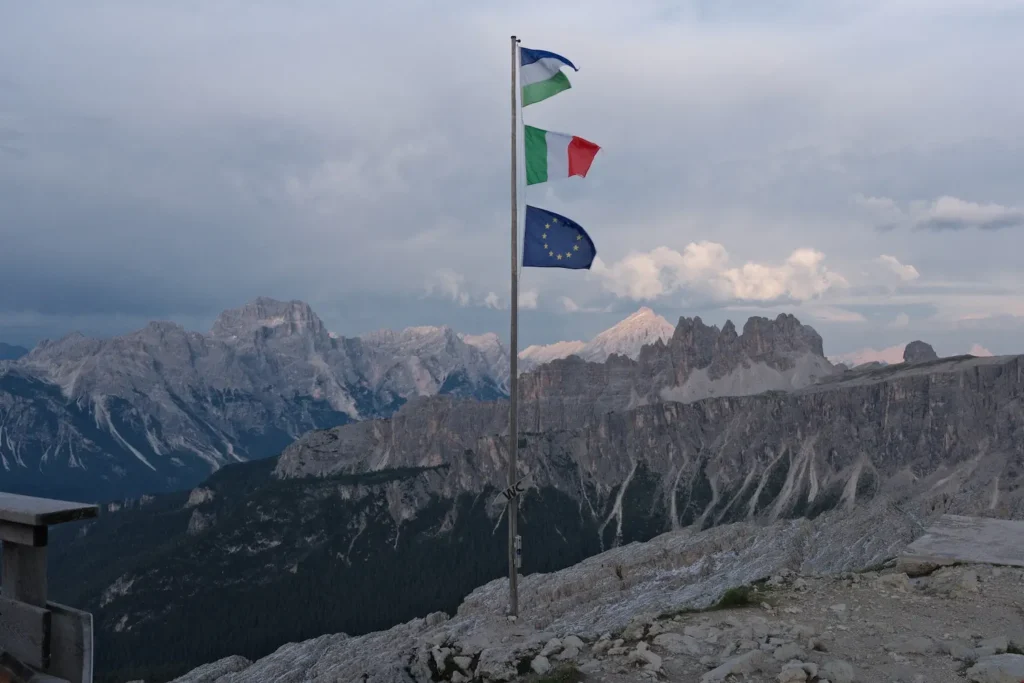
From there, it’s a straight climb up a rocky hill to Nuvolau. Wind was whipping as we made our way to the top, which felt incredibly epic. Nuvolau is perched on the very top of the cliff and is one of the oldest and highest rifugios in the Dolomites.
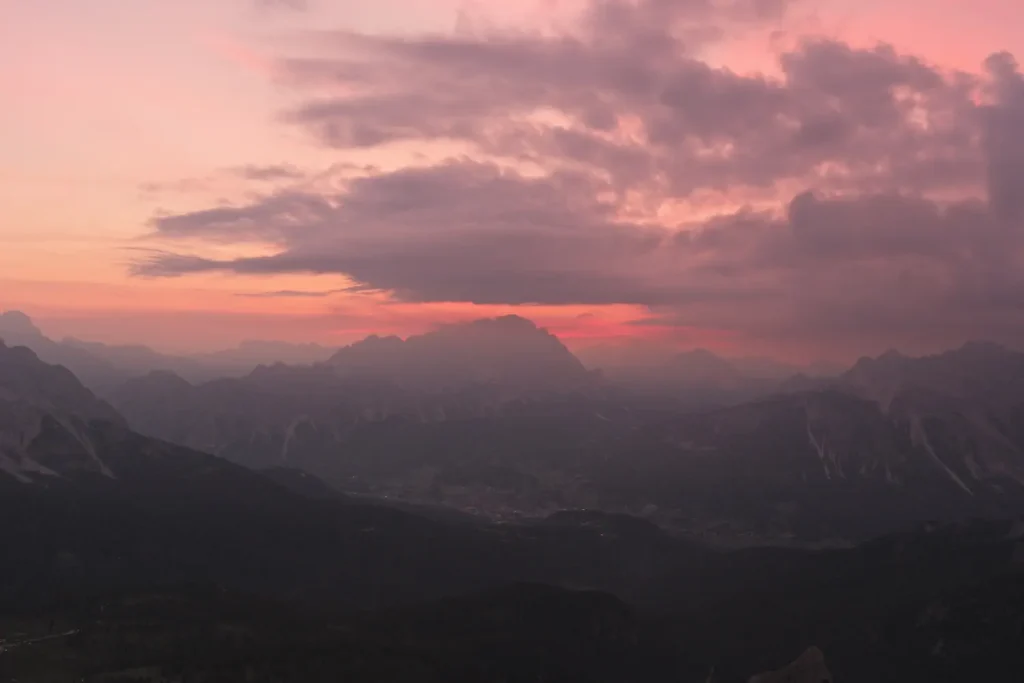
We had 360 degree views for sunset and sunrise from the hut. It was by far our favorite stay of the trip and you definitely shouldn’t miss it!
hiking route
If you walk down the mountain from Lagazuoi, you can explore more WWI tunnels on your way. It feels as if you’re stepping back in time. From there, continue up the path that I eventually walked down to get to Col Gallina.
Once you get down to the road, cross it and follow signs for 440. This is a steep and rocky climb through the forest and at times, it felt like it just went on and on.
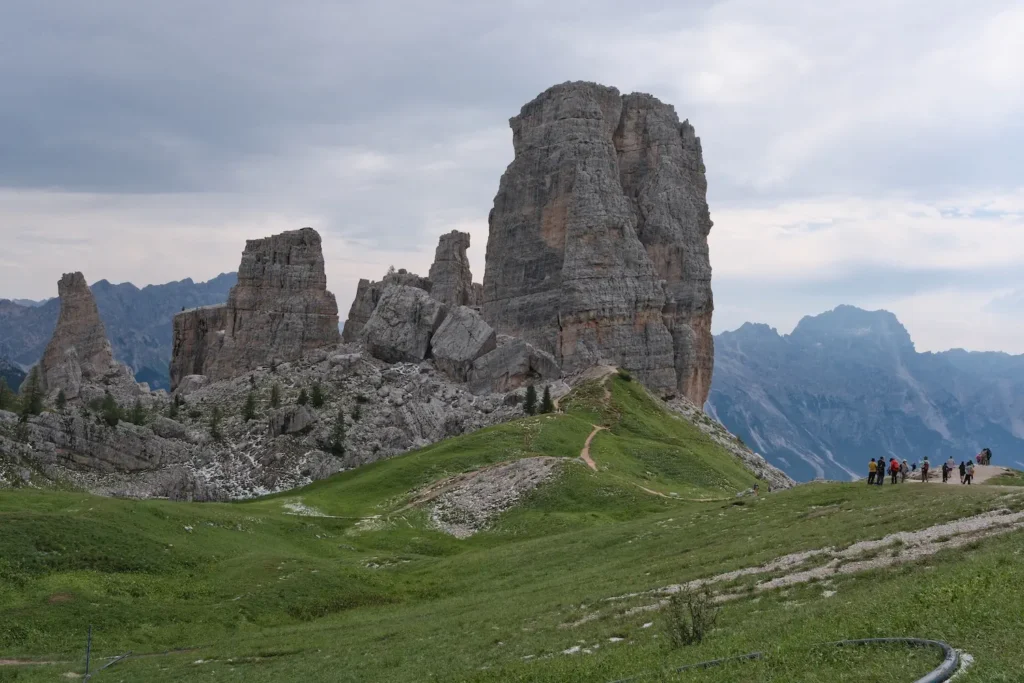
At the top of this section, arrive at Cinque Torri, which is an iconic rock formation home to an open air World War I museum. I really appreciated learning about the history of the area.
Then, follow route 439 where you will pass Rifugio Averau before continuing to climb to Nuvolau. Our favorite hut of the trip!
After the Trek
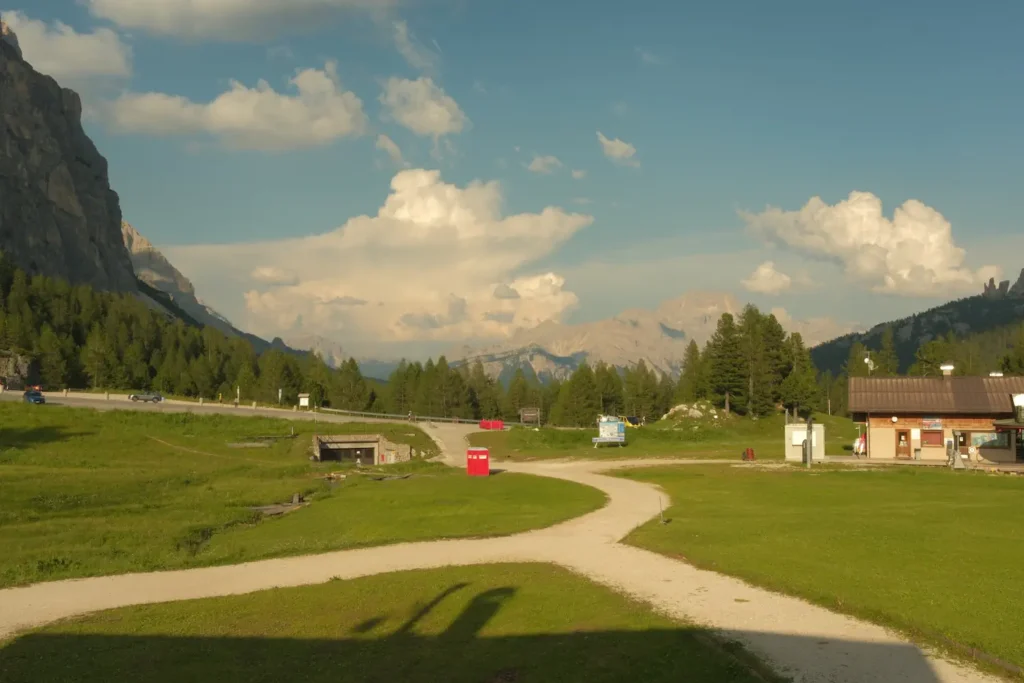
If your last stay was at Nuvolau, then you have a couple of options. You can hike 9 miles or so to Cortina d’Ampezzo or hike down to Passo Falzarego.
I recommend hiking down to Passo Falzarego (especially if you took the cable car or you’re not staying in Cortina) and stopping along the way at Cinque Torri.
We actually ended our trek at Rifugio Col Gallina, which is right along the same road as Passo Falzarego. From there, you can either hire a taxi or take a couple of buses to get back to your car in Dobiacco, Villabassa, or Cortina.
Either way, allow yourself plenty of time to get back to town, where you can hopefully enjoy a luxurious hot shower and some good food. Then, spend time exploring more of the gorgeous Dolomites.
Final Tips for Taking on the Shortened Alta Via 1
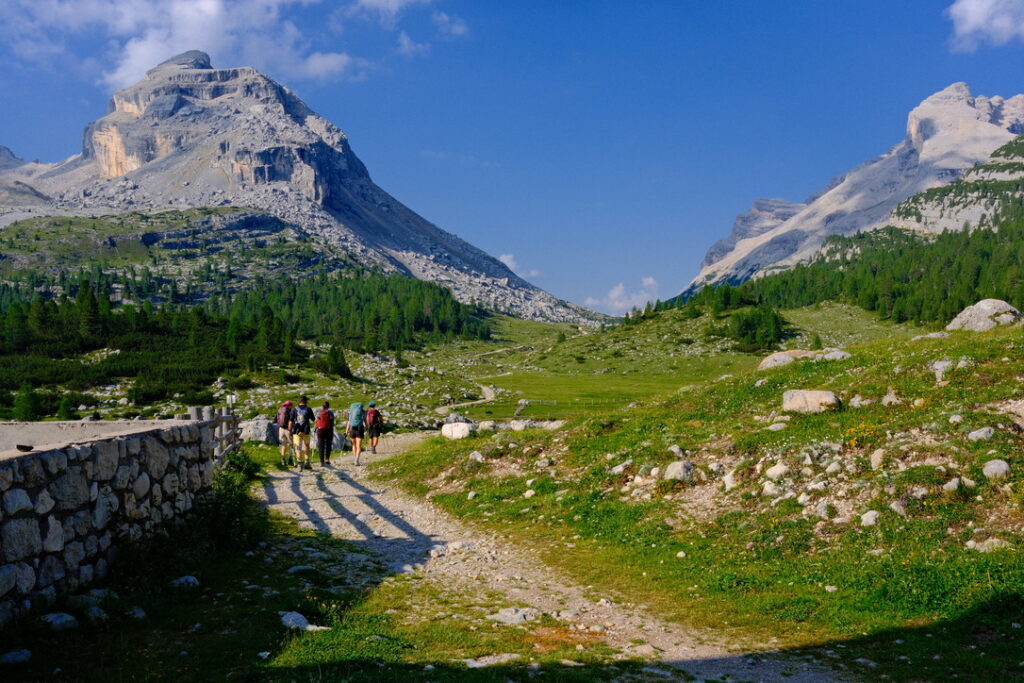
Waking up for sunrise, sipping hot cocoa at a rifugio, and hiking up steep mountain passes. In my mind, that’s the recipe for an ideal trip.
When I’m home, I’ll think back on this trek and it will always make me smile.
My biggest tips for your journey is to plan ahead, pack as light as you can, and figure out all the logistics ahead of time. That way you can have a stress free journey!
Let me know in the comments if you have any questions!
more dolomites content to Explore
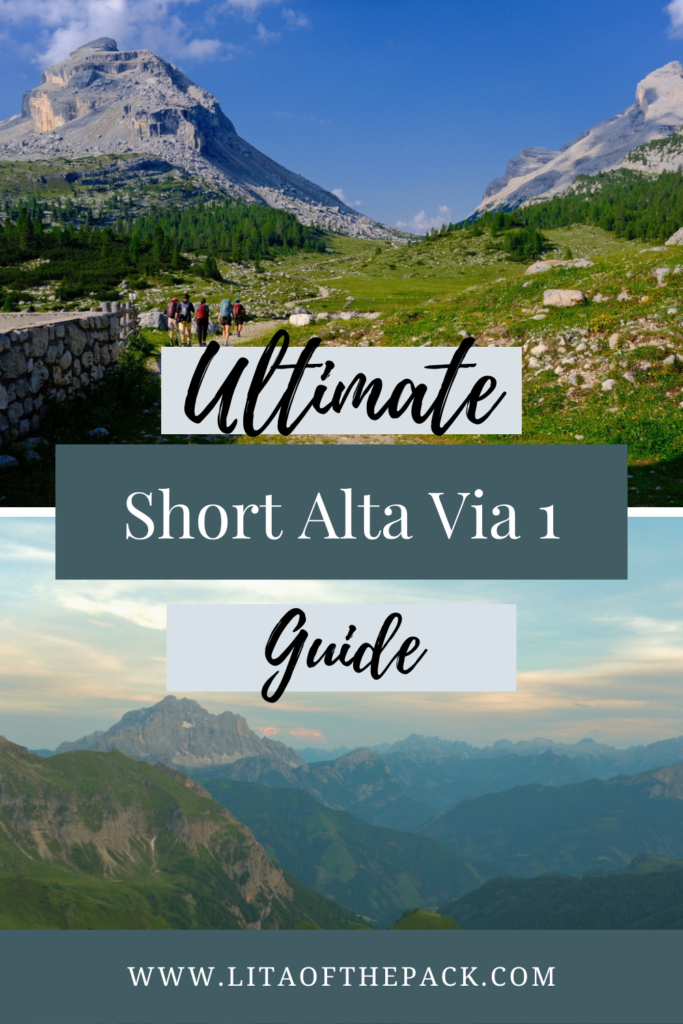
📍 Pin Shortened Alta Via 1 Guide: All the Best Tips & Logistics to Pinterest